So earlier this week, my buddy Sharil hooked me up with this Ikea Hackers link on how to make your own Lego Minifig Display using cost-effective components.
So I decided, hey! I’m going to do it! As chance would have it, I had a morning meeting at Bandar Utama on Friday so I swung by Ikea at about 9am and bought one of these Ribba frames (it costed RM40 at Ikea, no idea why it’s listed here as RM45).
Here’s what you need
- Ikea Ribba frame x 1
- Scissors or sharp blade
- Mounting board
- Superglue
- 12 Lego 2×4 bricks
- Pencil and Ruler
- Lego minifigures!

Here’s a look at the Ribba display. There’s actually a smaller frame within this frame that props up the backboard to allow the frame to have a certain amount of depth.

First up you take the mounting board and cut it up to ensure that it fits into the Ribba frame. You can use either the white or black side. This time I picked white because it contrasted nicer with the black frame.
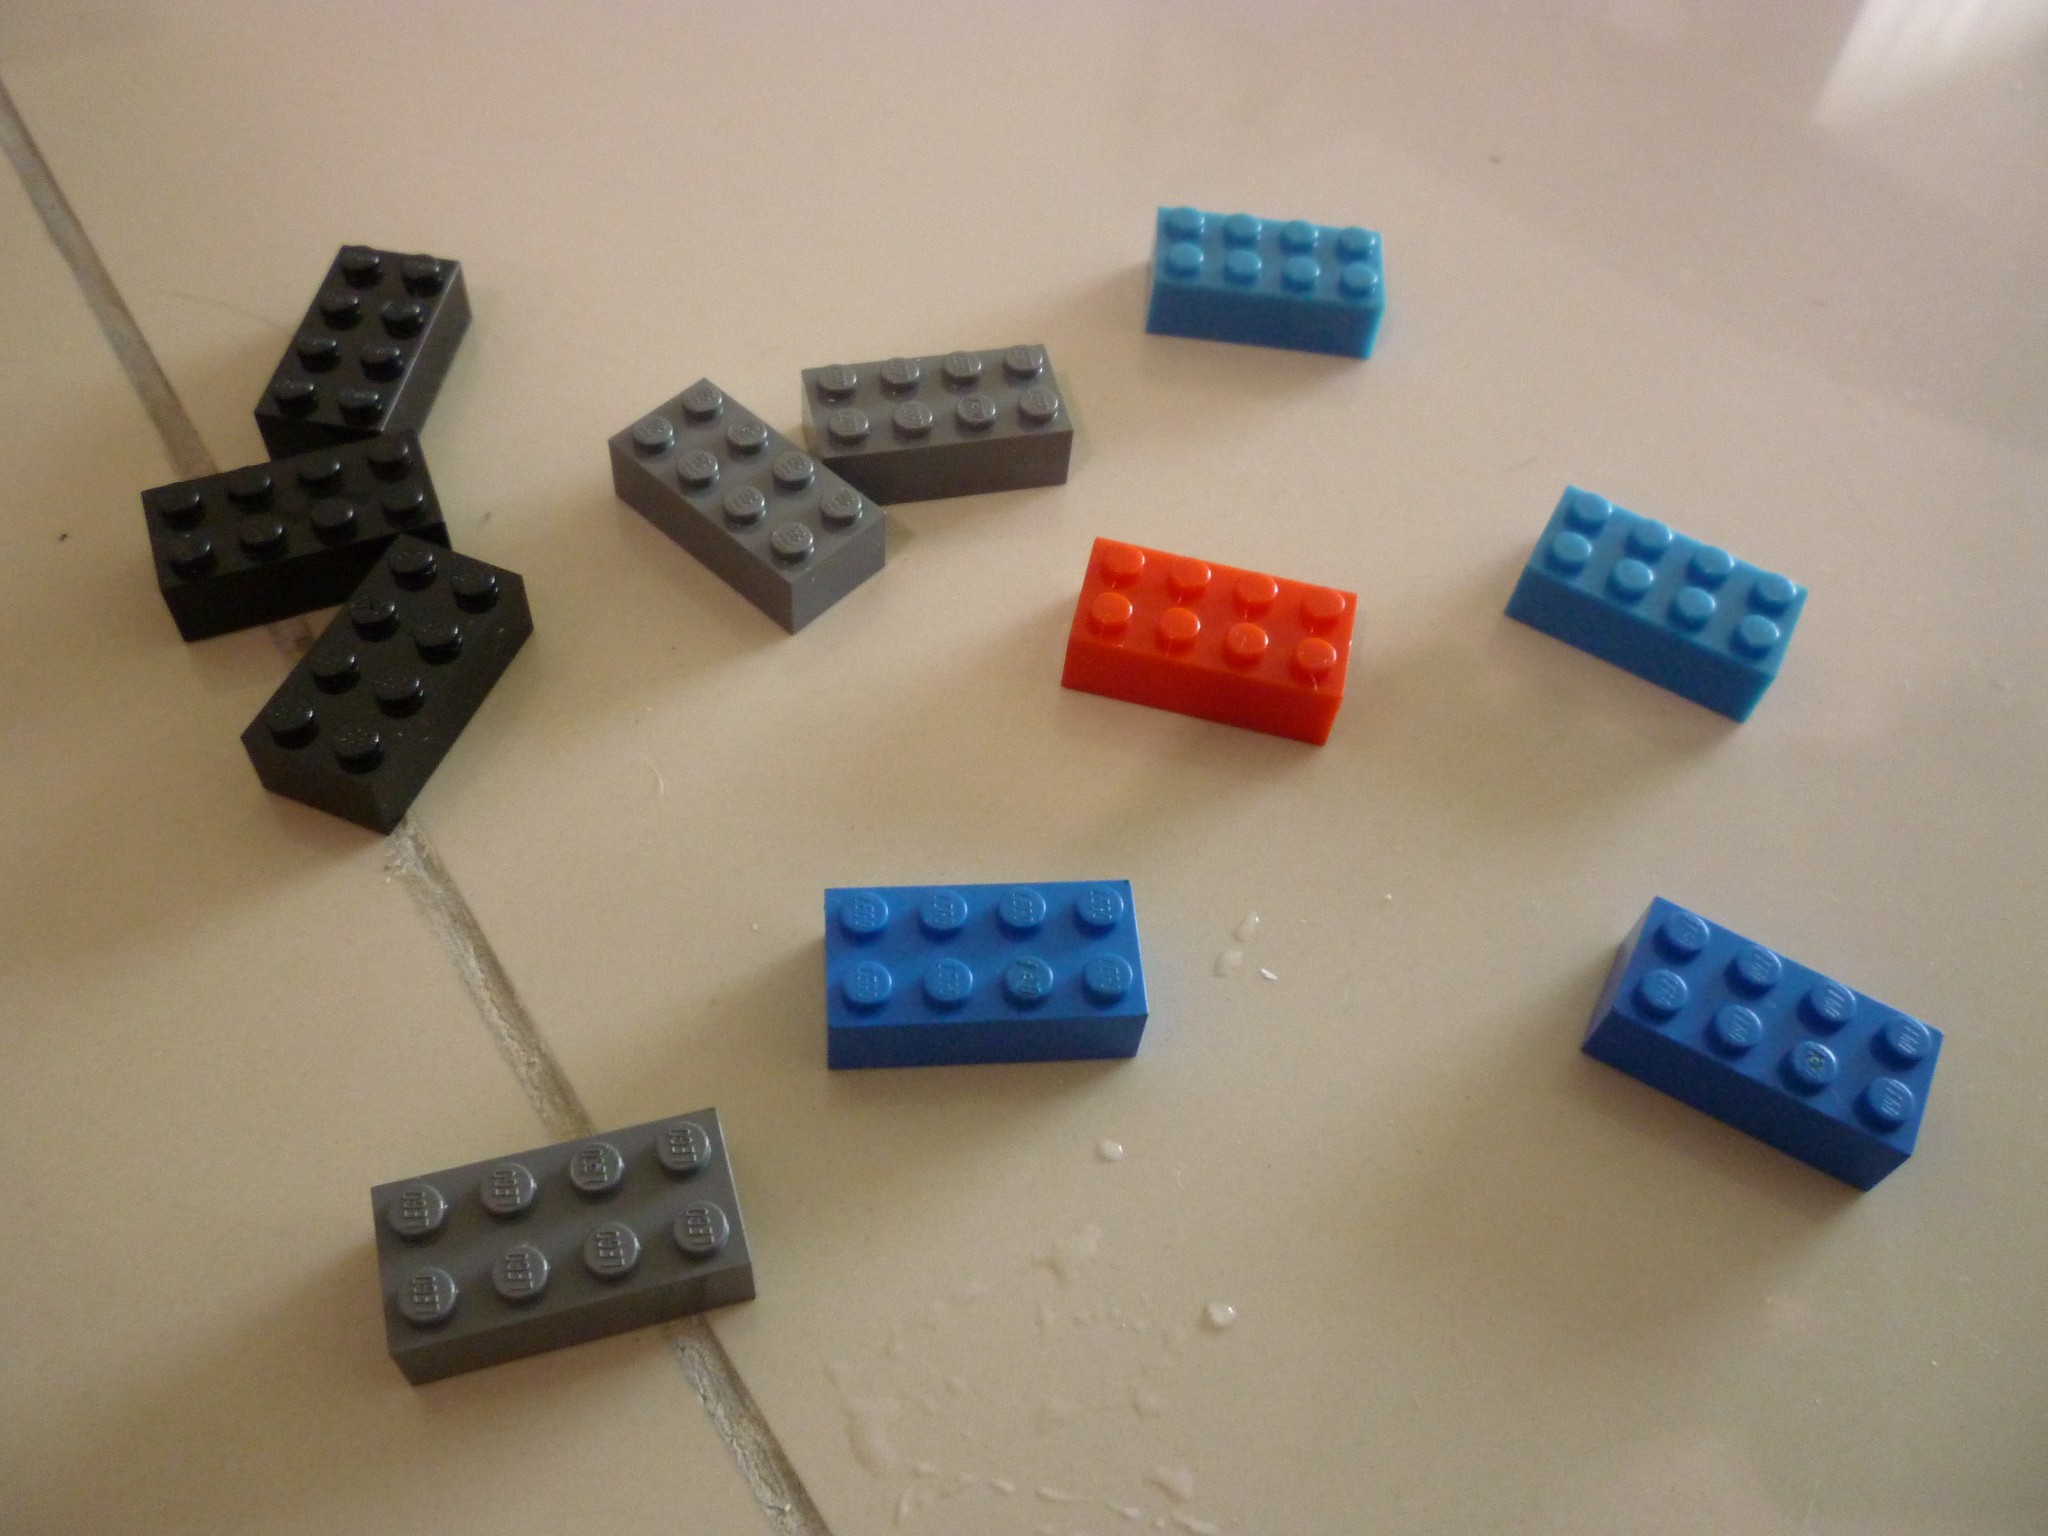
Here’s my ragtag bunch of 2×4 Lego bricks. In the original Ikeahacker’s article, they used 2×2 bricks but I didn’t really like the narrow base look, so I opted for 2×4. Of course, it would be a lot better if you used uniform colours, but I don’t have that many bricks to spare… so I just used whatever I could find. Also, if your eyes are sharp enough, there are some Mega Bloks I used. Keep in mind that you will be superglue-ing these to the mounting board and will lose these bricks forever… so it made sense to sacrifice the Mega Bloks.
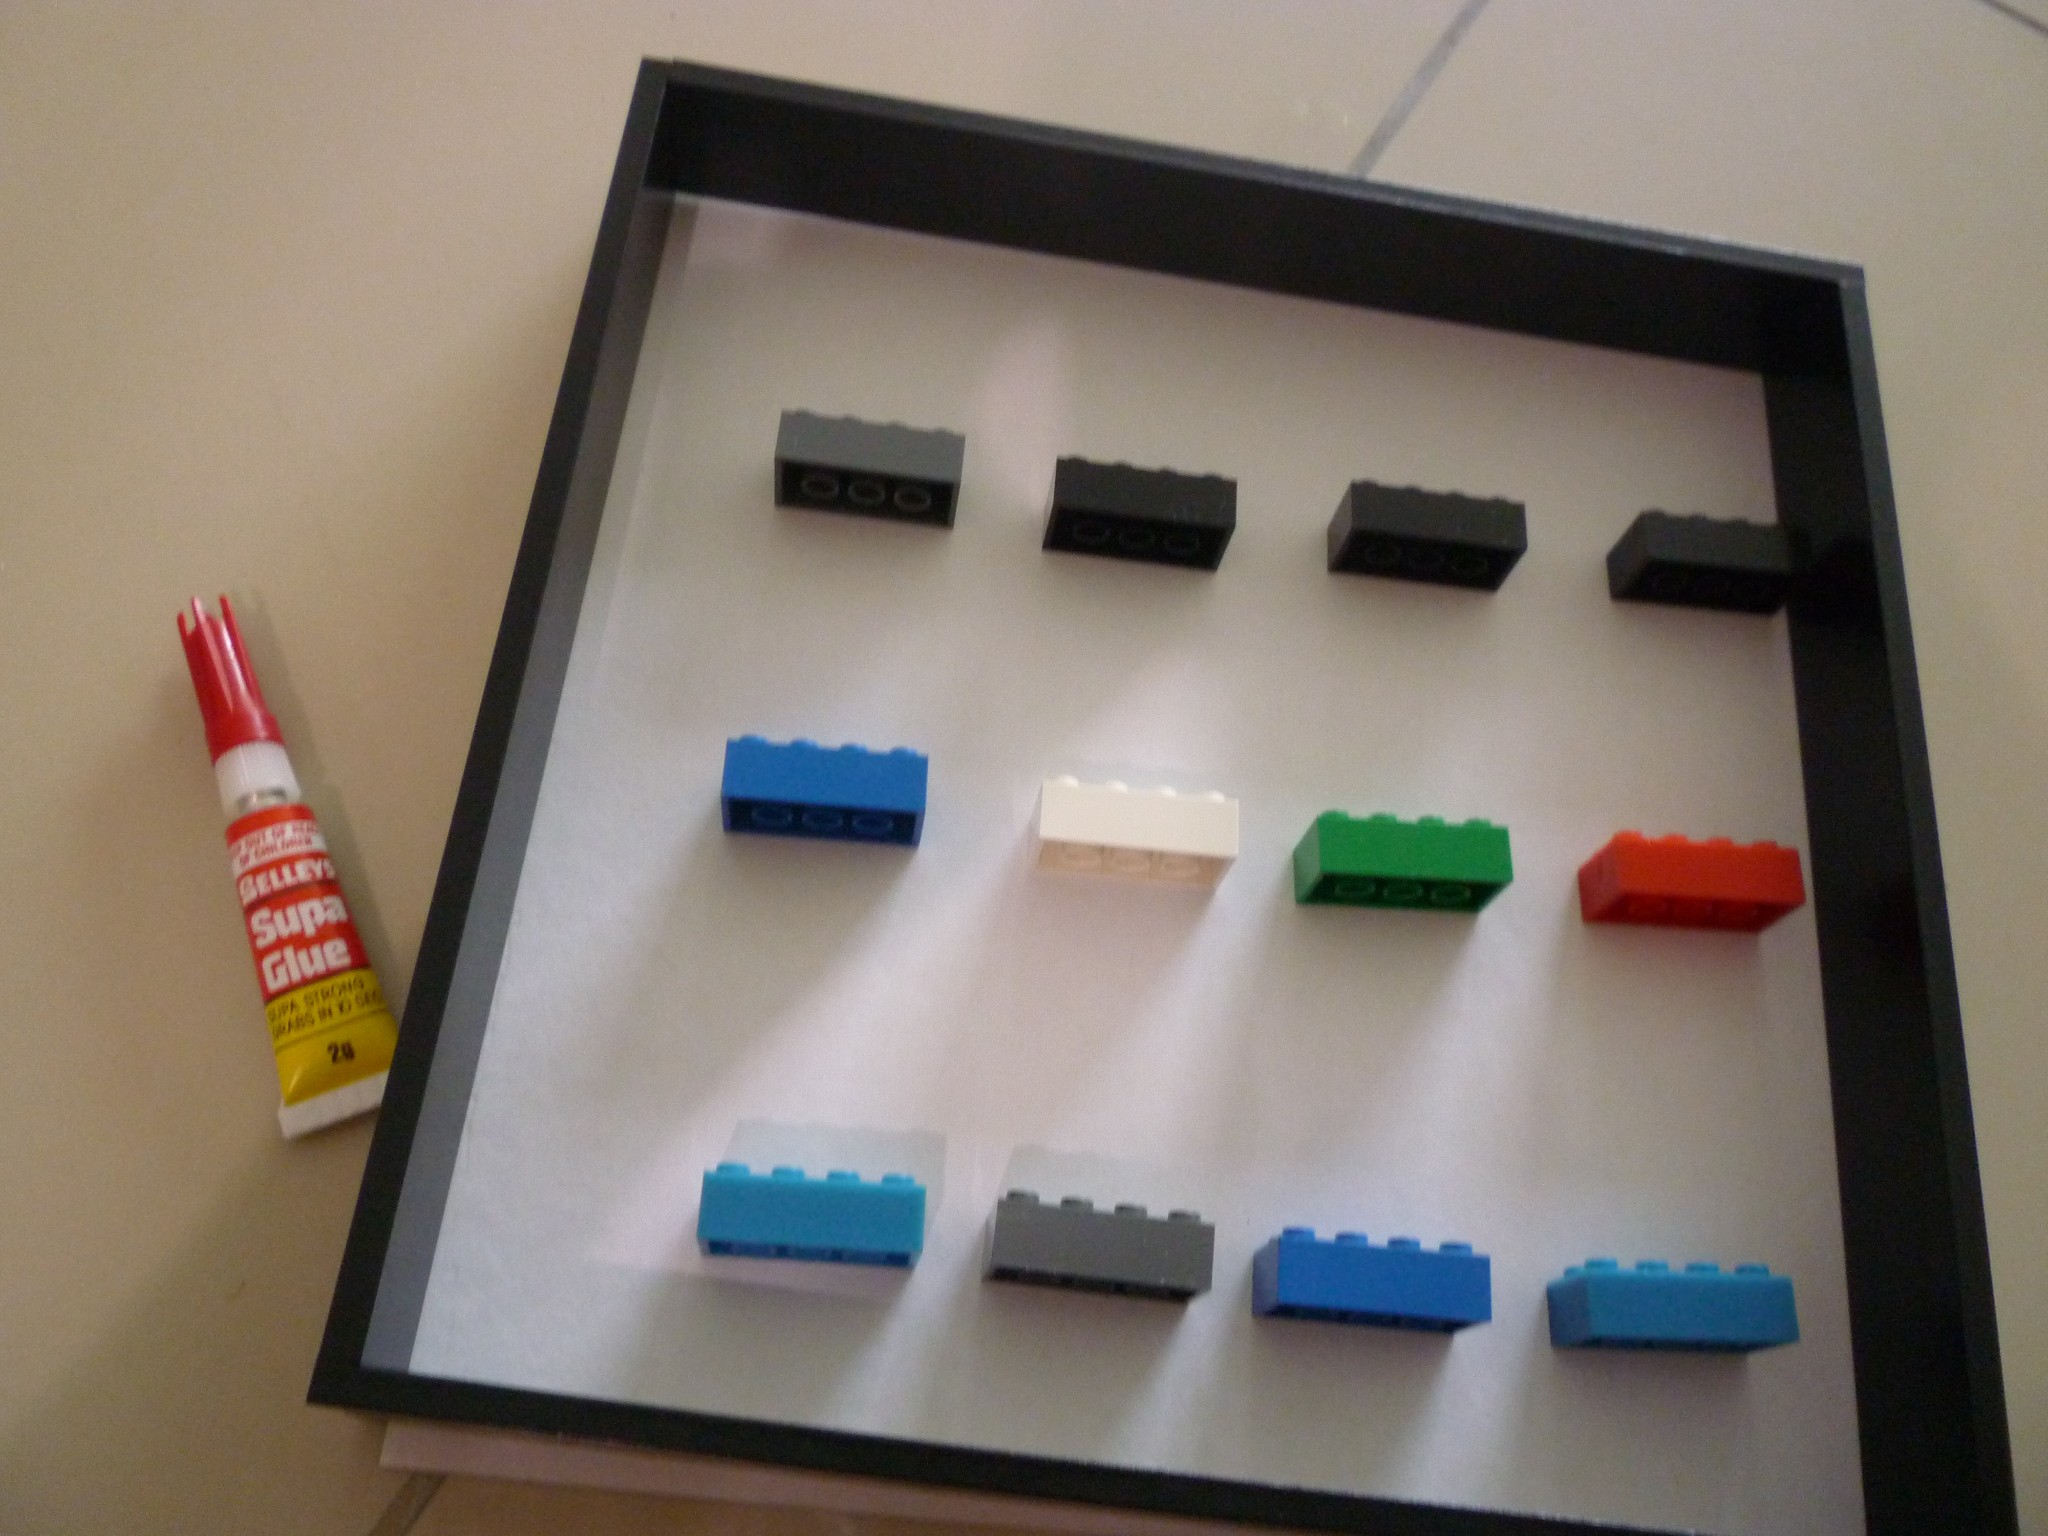
Use a ruler and pencil to map out how the bricks are going to be lined up to ensure they fit nicely within the frame before applying super glue to the bricks. Keep in mind not to use too much glue as you don’t want it to squirt out from the back of the bricks.
Pictured here is my first failed attempt and aligning them all together… my sister had to jump in and correct my errors for the second time. Again, I cannot stress the importance of making sure everything’s nice and straight with enough space for your minifigs. Also, don’t leave too much white space on the edges if possible.
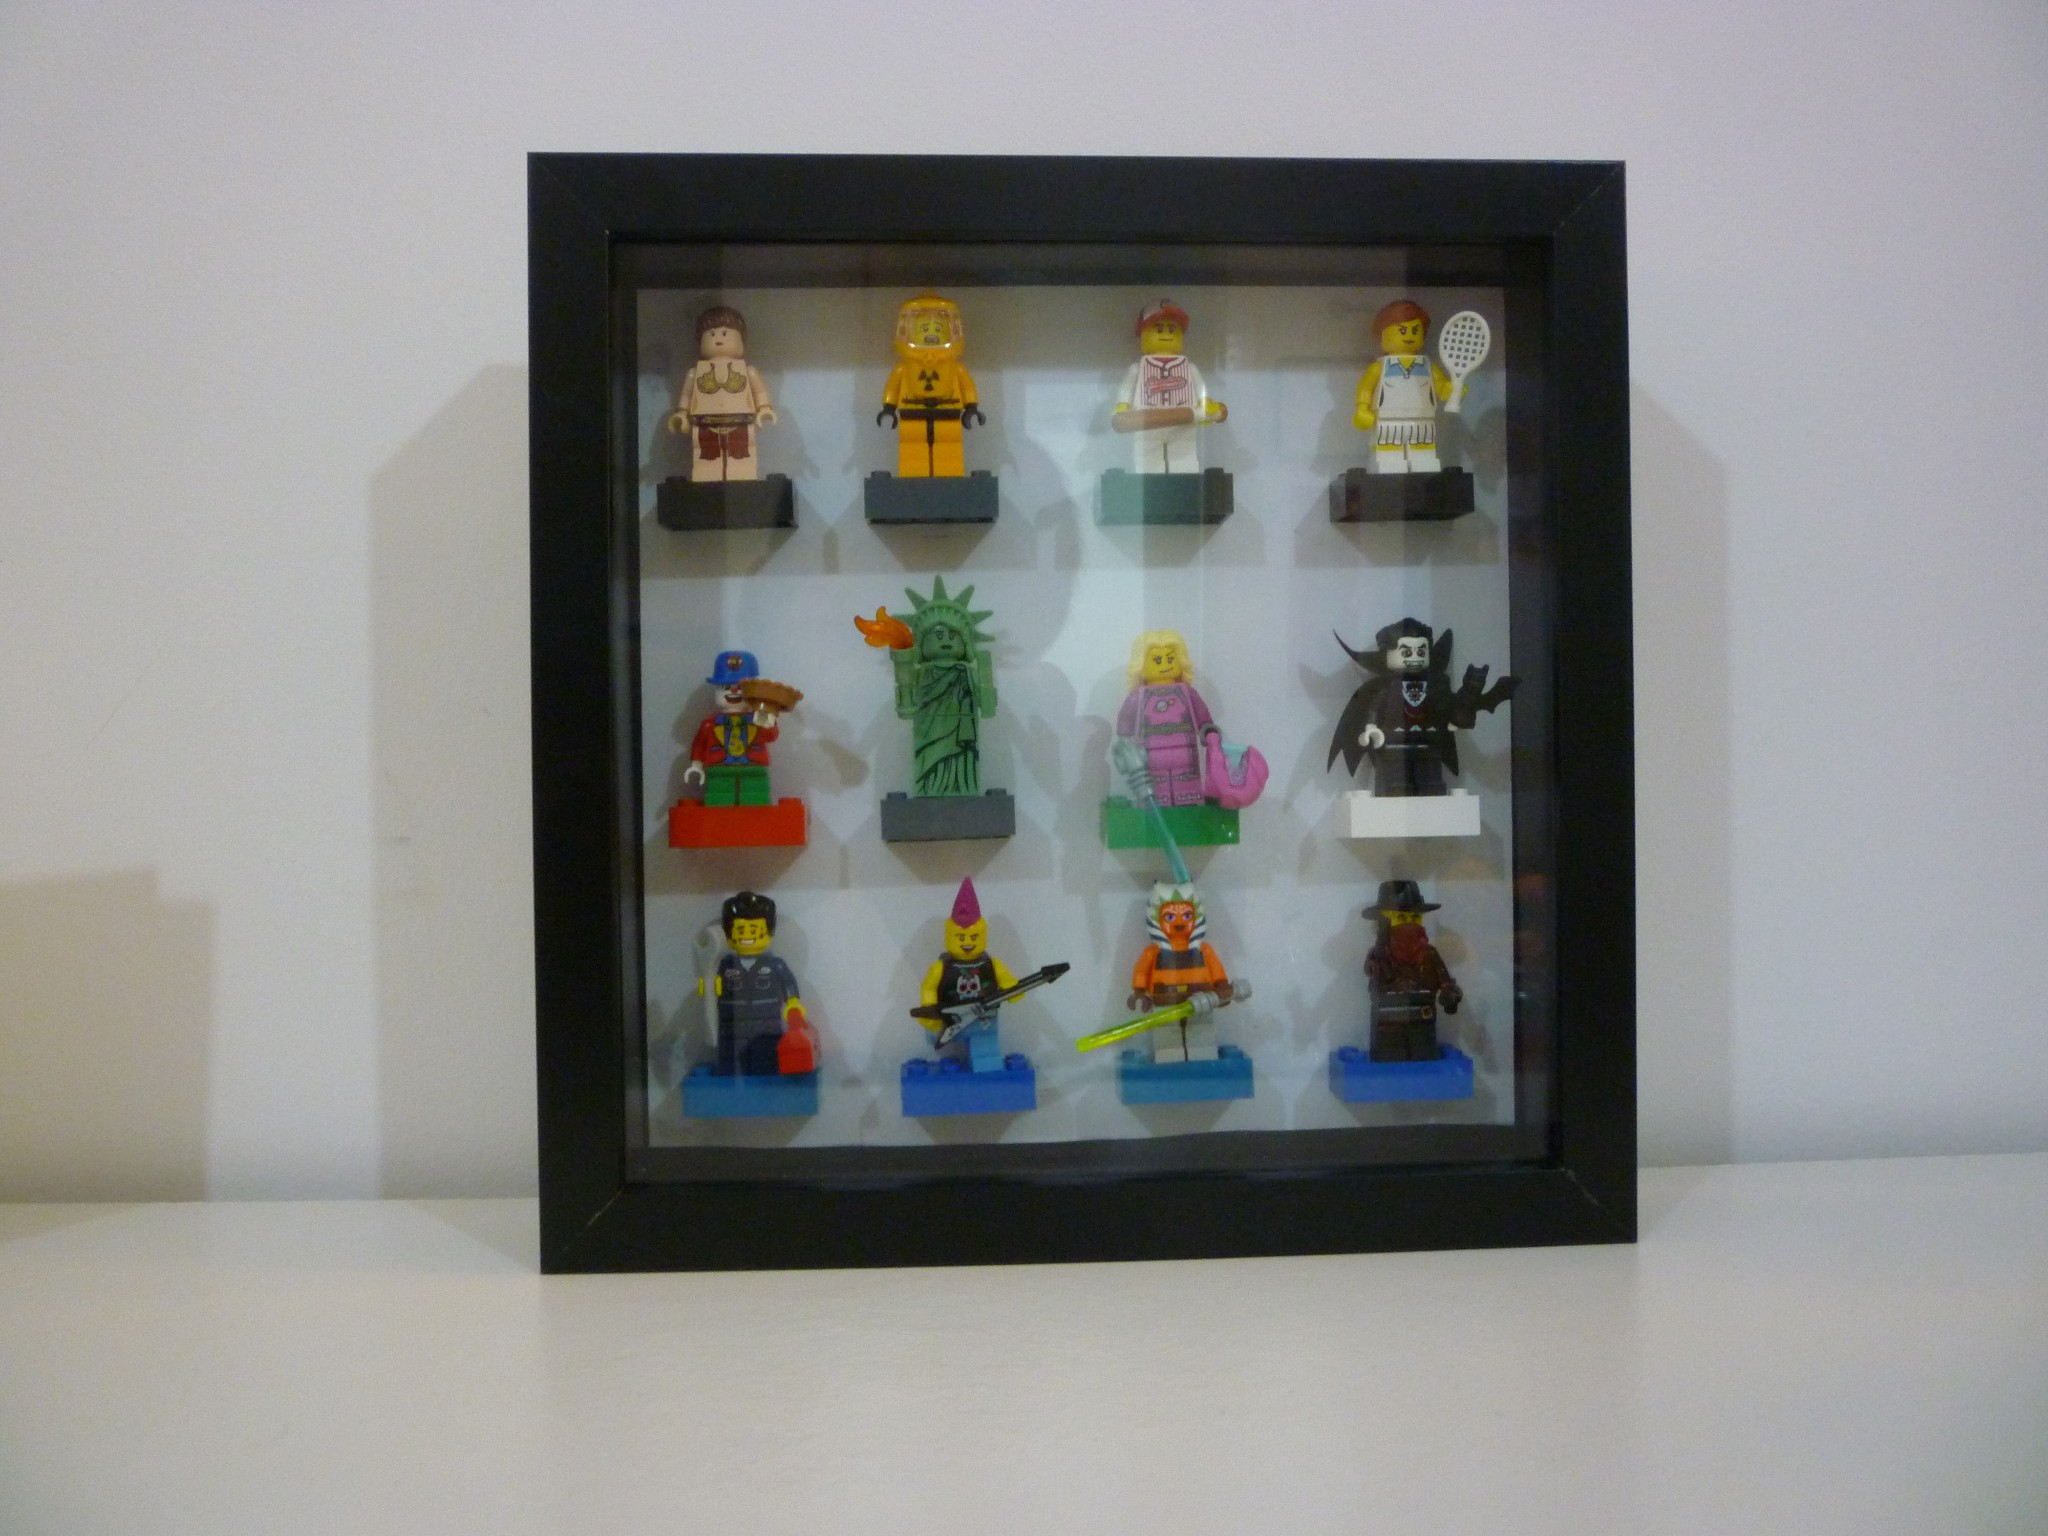
And voila! Once you’ve superglued the bricks in, feel free to pick and choose which minifigs you’d like to display. DO NOTE SUPER GLUE THE MINIFIGS TO THE BRICKS. I think the greatest part of this frame is that it gives you the flexibility to pick and choose and alternate the minifigures you have on display. Never ever ever, super glue minifigs ಠ_ಠ
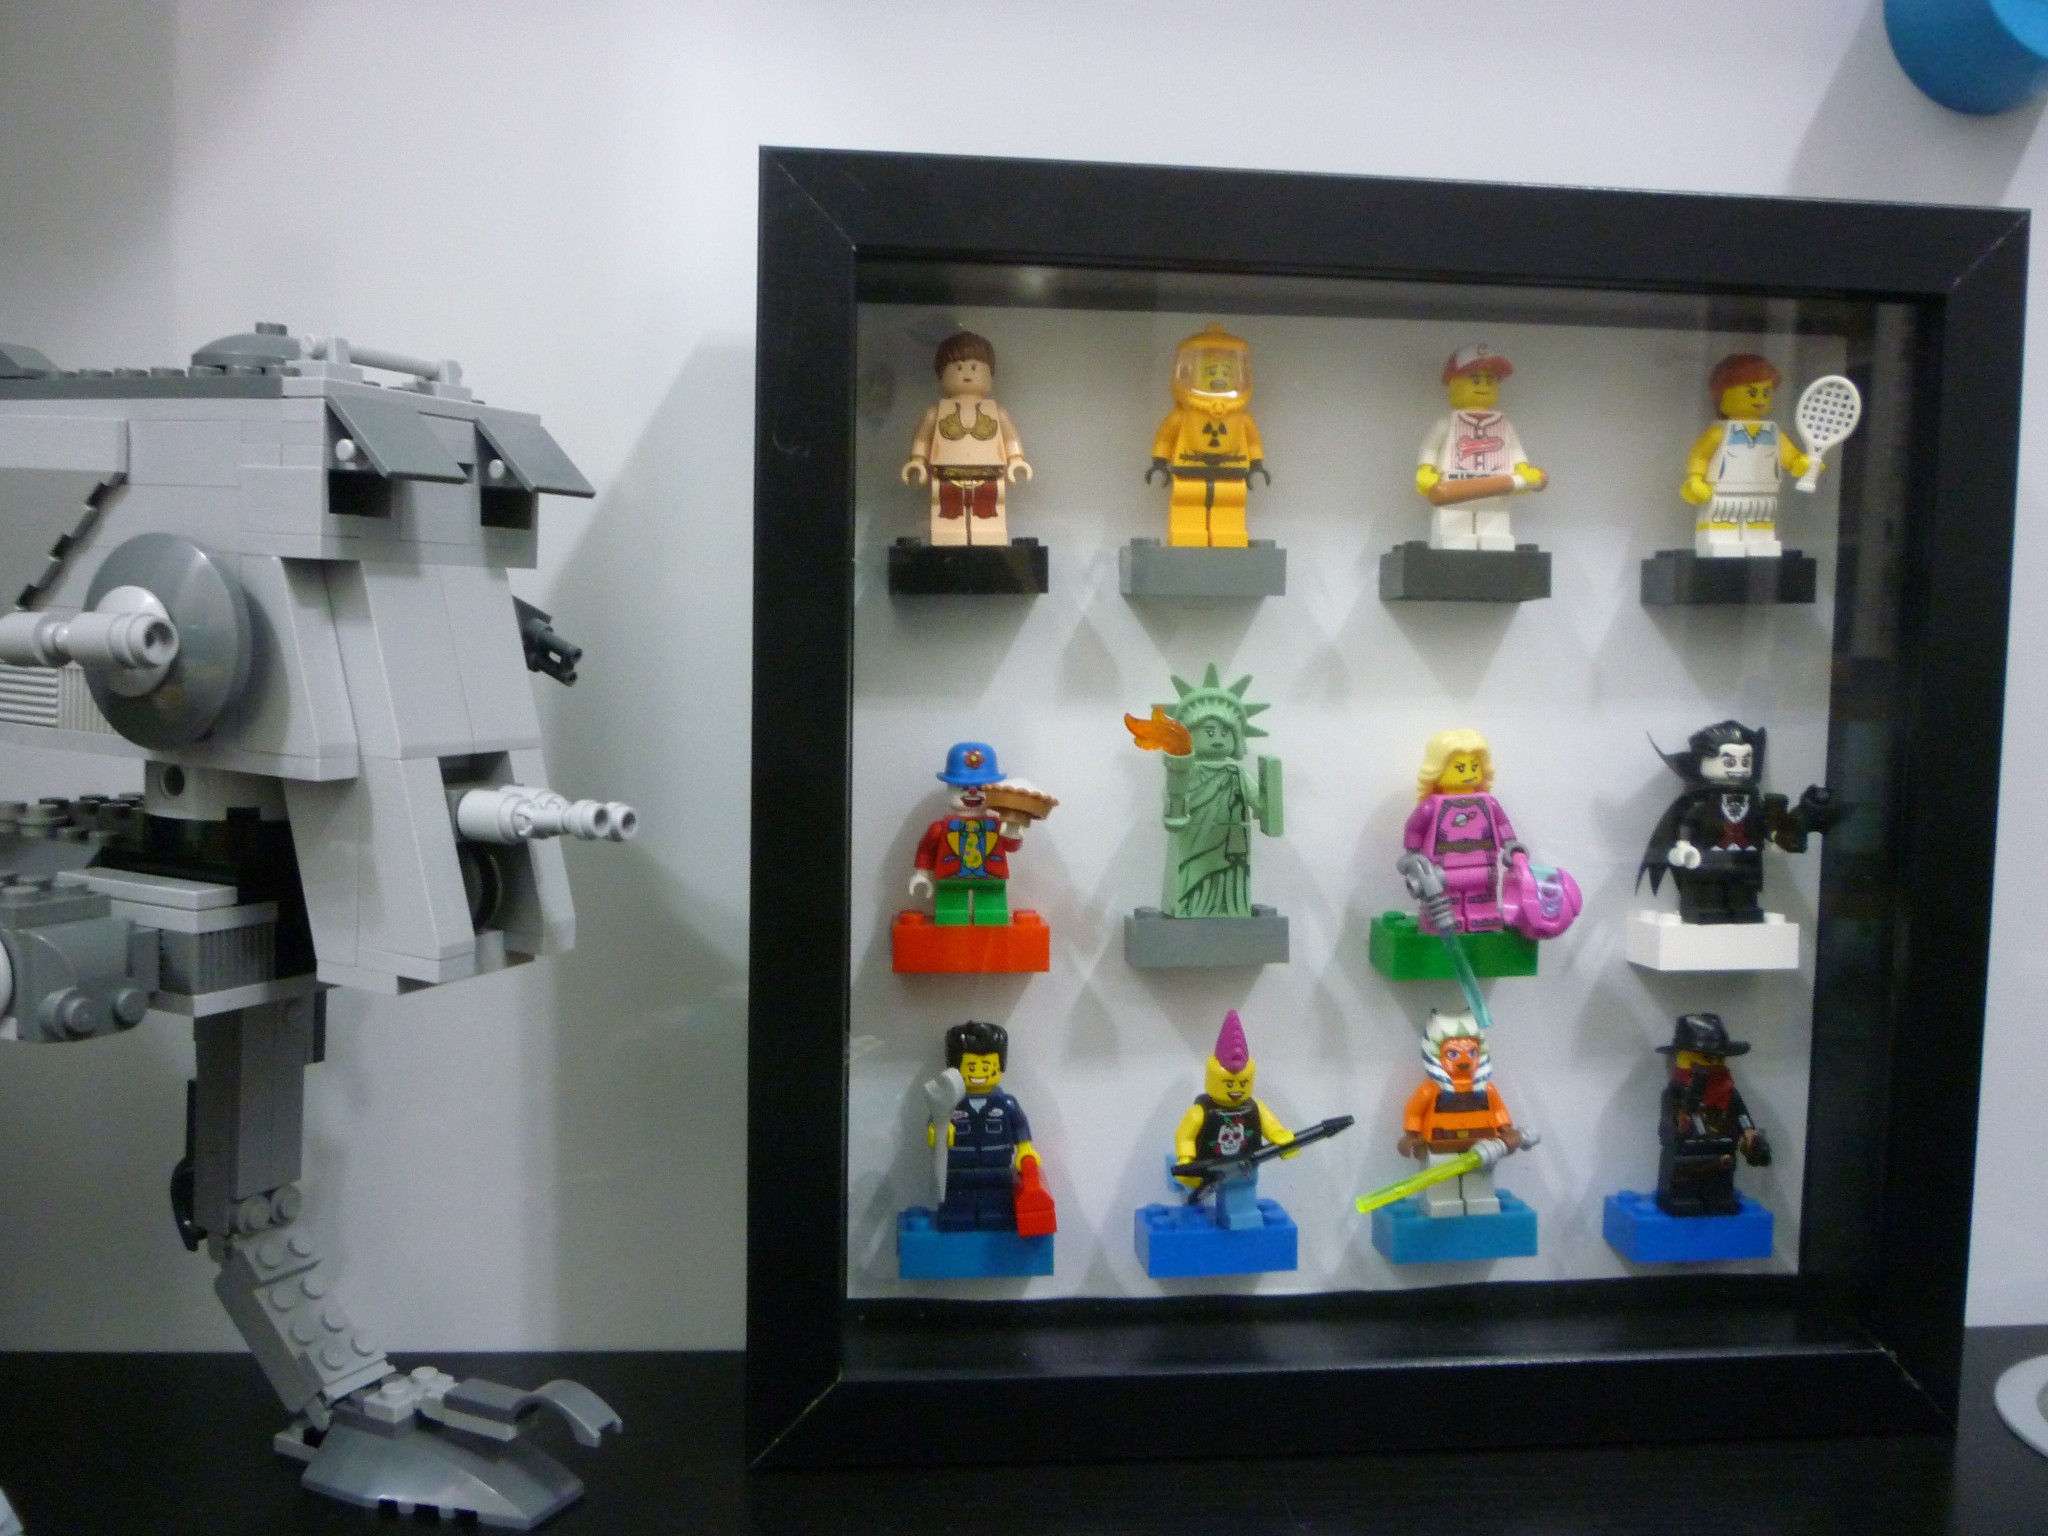
This is an amazingly easy project to make and the best part is that it looks absolutely stunning to display. Cheap as well, I mean, why the heck would you drop RM80 or RM180 on an official Lego minifigure display when you can do this instead? Plus, it wouldn’t look out of place in your living room / bed room even if you’re not a Brick Fanatic.
So, altogether total cost for this comes up to only RM42! 2 bucks was for the mounting board.
If you like minifigs, I highly recommend making one of your own!
Bonus point: Dust won’t collect so this is a sweet way to display your minifigs and not worry about dusting them!
Huge props to Ikea Hackers for the tip. Check it out, it’s a great site for cool ideas on what you can do with Ikea furniture!


How do you attach the mounting board to the frame?
I can’t seem to upload a pic of what I mean
Hmm okay you mentioned a shelf that you inserted, is that perhaps a reason why you can’t fit the prongs in? What shelf are you using?
I just bought 2 Ribba frames to do this but I noticed that the pins that hold the backing on are too close to the glass so I can’t fit anything inside the frame. How did you fix this problem?
Hi Amy, do you mean the 4 pins behind that you have to bend to hold the back in? Will it be possible for you to share a picture of the issue so that I can picture it?
I purchased the 16 1/2 x 20 1/2 Ribba frames. So there are 8 prongs on the back total. I can send a picture of my problem later because I am at work right now. The frame has a good depth but the prongs are positioned mid way in the depth so if I put a shelf and my mini figs in then the prongs are not able to hold my backing board on.
A picture would really help! Also, you can feel free to drop me an email at jaysbrickblog@gmail.com so that I can help figure out a solution once I see what’s going on. Feel free to send me any more questions!
This guy has taken that idea and perfected it, they look awesome!…
Check em out… http://youtu.be/kioiB-7BDJY
Oh wow, that’s very well done! Thanks for sharing this, it was a very neat video!
Thank you for the idea. I like it that it is simple DIY.
You’re welcome! 🙂 Wishing you the best if you plan on trying it out!
That’s a cool stuff and pretty wonderful way. Liked it and much appreciated! Roll on few more wonderful ideas of lego minifigures series like this.
Cool idea! I might attempt it for fun 😛
You totally should! Make like a top 10 of your favourite minifigs and display it proudly!