


How To Make Your Own LEGO Wedding Favours
March 16, 2014
|
 38
38
38
In my previous post, I gave you guys a little peek into my wedding reception and a little bit of what it’s like to be married to an Adult Fan of LEGO (AFOL).
I received quite a lot of emails asking about my LEGO wedding favours or bombonieres, so I’ve decided to write a short tutorial on how you can make them if you’re ever planning a wedding or even a birthday party and want to give out some LEGO as gifts.
The idea for these wedding favours came from a Legoland and LEGO store hallmark, the Build-A-Minifigure Station.
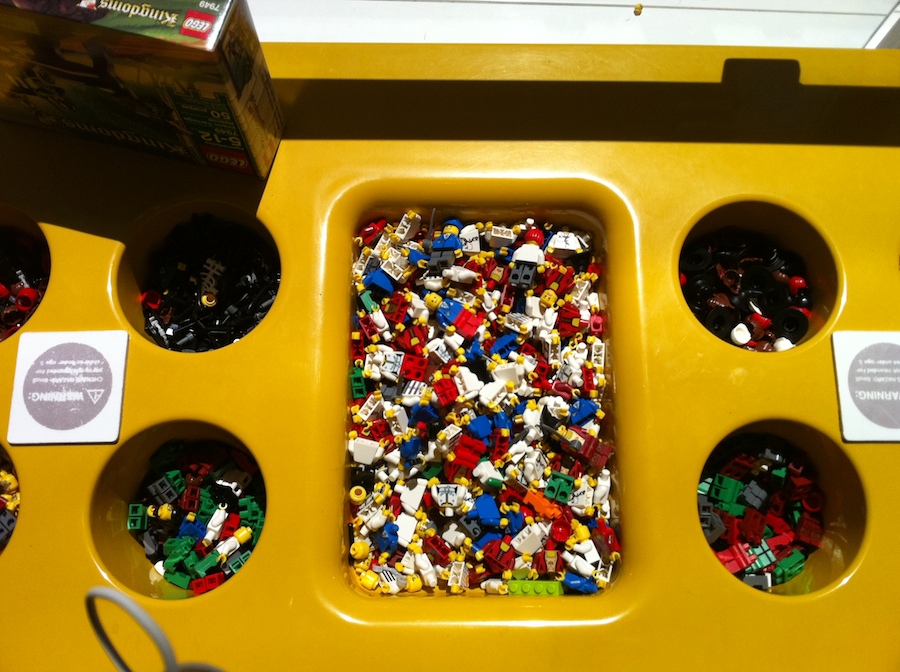
Image from www.brickupdate.com
For those of you who haven’t visited a Legoland or an official LEGO store, there’s a small area in the shop filled with buckets of heads, torsos, legs and accessories that you can use to customize your very own LEGO minifigure as a neat little souvenir.
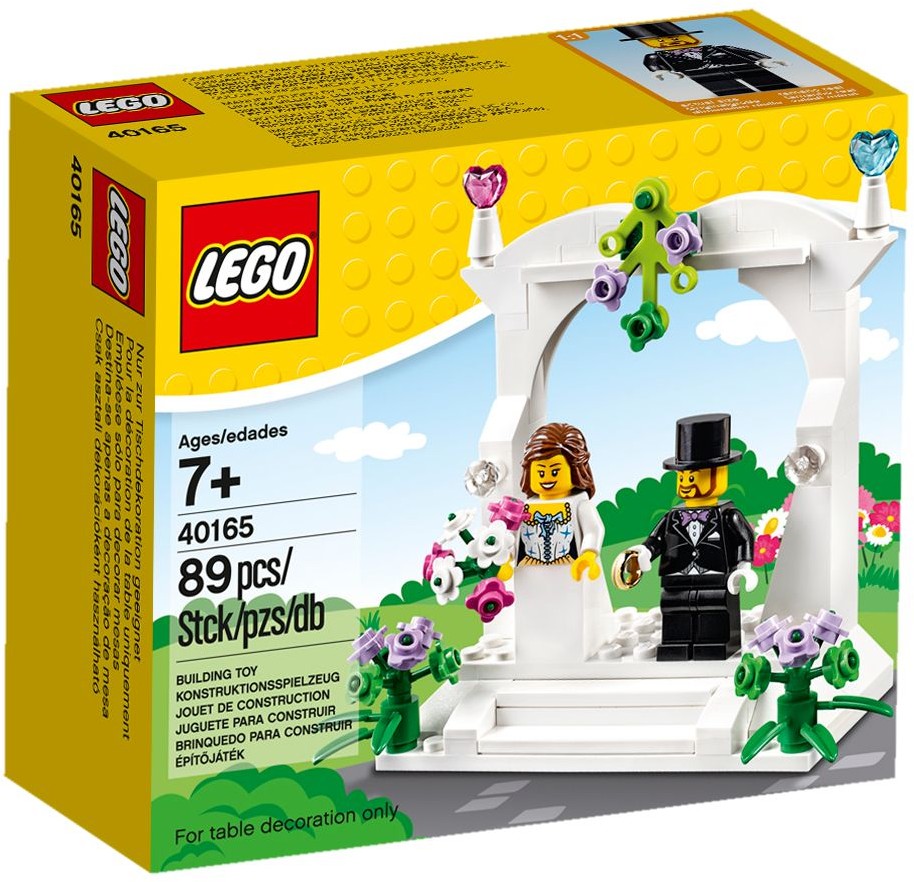
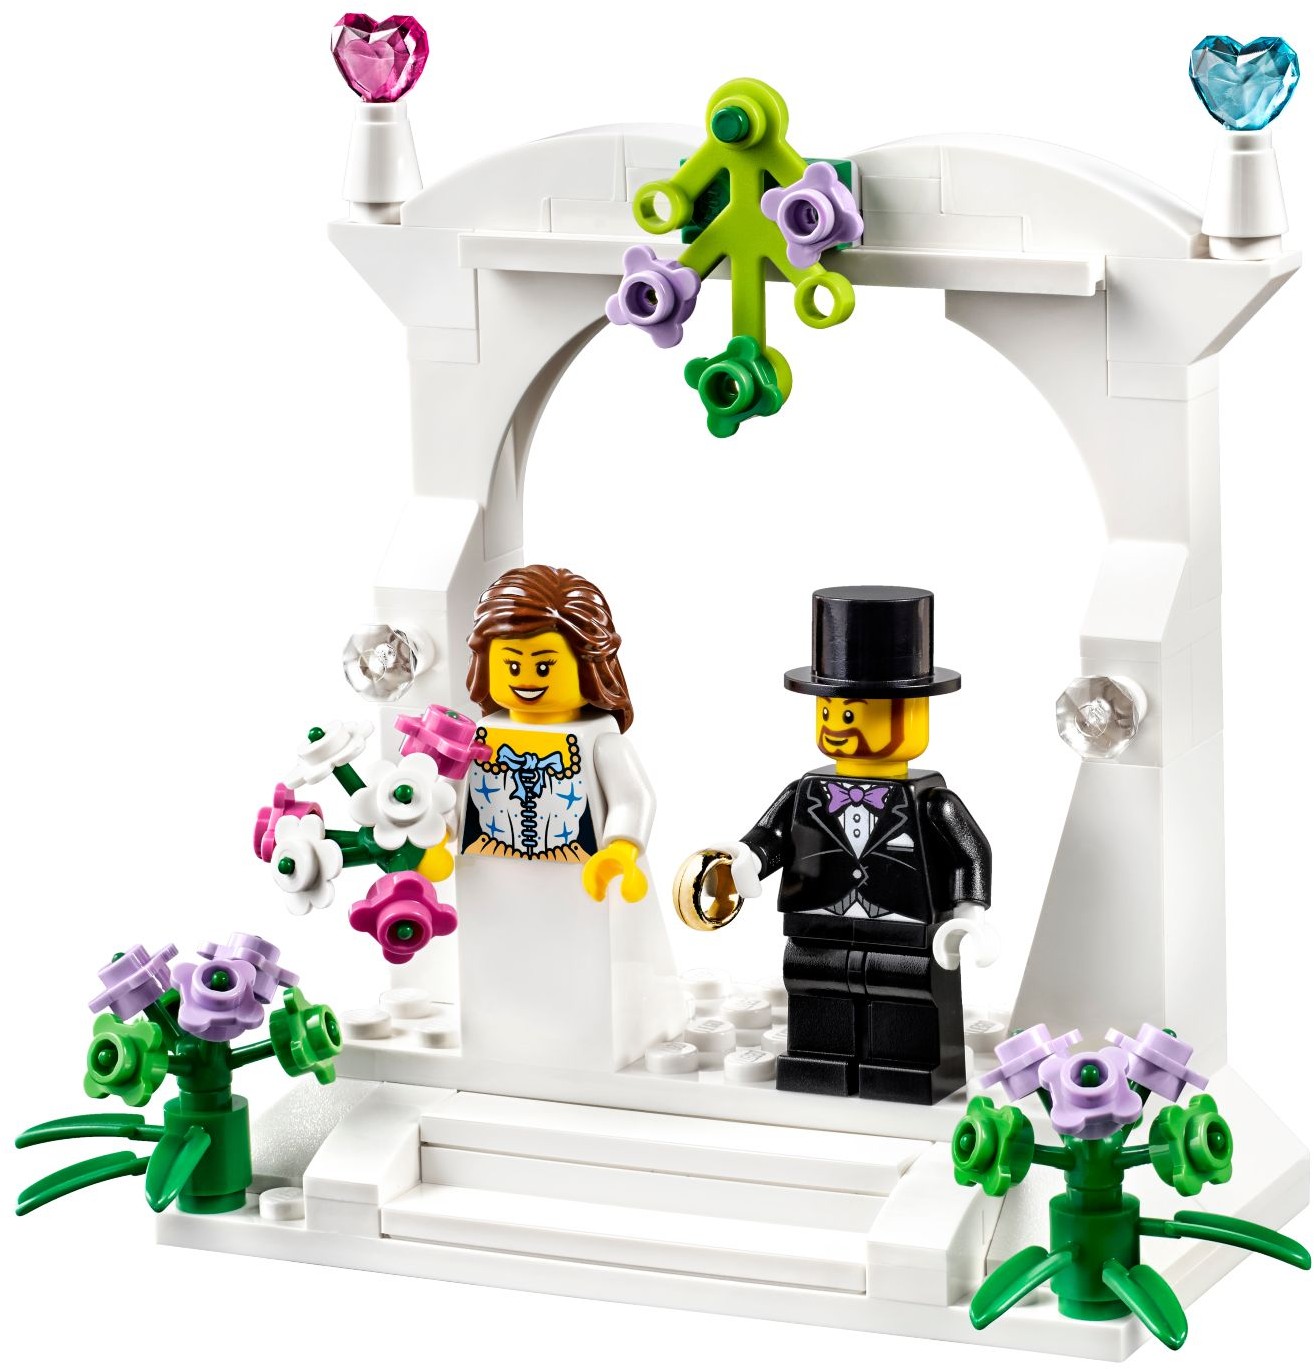
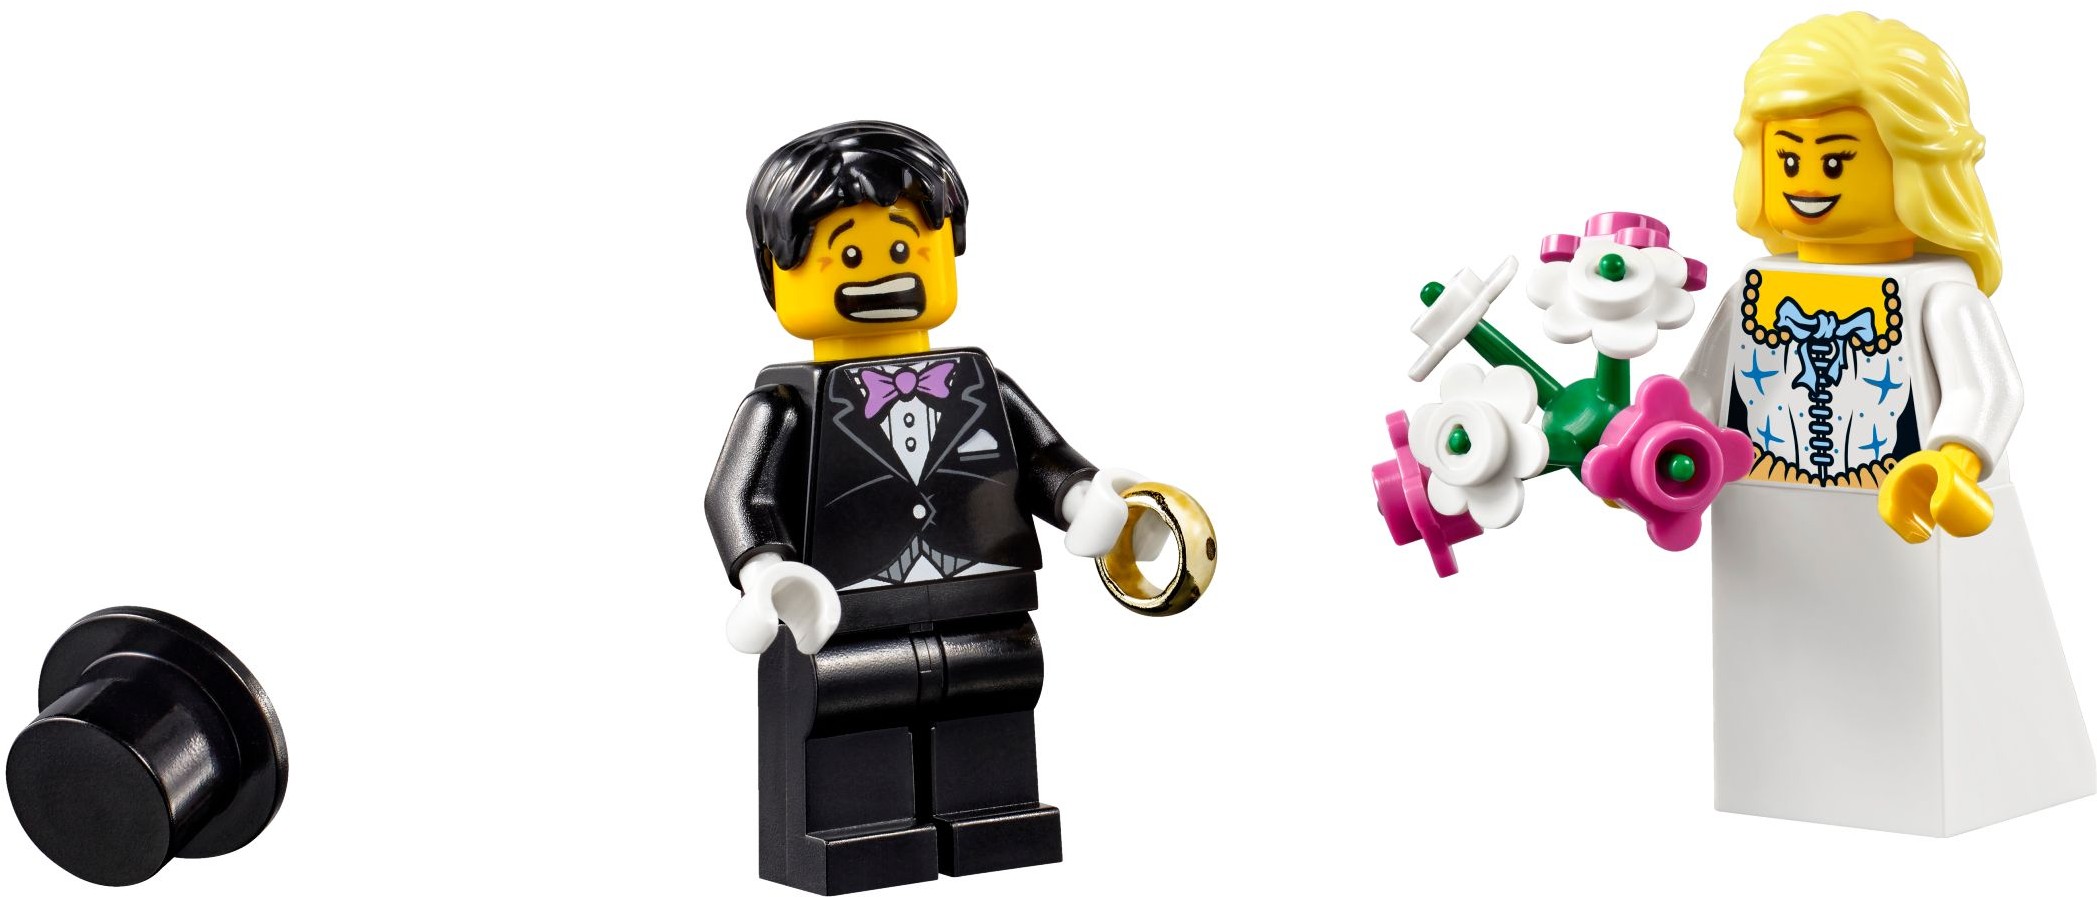
LEGO has their own 40165 Wedding Favor set (2016 version) for sale on their online store, but I felt it was kinda boring to give everyone the same set, and it’s kinda pricey at AU$12.99 ($10 in the US). That and it’s way more fun letting your guests experiment with hundreds of different possibilities and combinations.
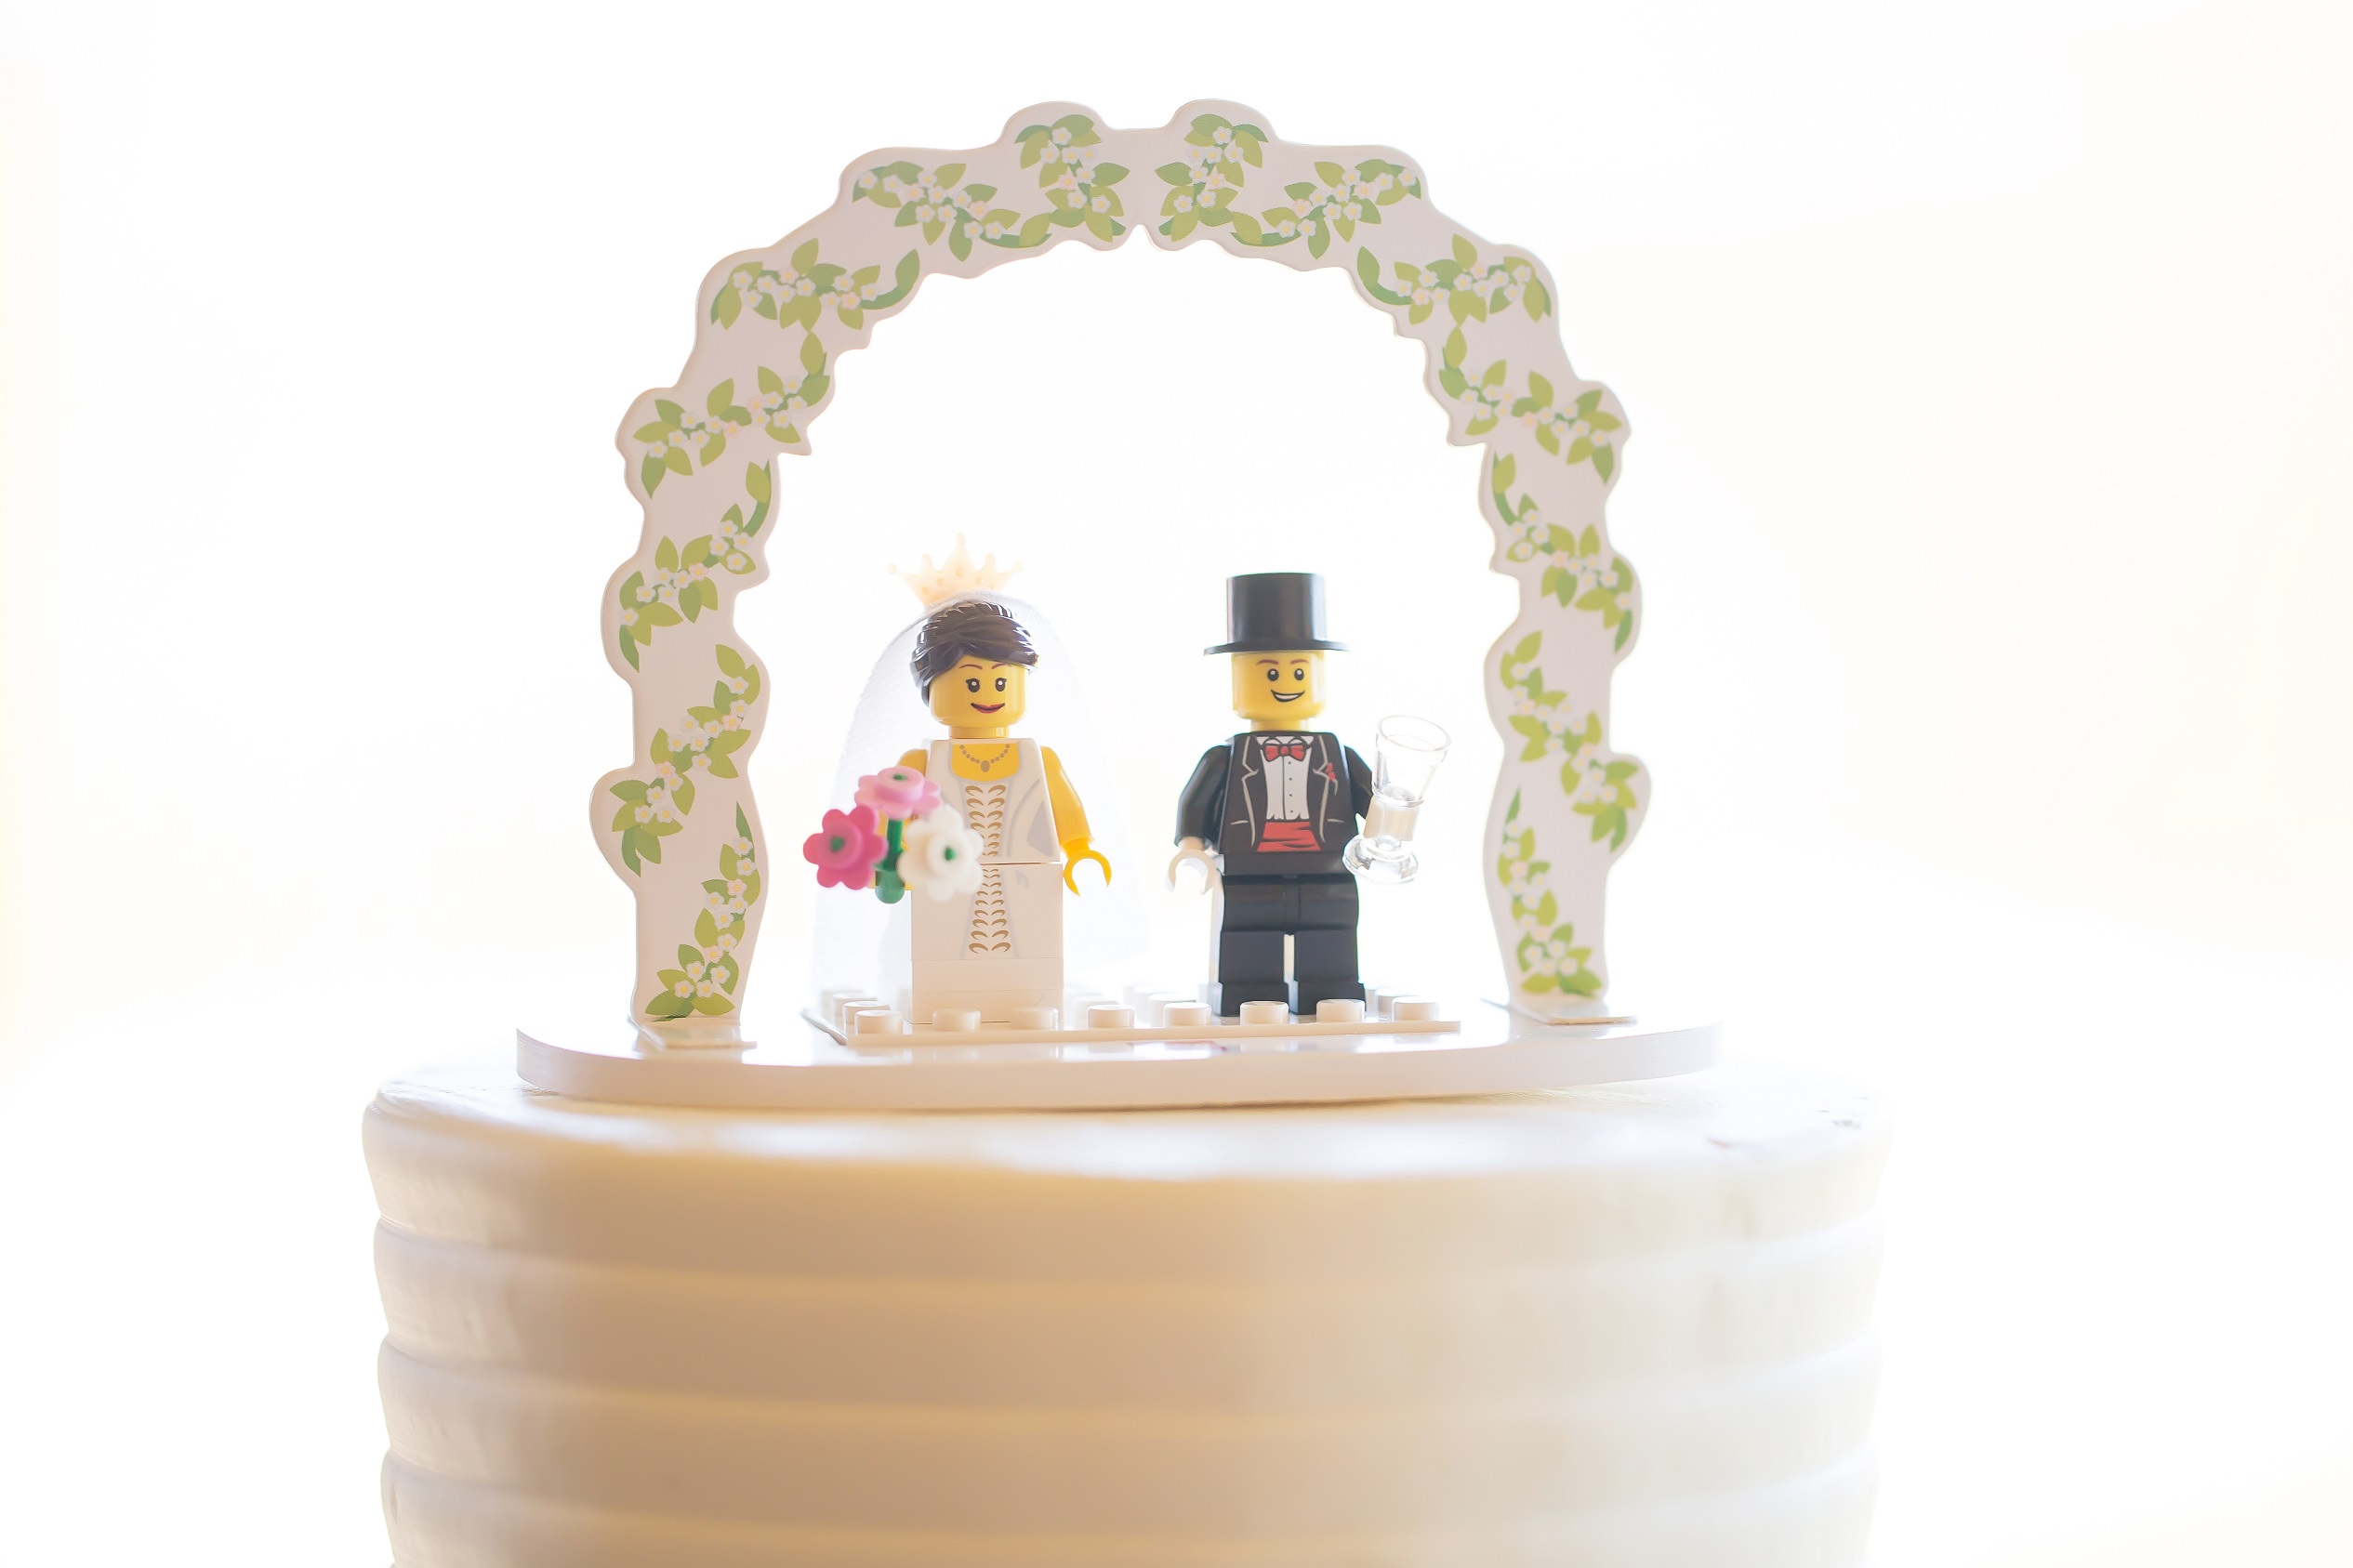
Also, it works kind of better as a Cake Topper.
Time for some shopping
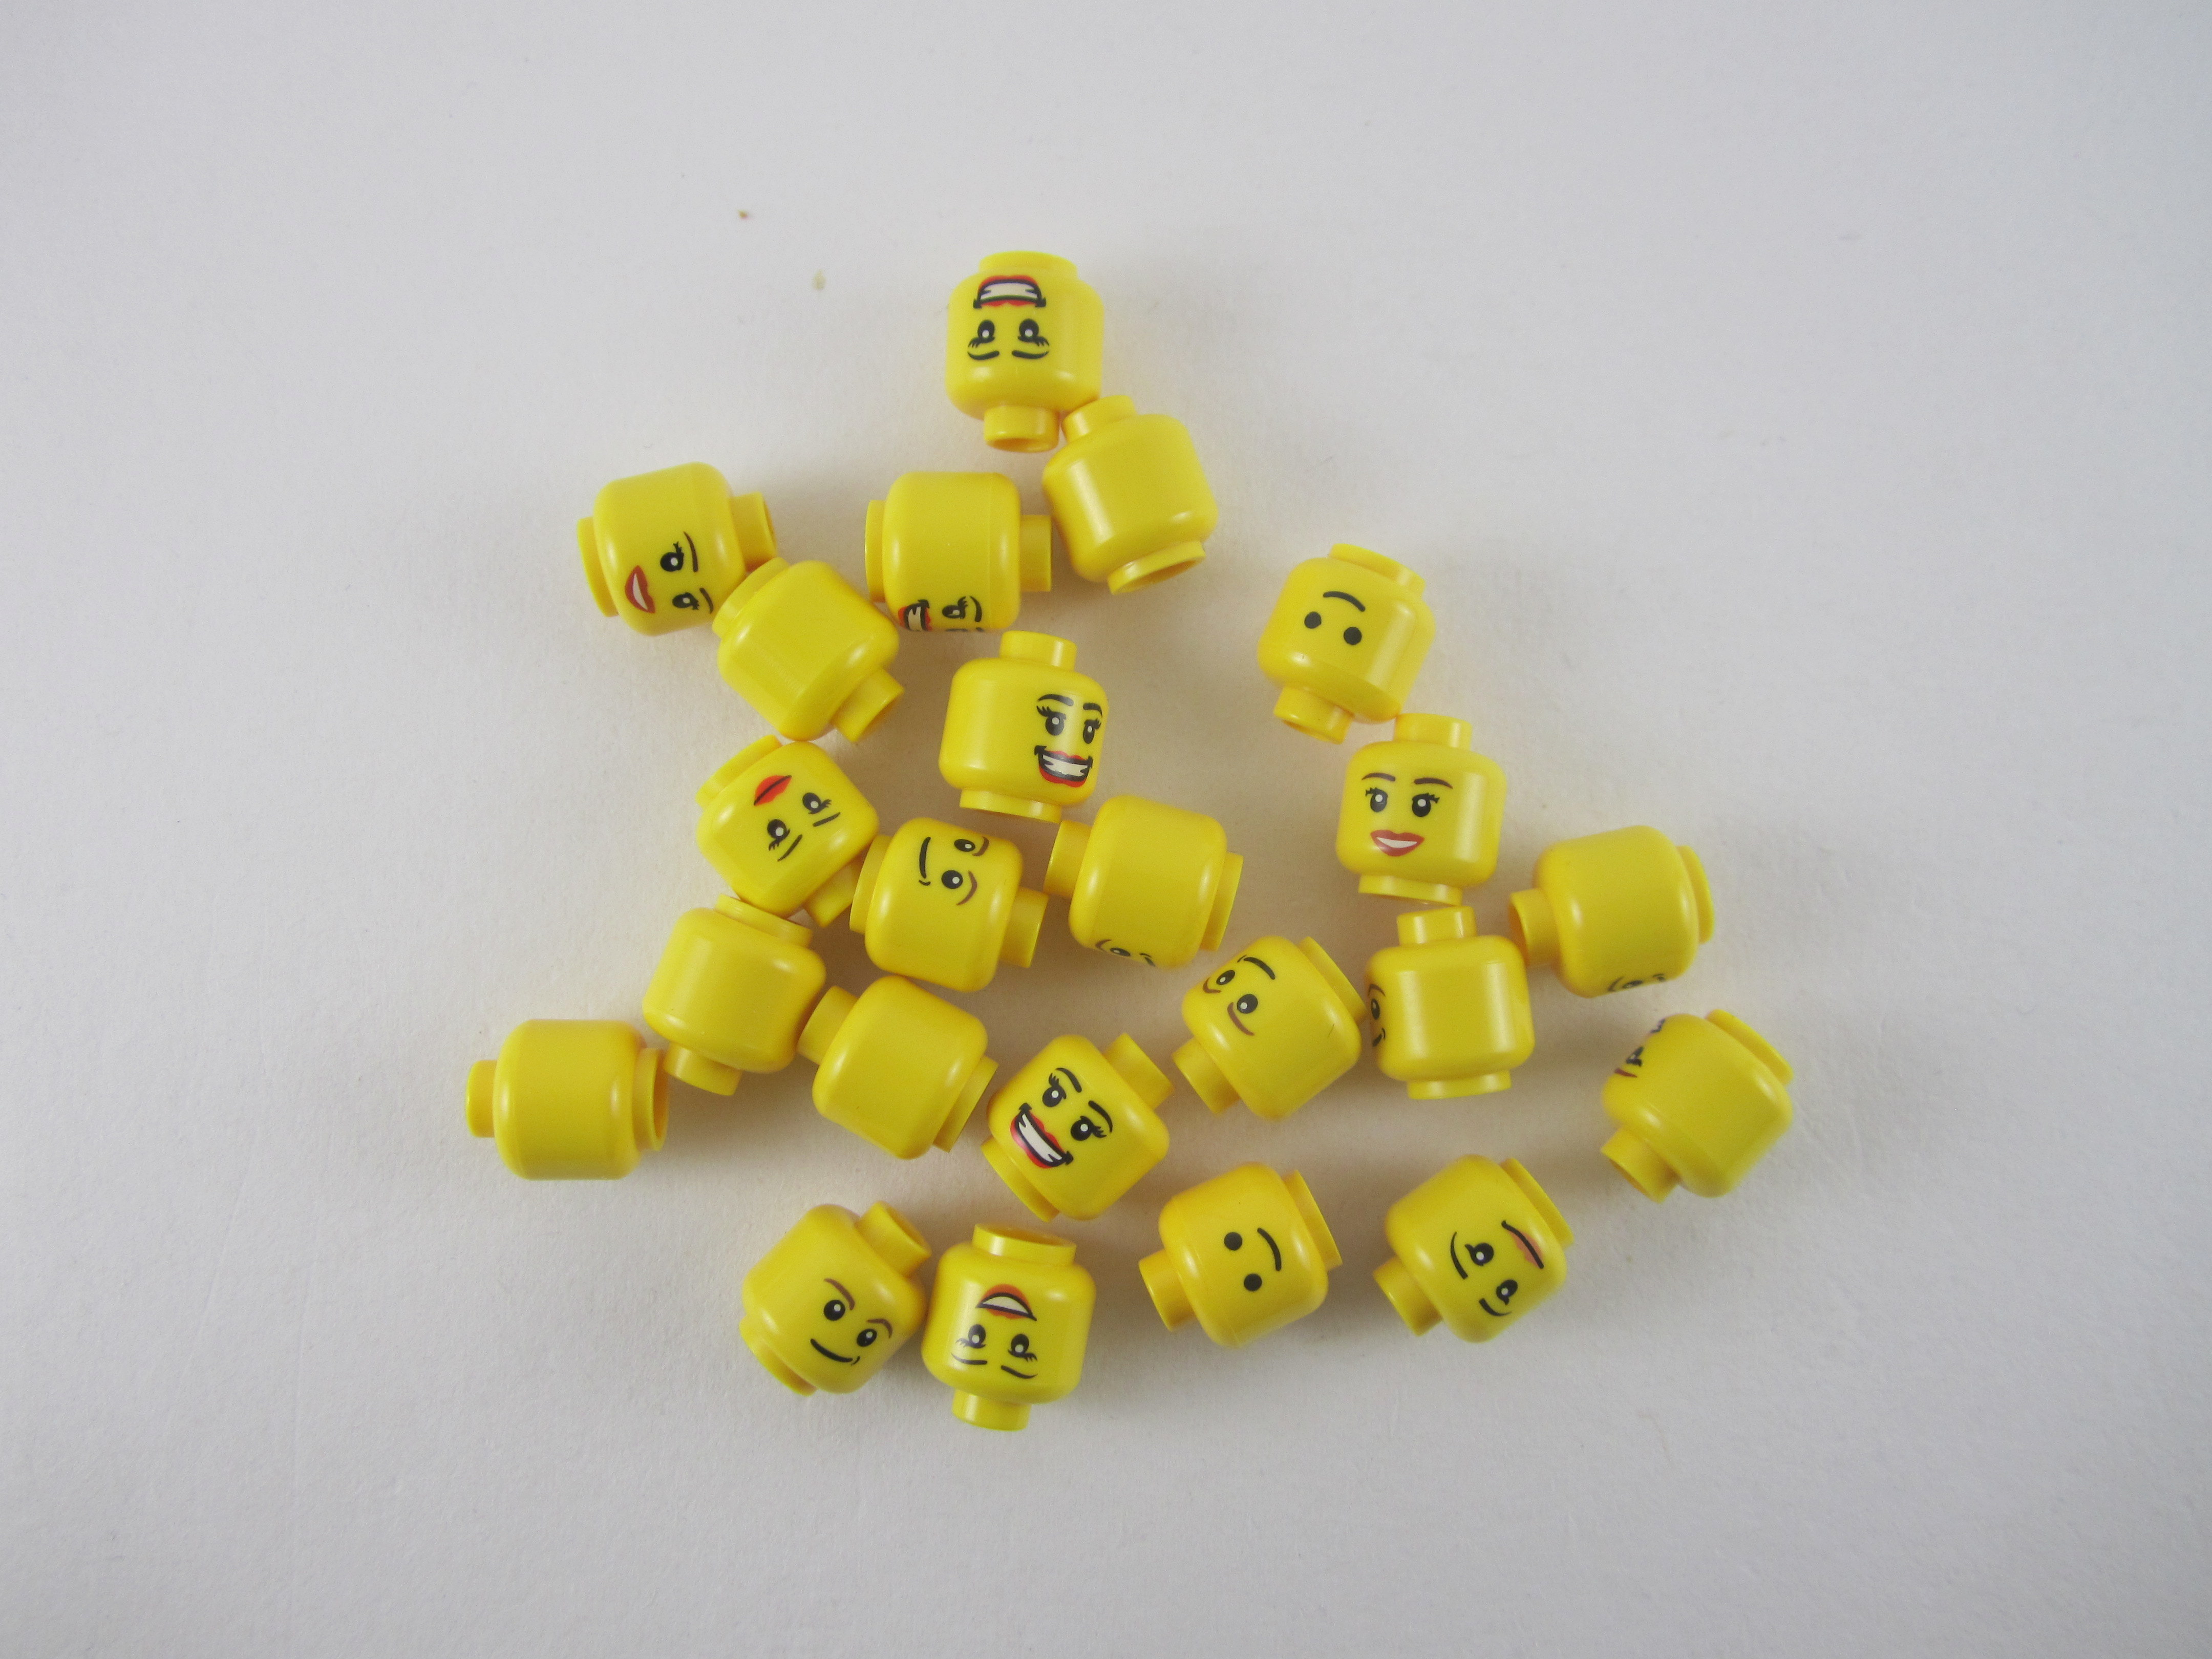
The most important thing is sourcing the parts. You may ask yourself, where on Earth am I going to find more than a hundred LEGO minifig heads, torsos and legs in varying styles?
The answer? www.bricklink.com
For the uninitiated, Bricklink is a LEGO fan’s dream shopping destination. It’s essentially a massive marketplace connecting thousands of sellers across the globe, many of which sell individual parts by the dozens or hundreds.
So if you ever needed 500 smiling LEGO minifig heads, Bricklink is where you head to. It was possible for me to source all the different parts I needed to have enough minifig heads, torsos, legs, hairpieces as well as the platforms the minifigure couple is placed on.
Components of your very own LEGO wedding favours
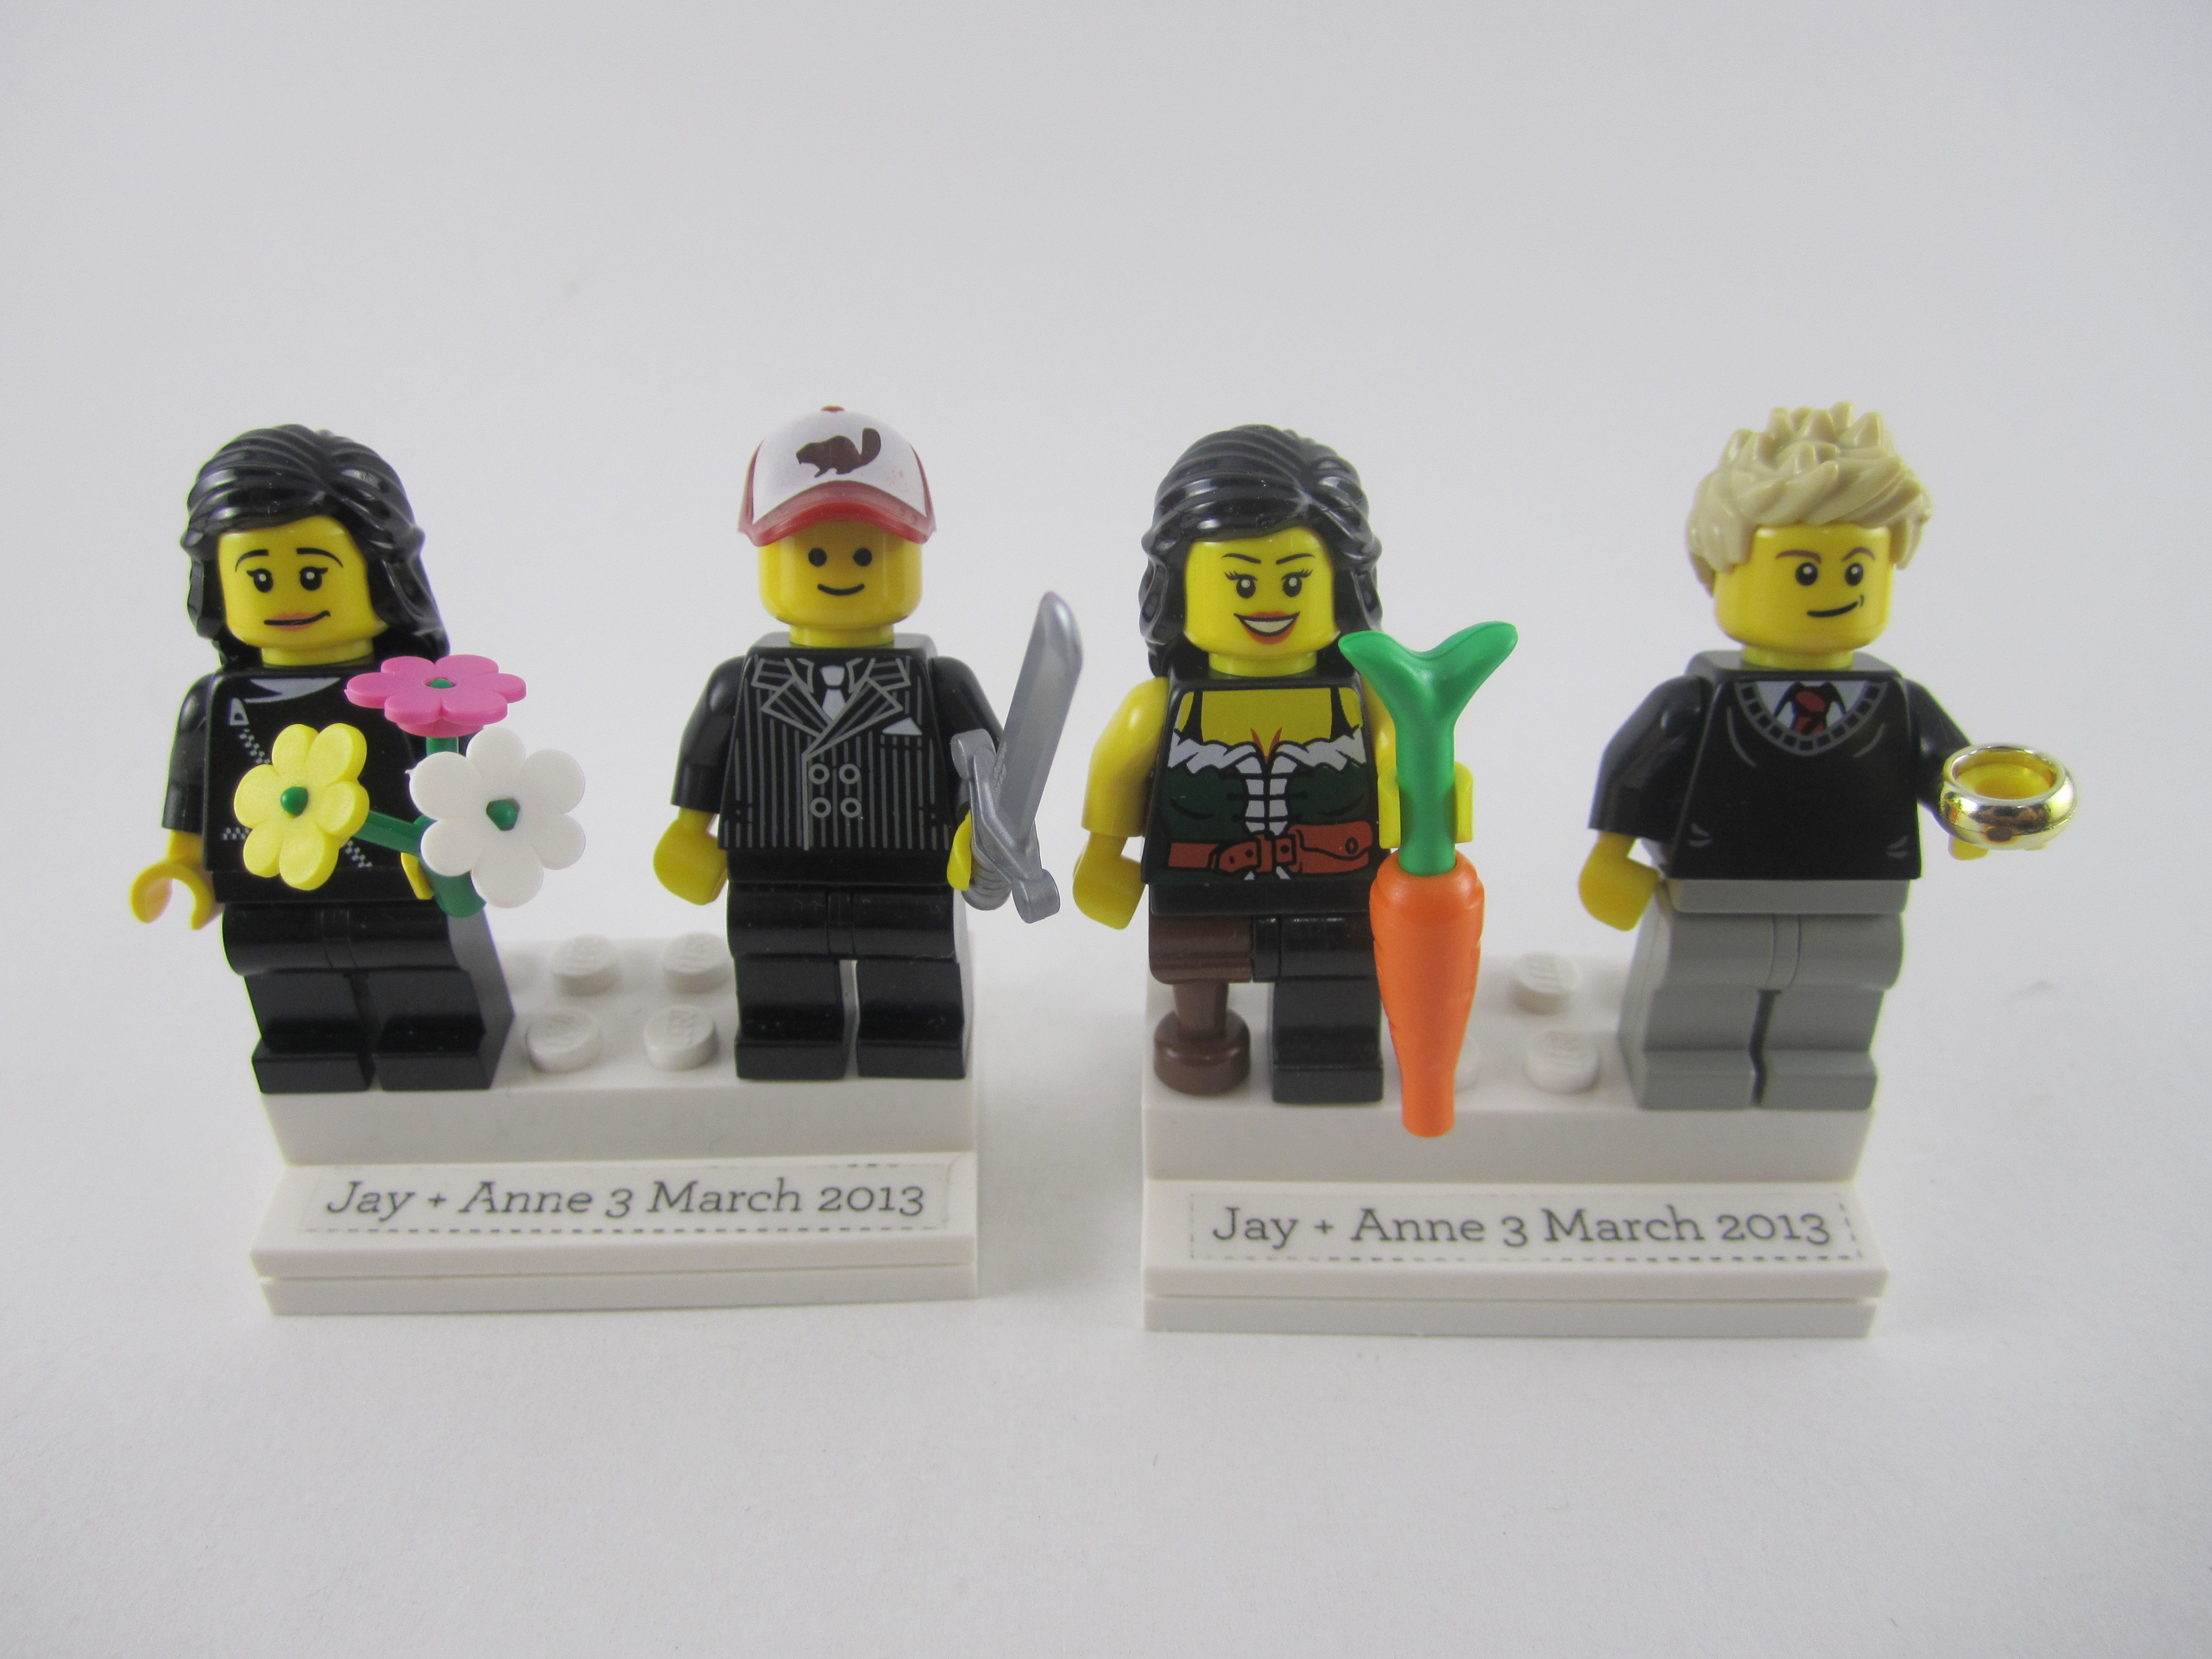
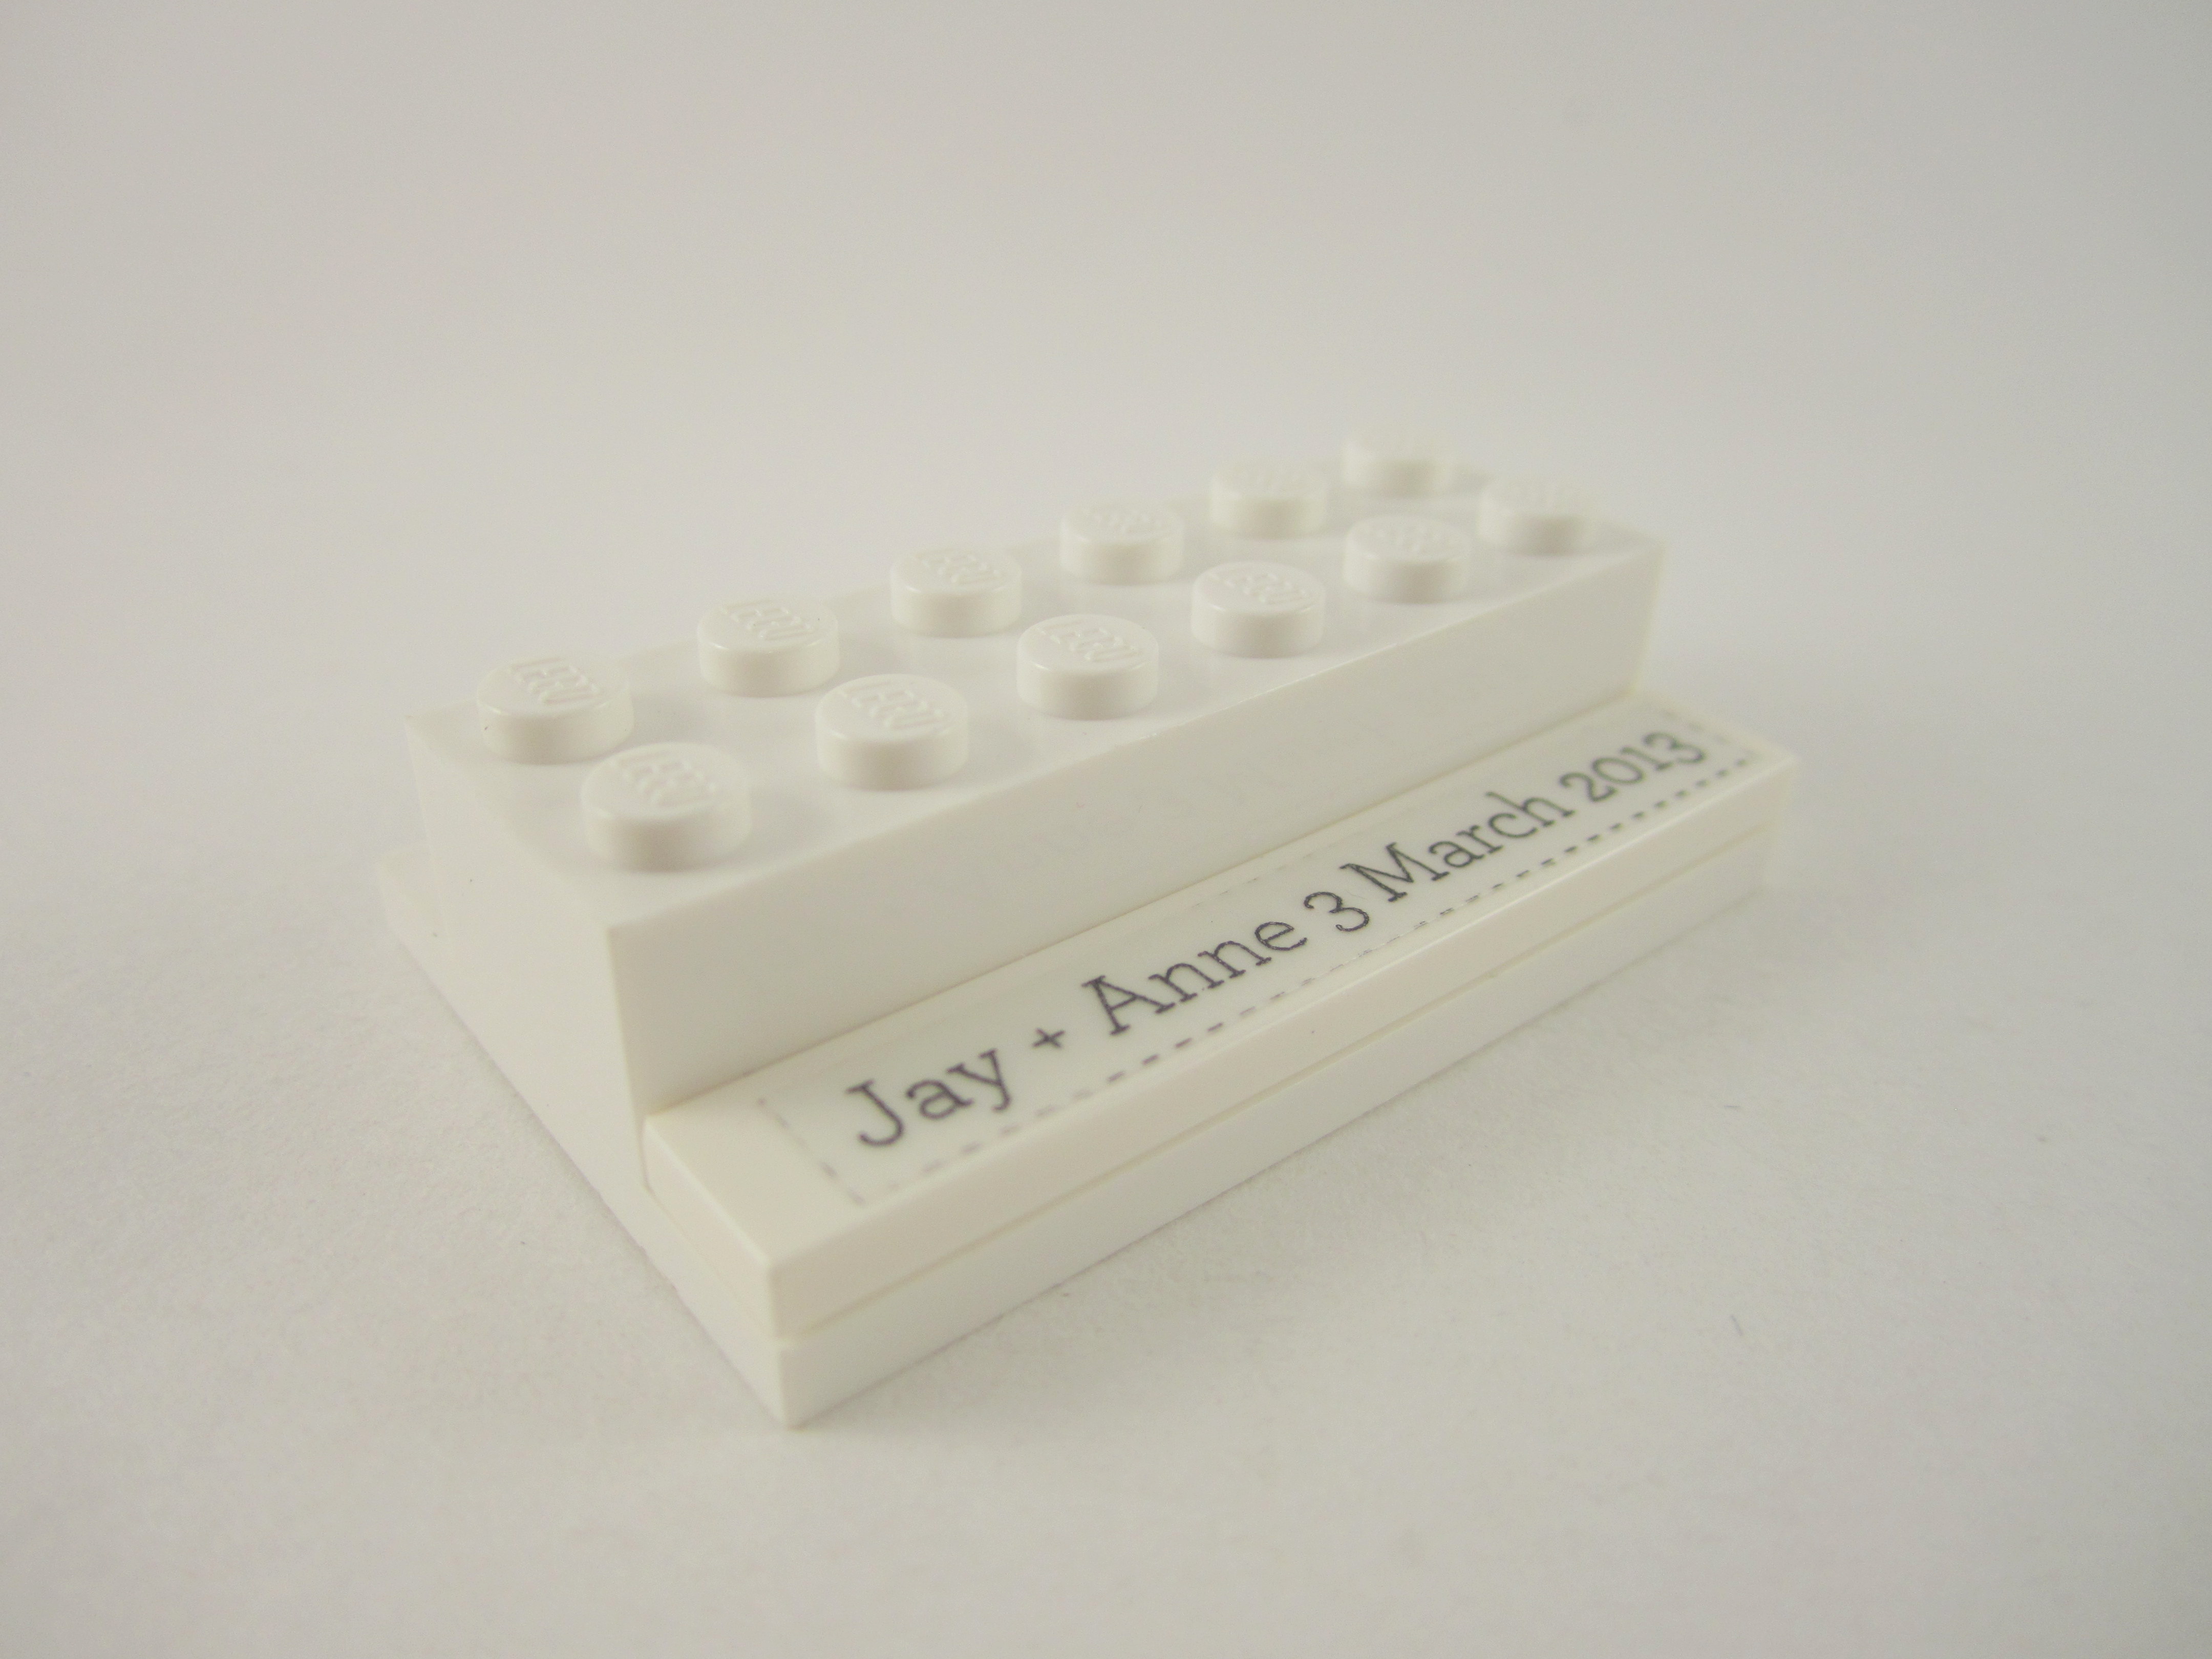
As you can see here, the idea was to let my wedding guests build minifigure versions of the bride and groom and place them on top of these basic white pedestals which they can then display at home. I mocked these up using some of the leftovers I had.
Here’s a checklist of what you’ll need. I’ve linked to the relevant Bricklink categories so you can just browse through them, select the ones you want, put in an order and wait for them to arrive. Do note that you may need to buy the parts from different sellers, depending on your needs.
- Male minifigure heads
- Female minifigure heads

- Male headgear/hair pieces
- Female headgear/hair pieces
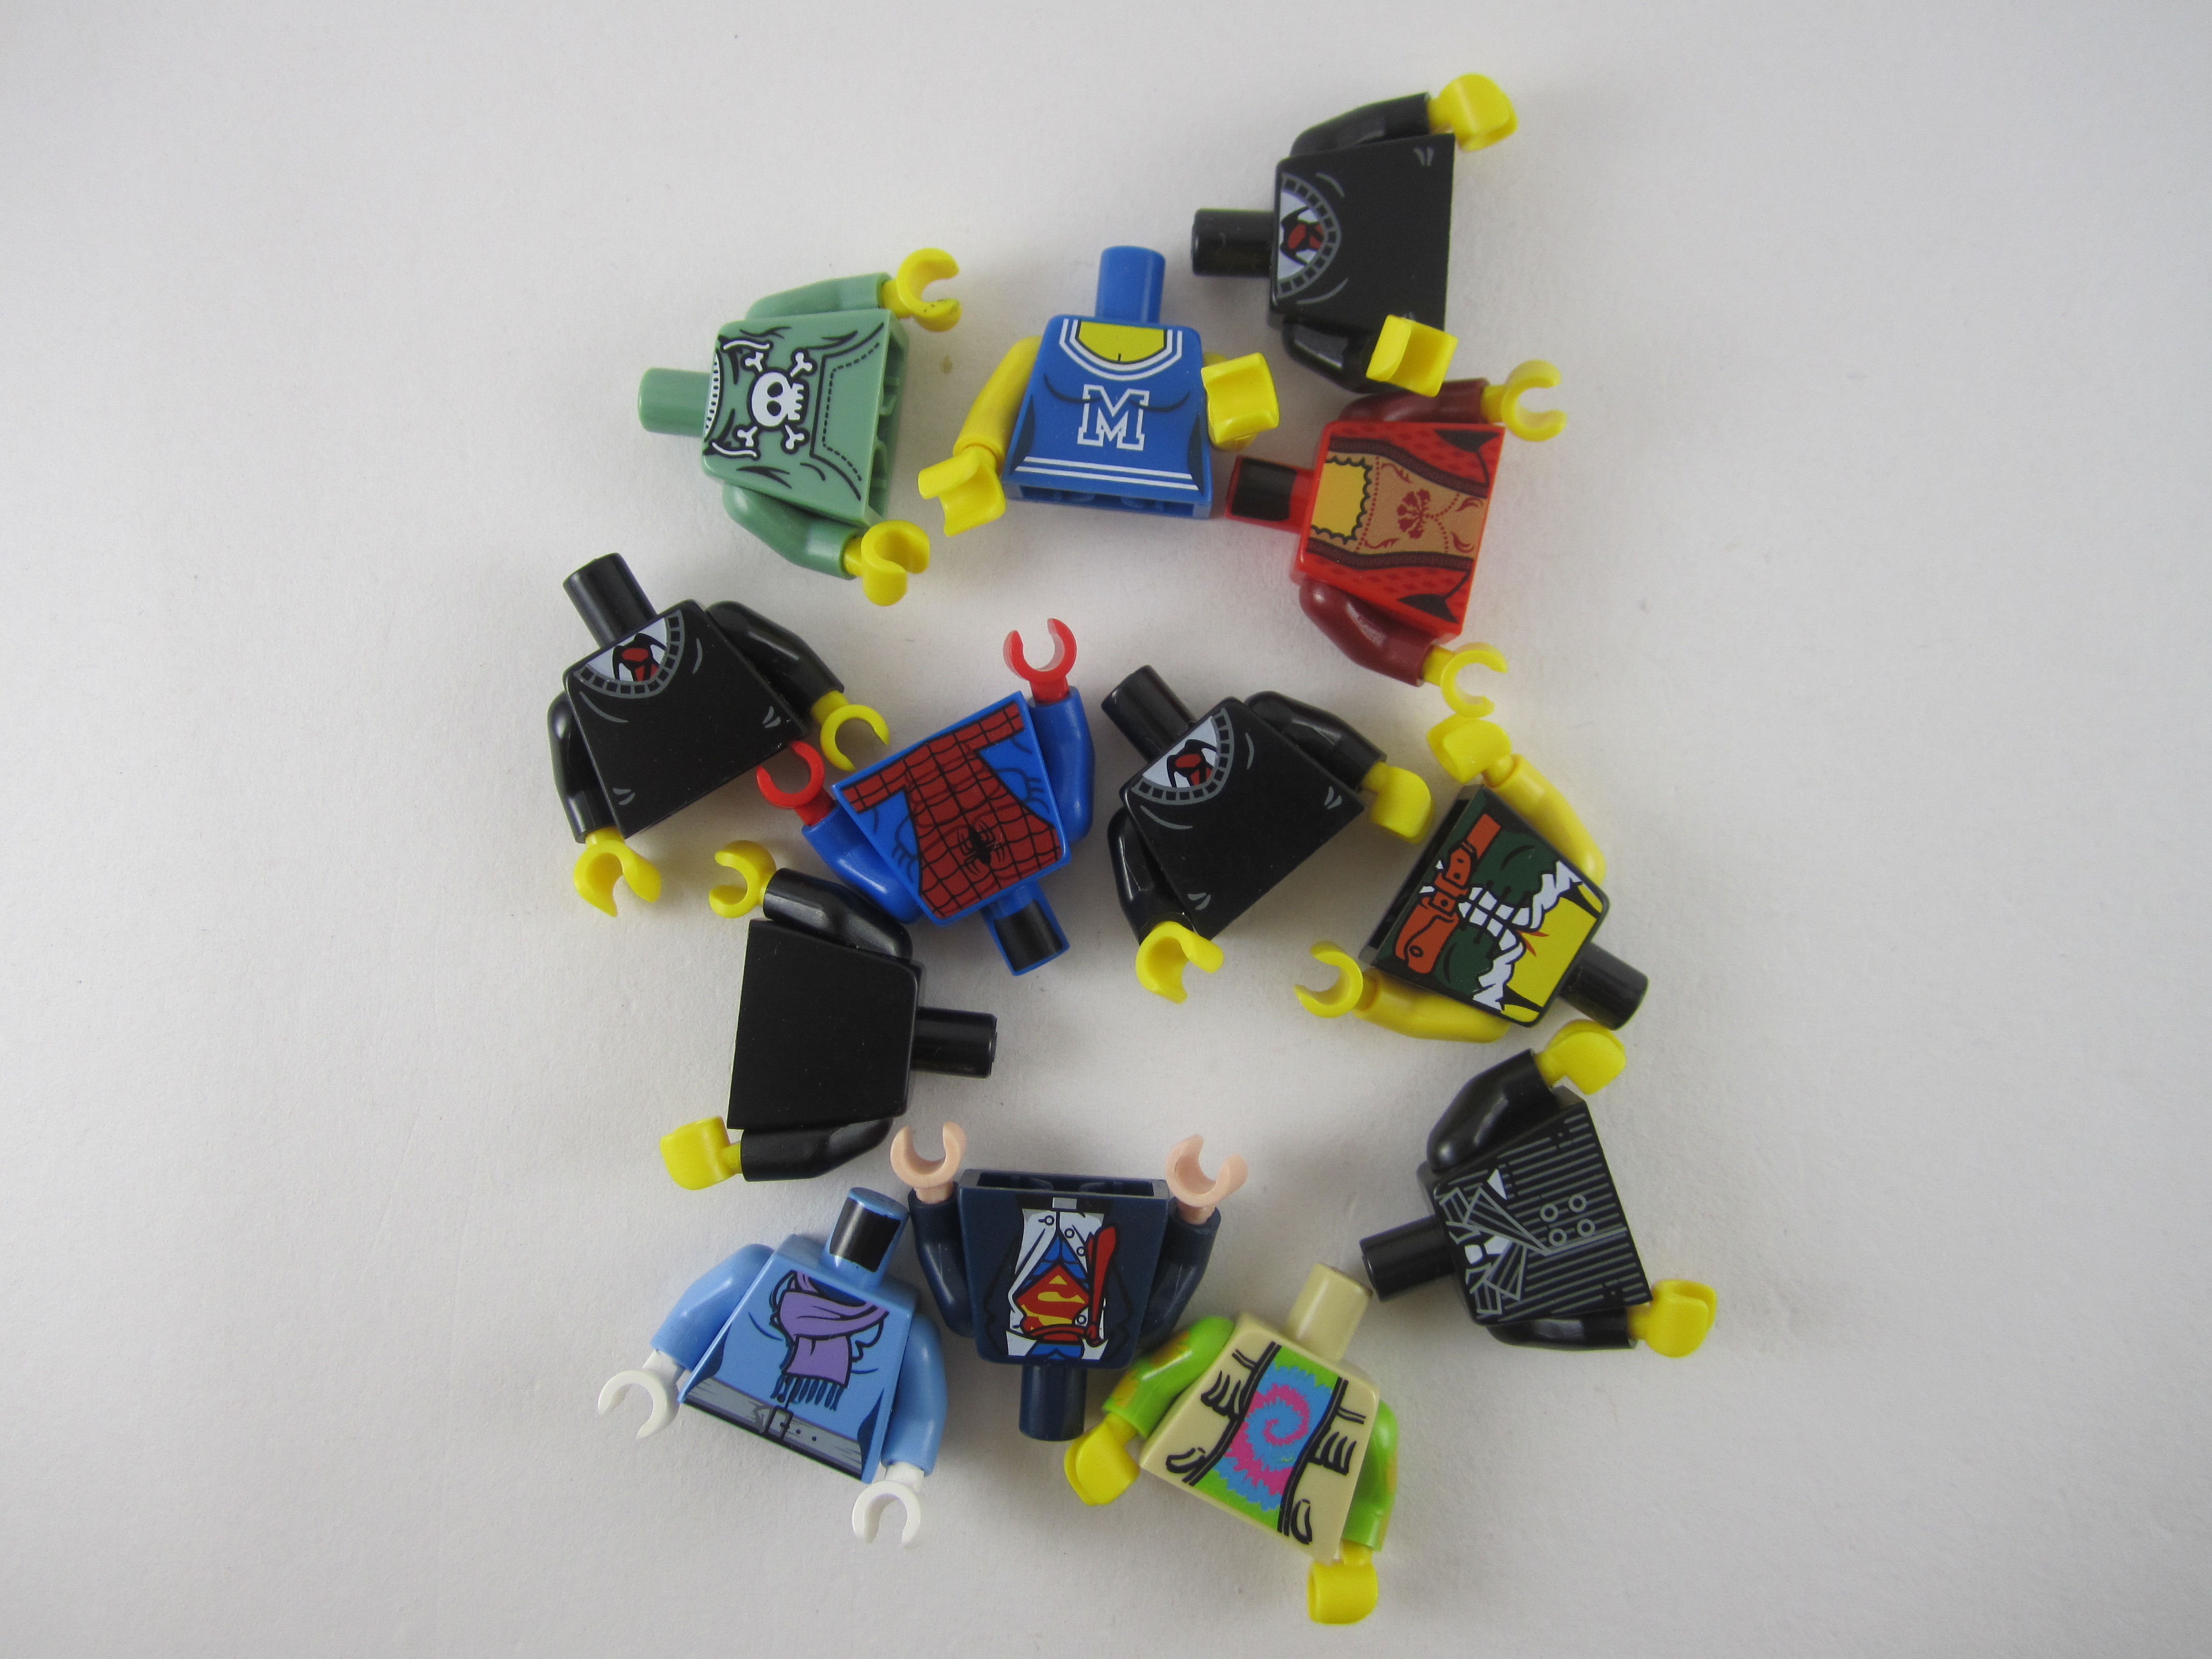
- Male torsos
- Female torsos
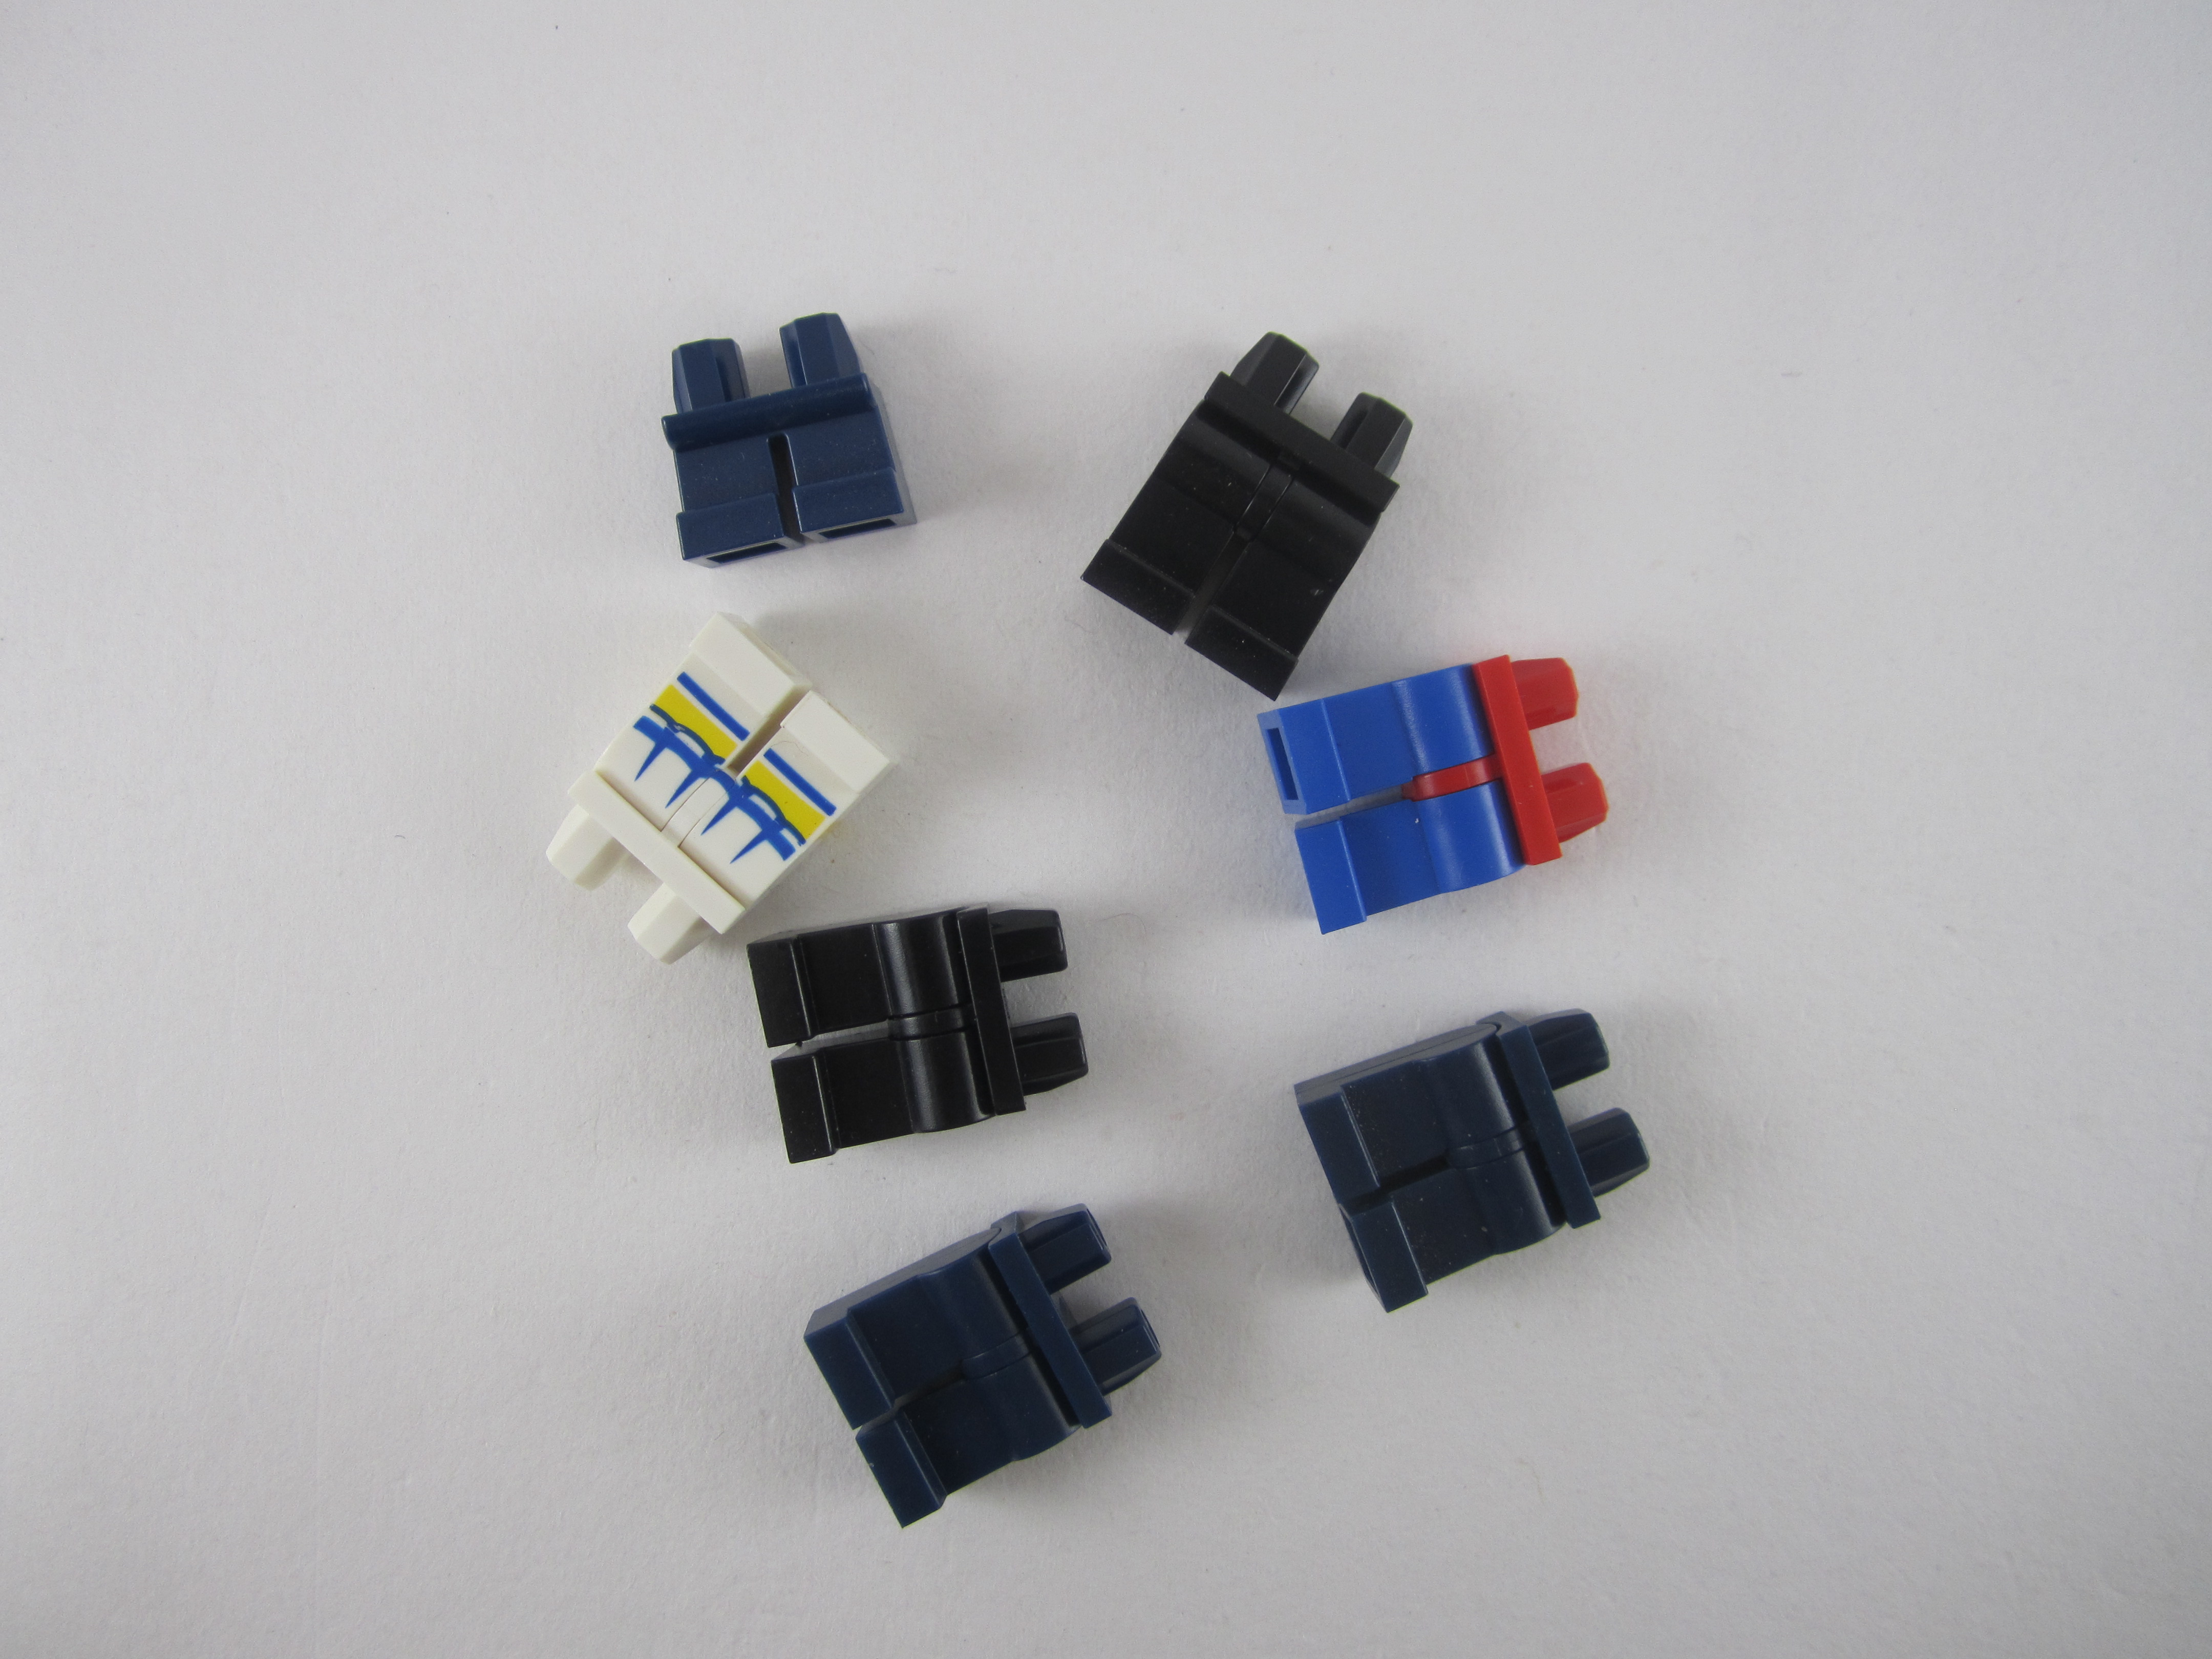
- Legs (legs are fairly unisex)
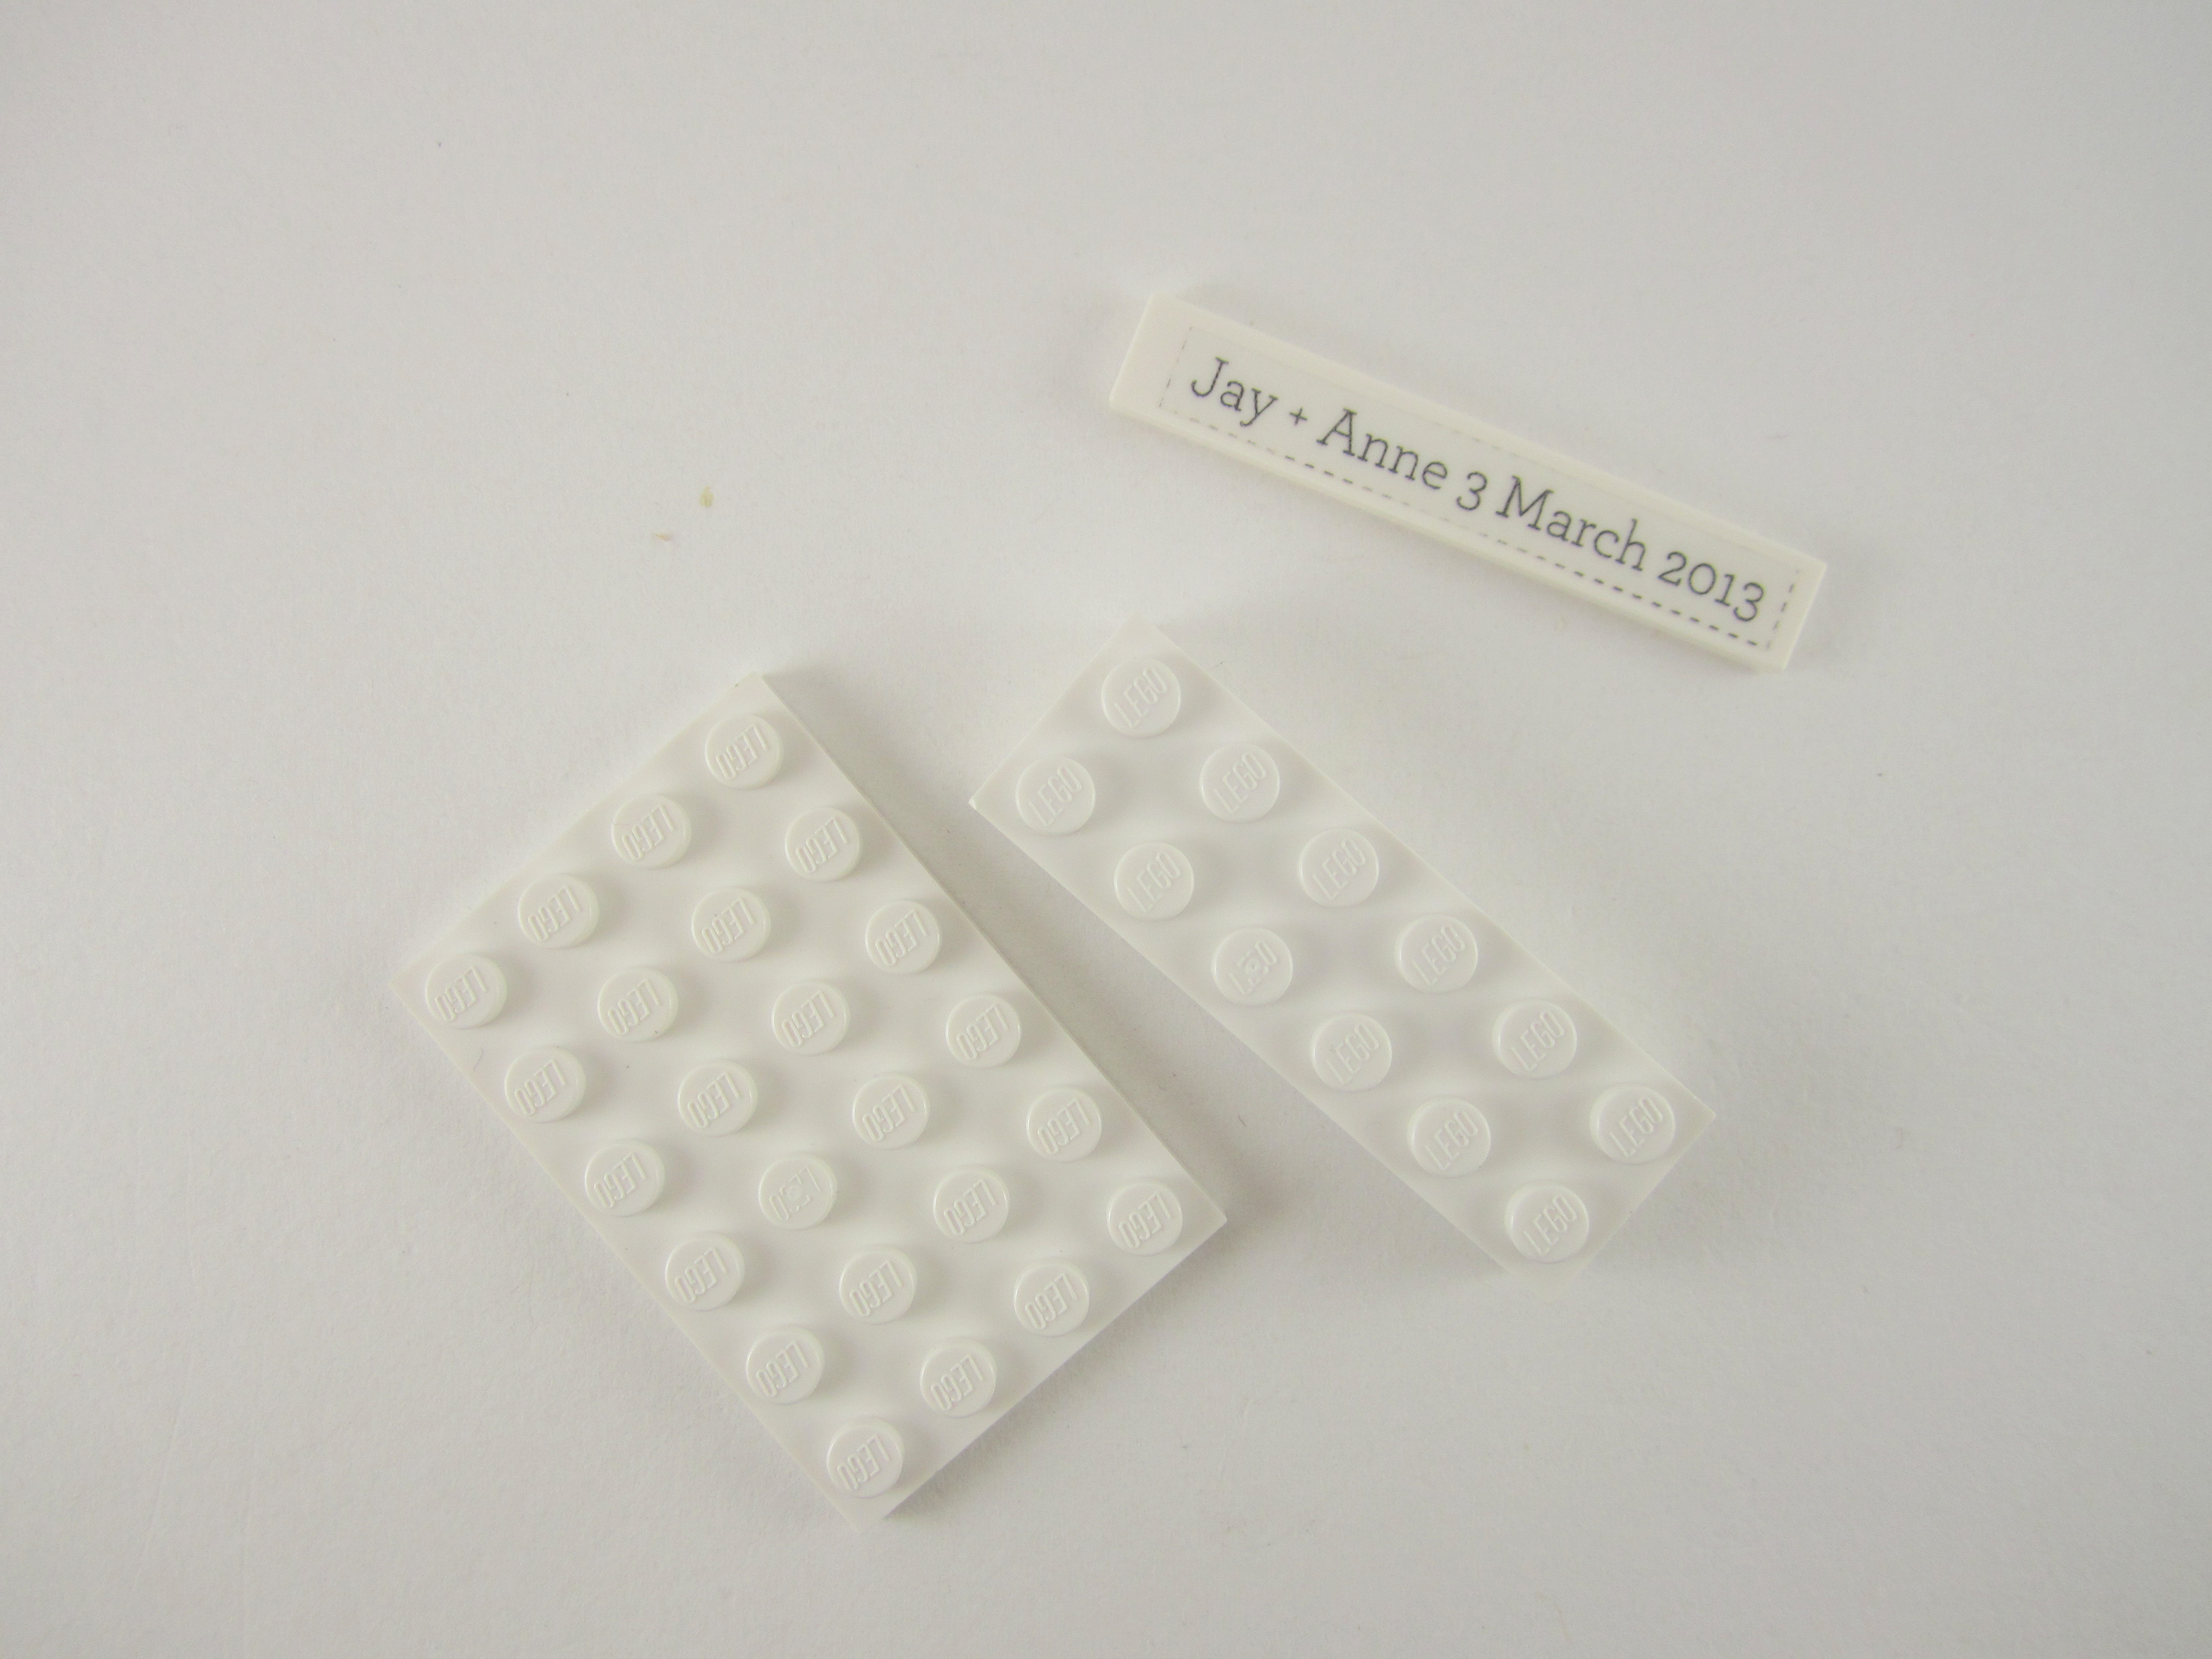
- 2×6 white bricks
- 4×6 white plates
- 1×6 white tiles
- Optional: Transparent Sticker Labels (get these from your local office supplies store, eg. Officeworks)
- Optional: Handheld minifigure accessories such as weapons or utensils
Be sure to get a 50-50 split between male and female minifigure (unless it’s a same sex wedding, duh) parts for your party or wedding guests. It’s always helpful to allocate a bit more than your number of expected guests in case people choose to take home more!
If you shop smart and opt for common parts you should be able to get heads for ~$0.50 each, torsos for ~$0.50 each, legs for ~$0.30 each , headgear for ~$0.35 each, whole pedestals for ~$0.10.
This means you should be able to build a male and minifigure couple, complete with a pedestal for about $3.50! Do note that if you choose rarer parts, the price will go up accordingly.
Printed sticker labels
The printed labels are optional, but I highly recommend them as they’re a great way to commemorate your event or special day. Basically you print them on an A4 sticker label sheet using a laser printer. Inkjet printers usually don’t work as well as the text tends to smudge.
Here’s a template that you can download and edit via photo manipulation software such as Photoshop.
If you want to design your own labels, a 1×6 tile’s dimensions are approximately 4.75cm x o.75cm
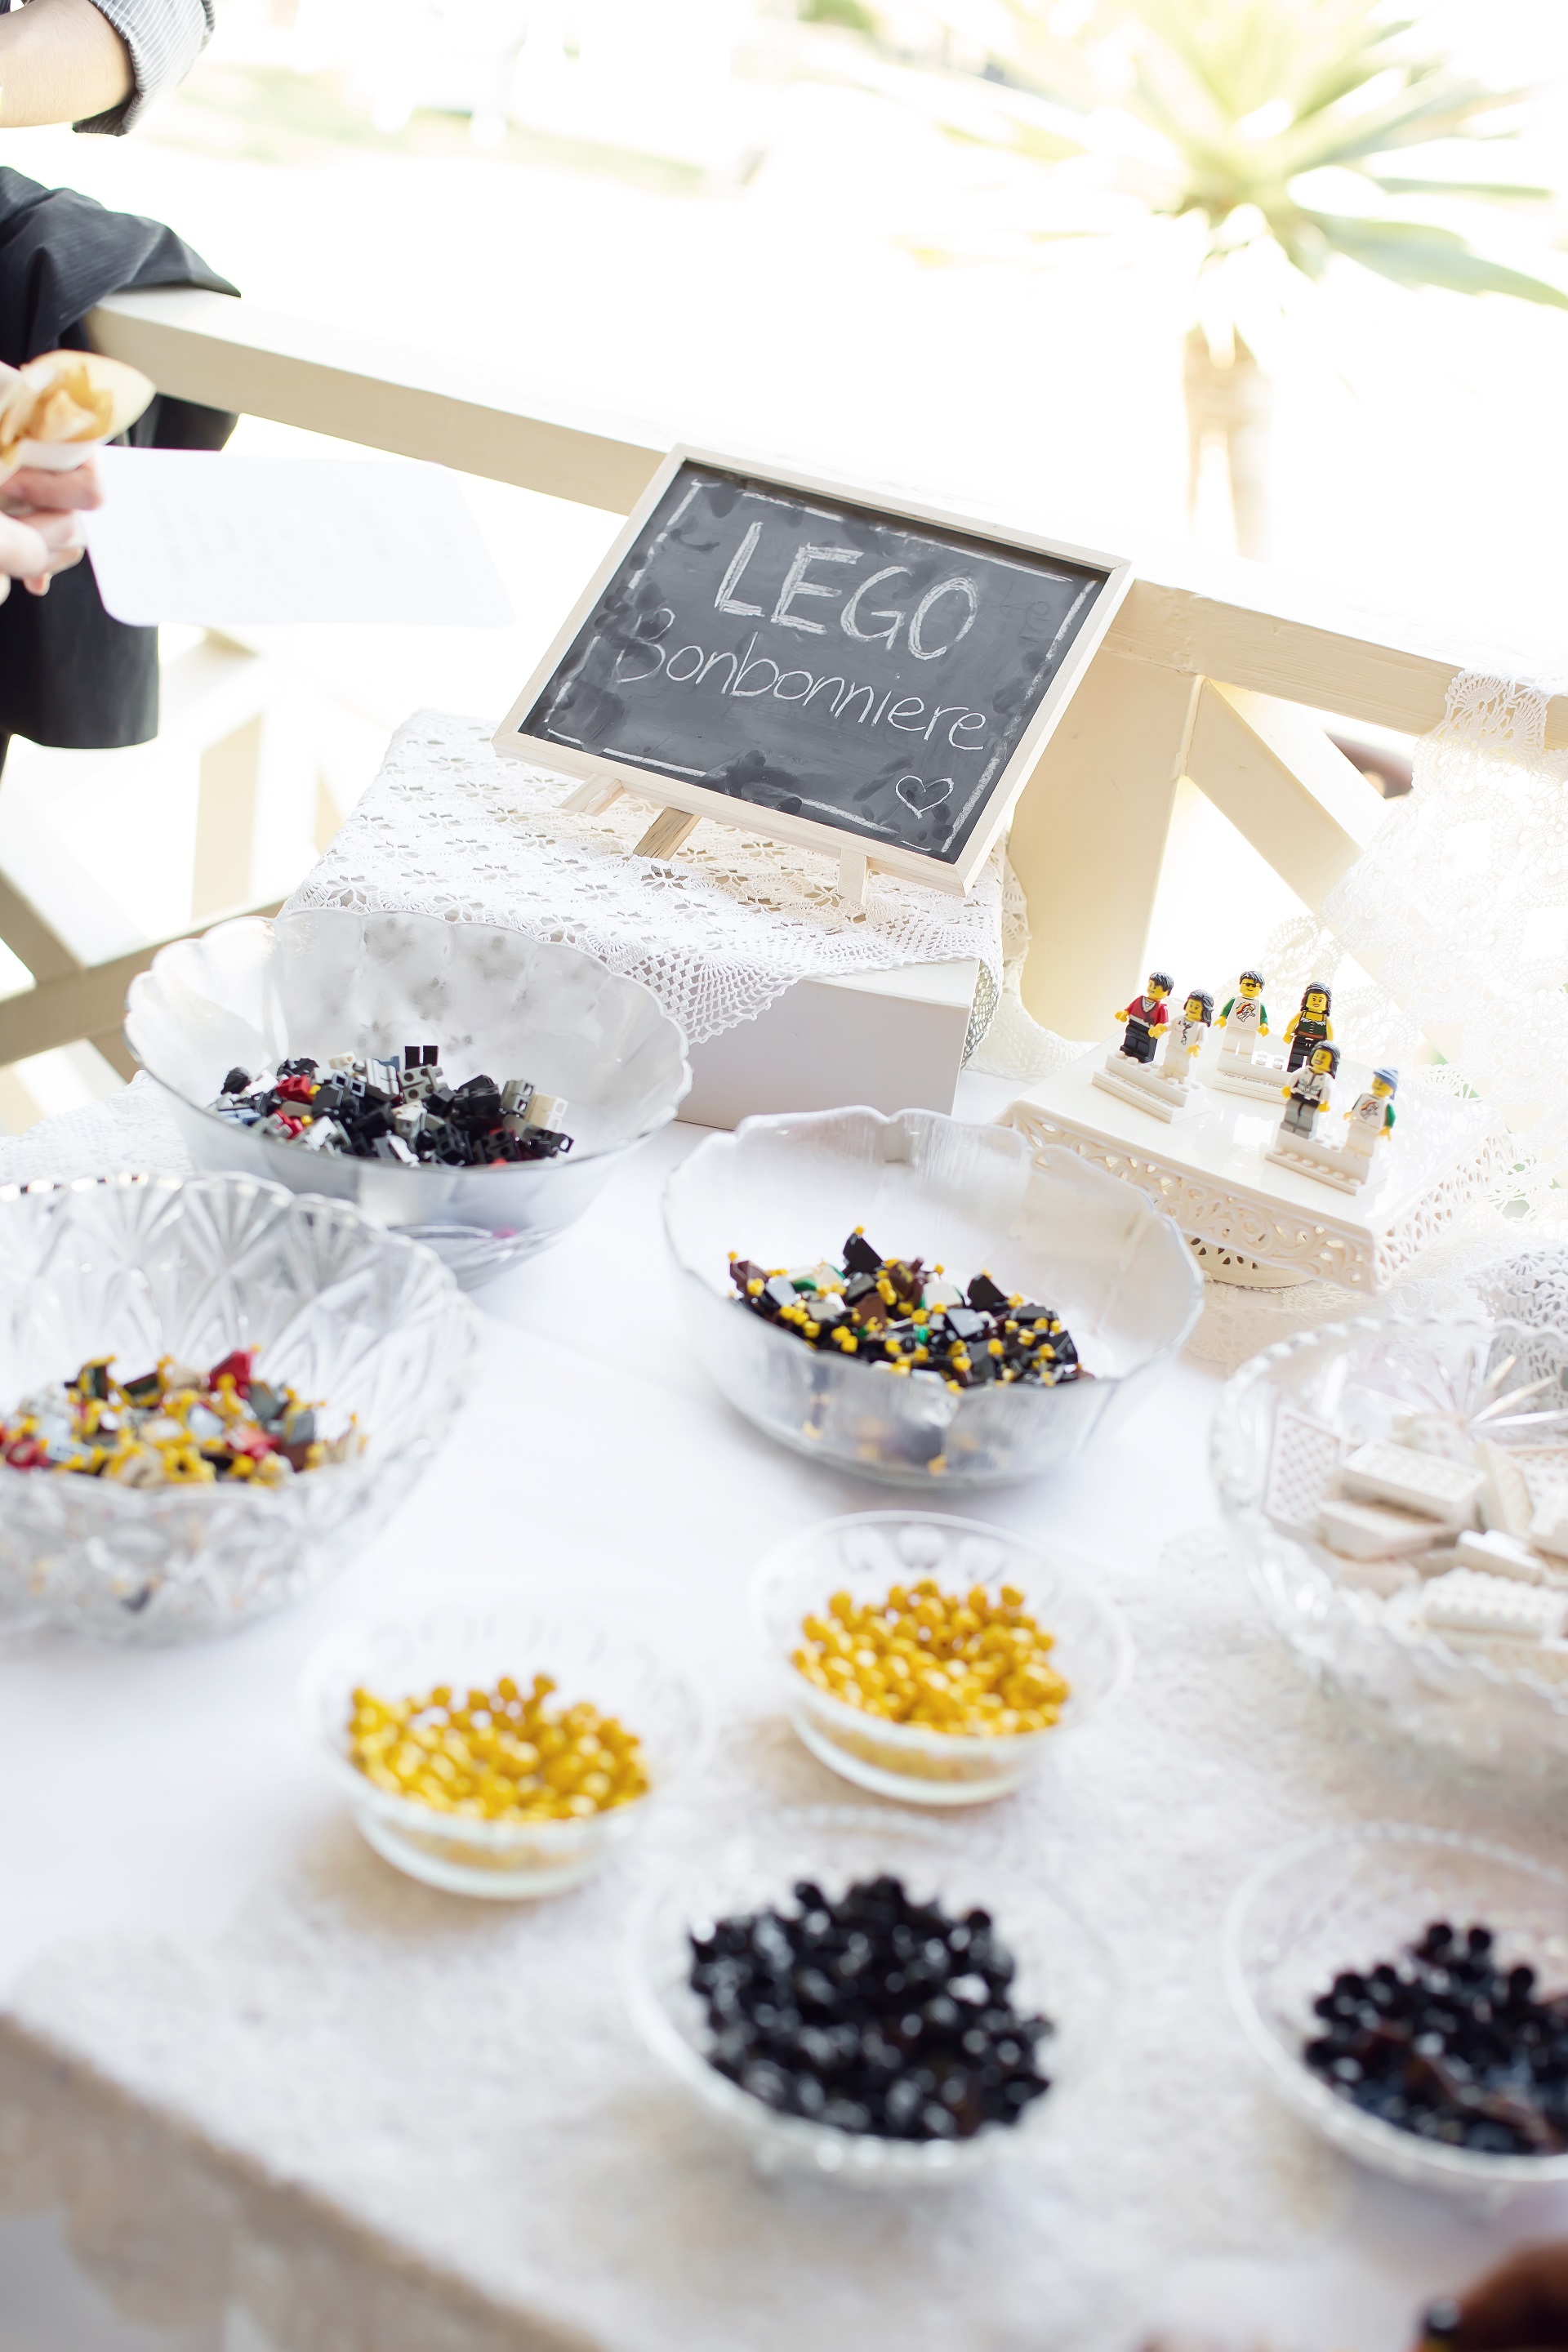
Setting up your Build-A-Minifigure station
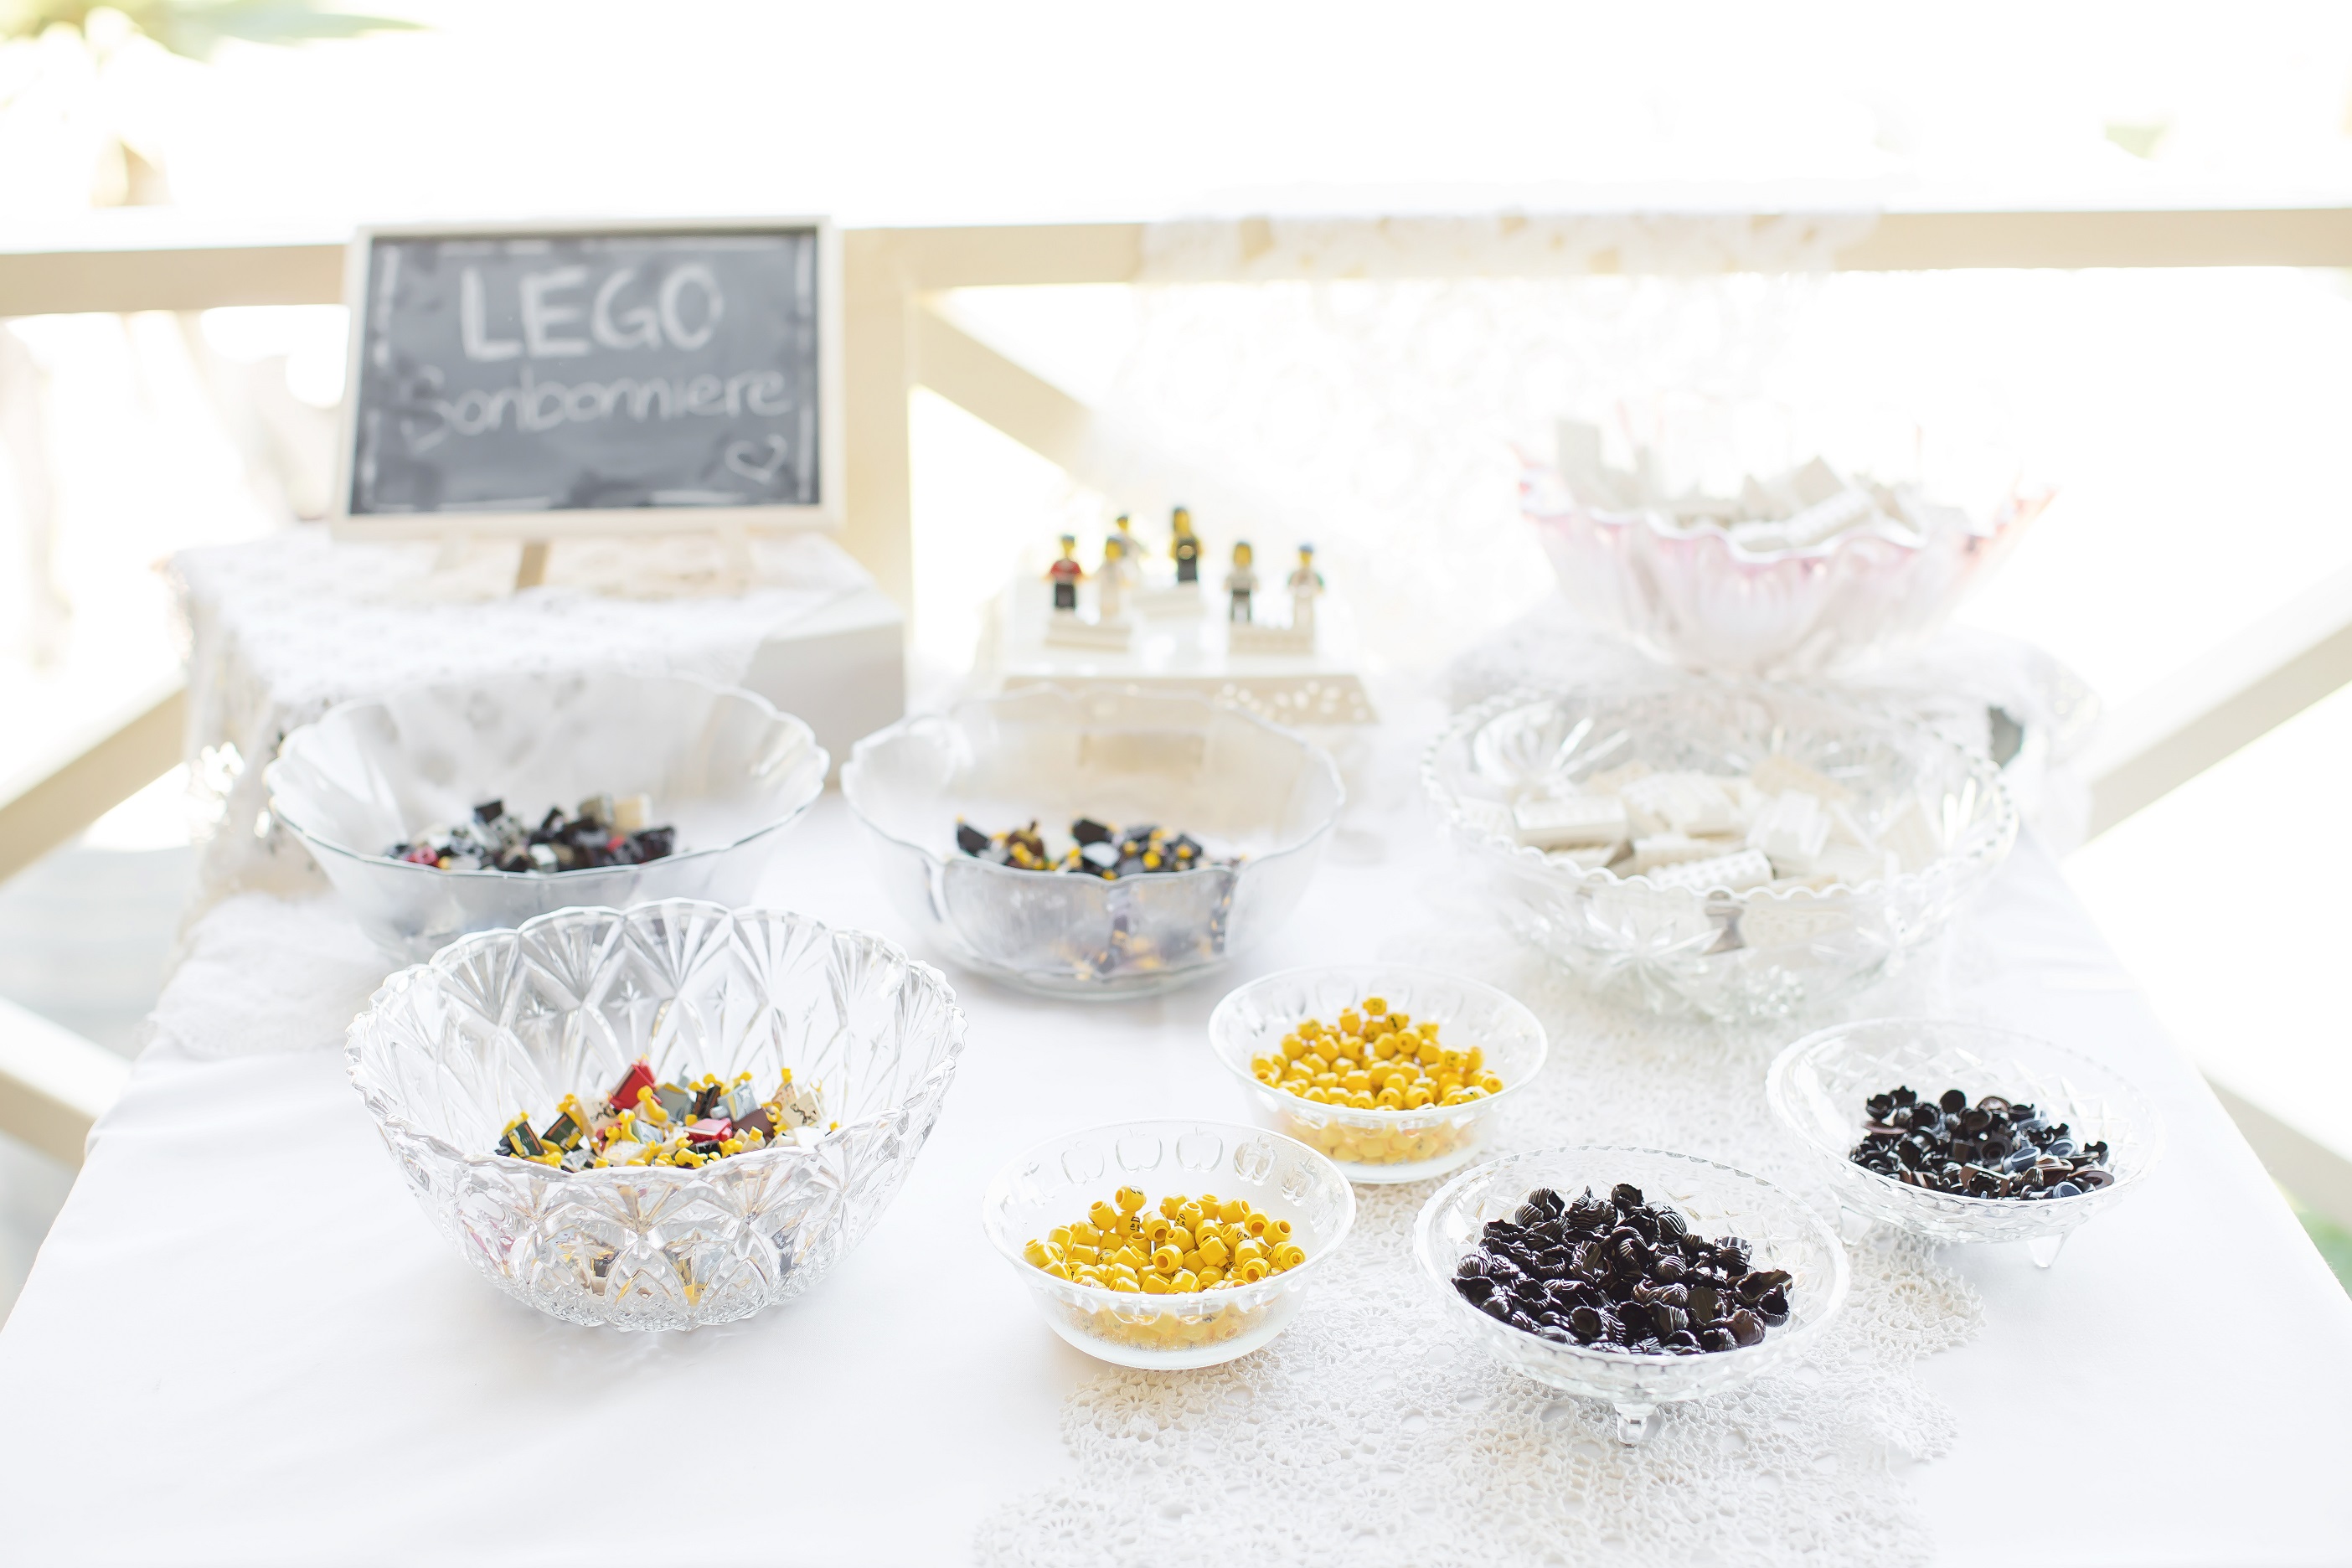
To display them, place the parts in bowls spread out on a small table, separated into male and female parts to make it easy for your guests to pick out the components they want. We went op-shopping and hit all our local Salvos to find these vintage glass bowls, which cost us less than $5 each.
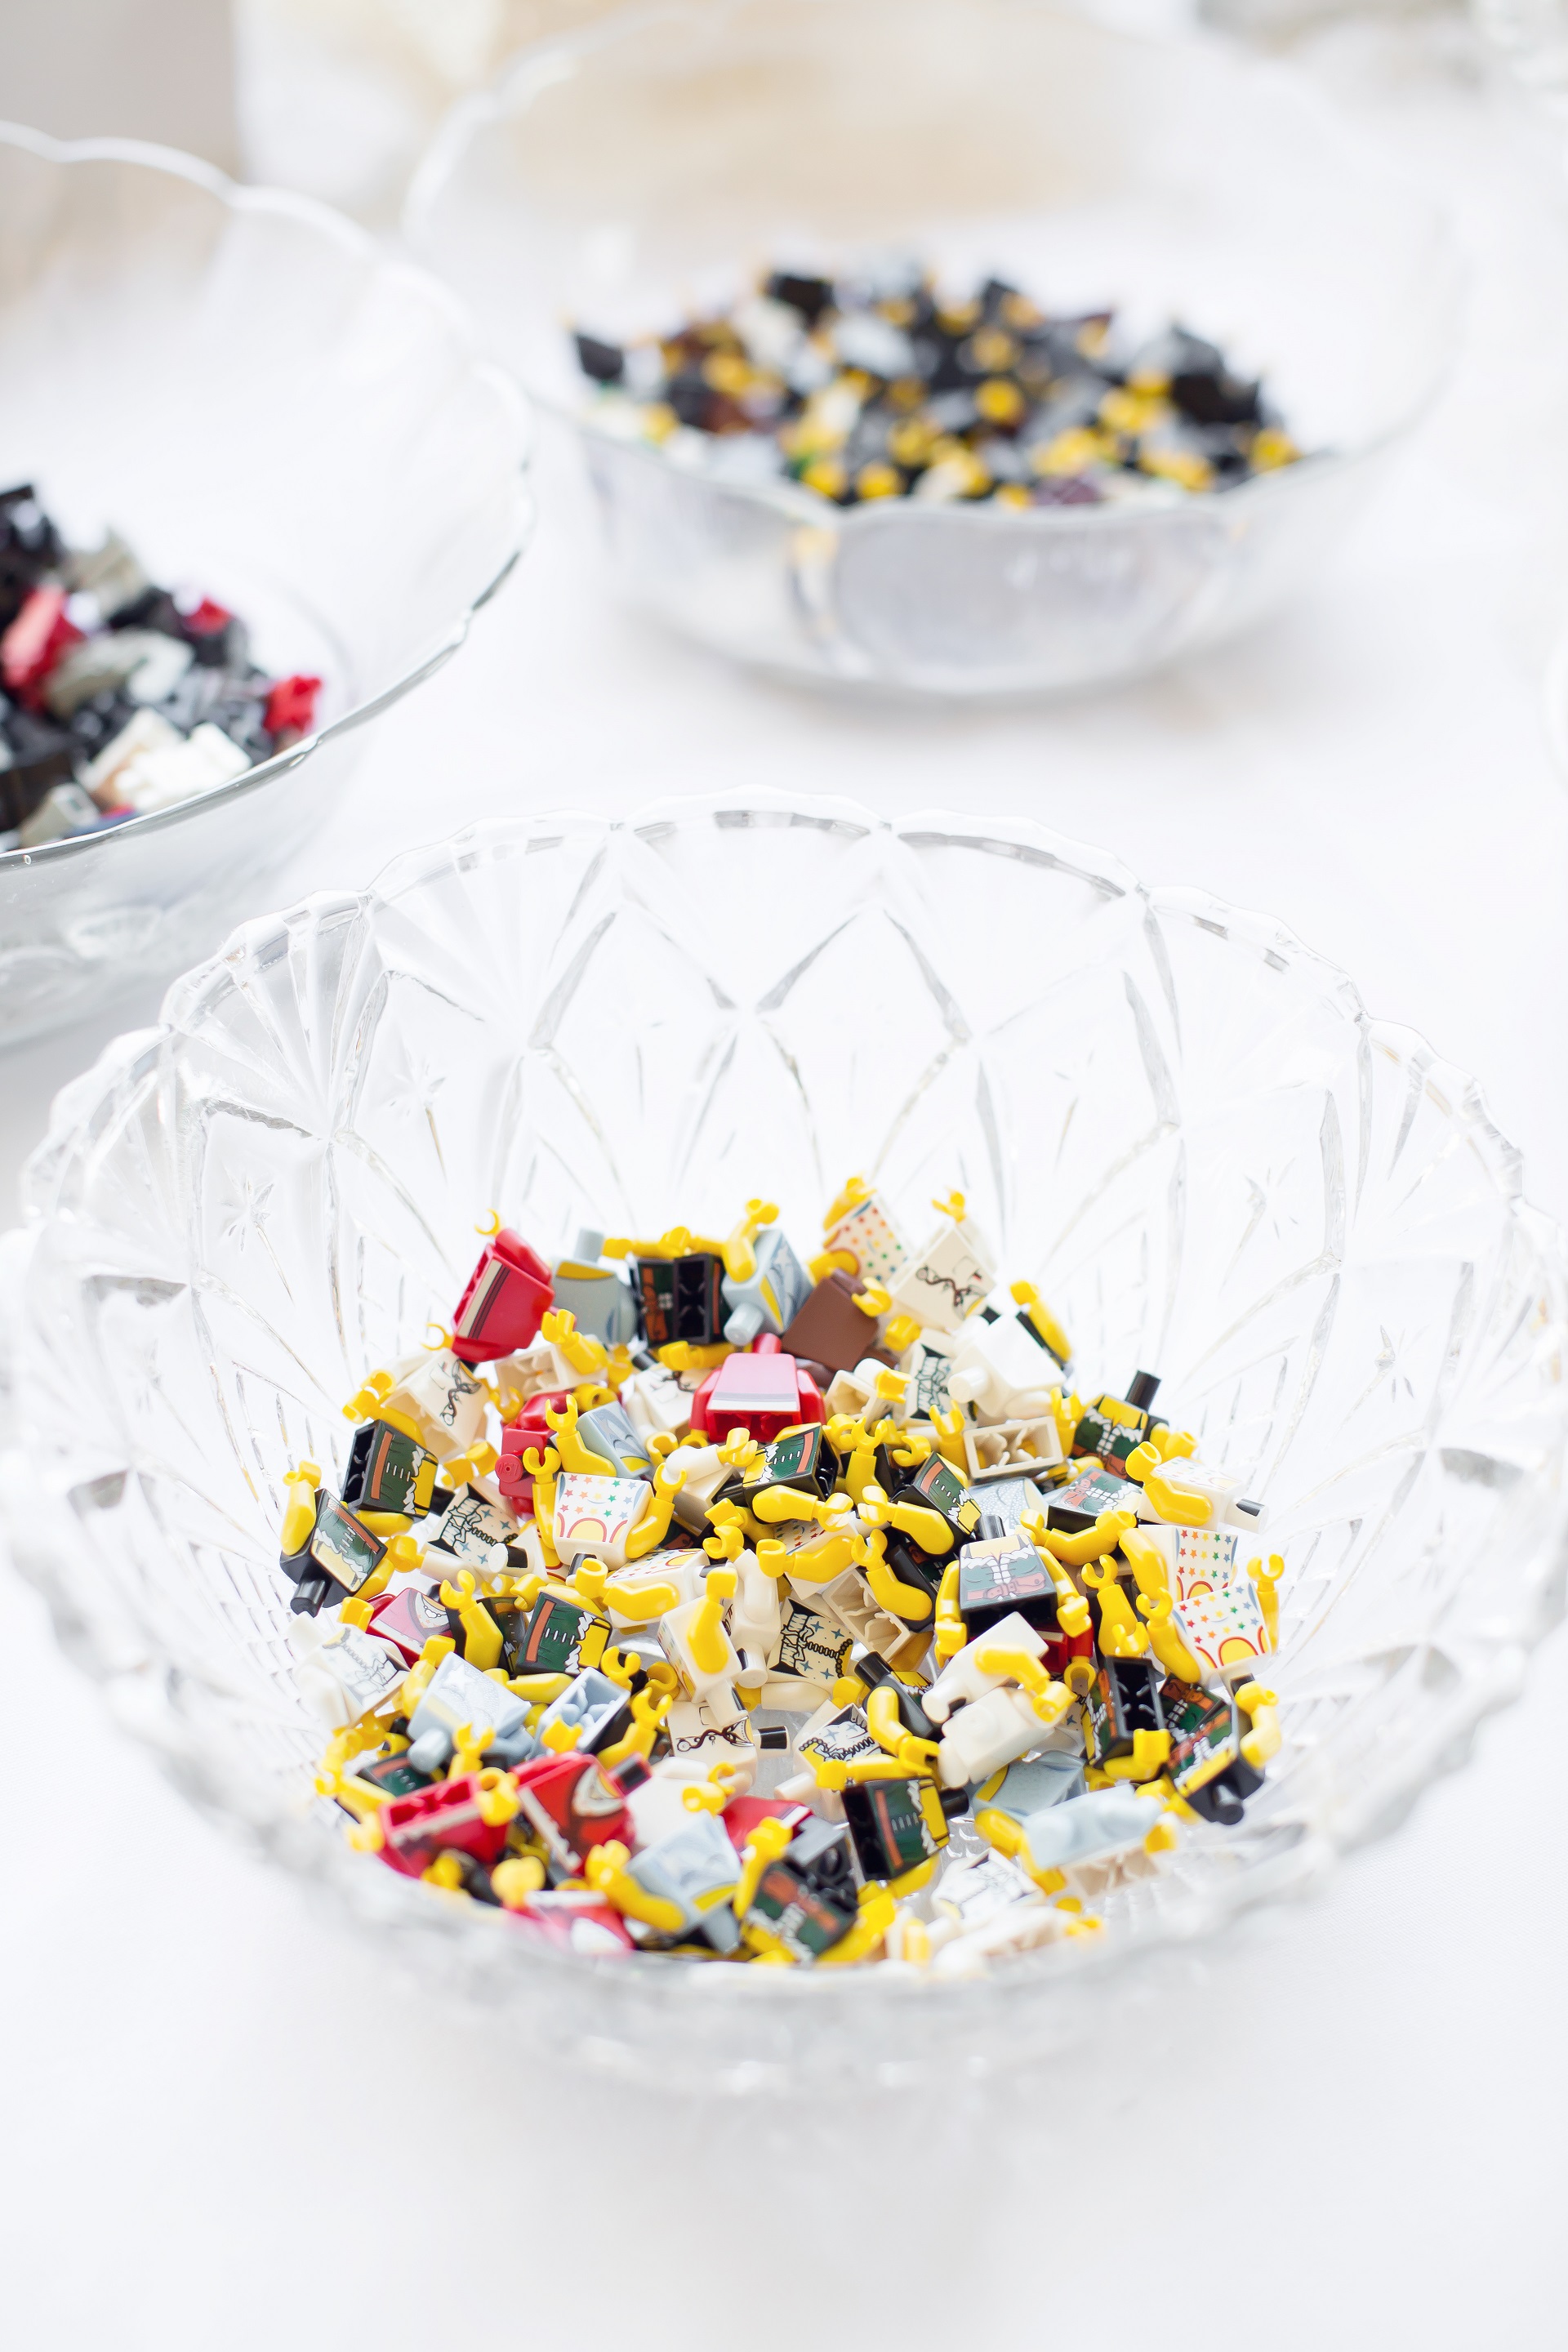
Assemble the platforms and place them in bowls (or scatter them across the table) and leave it to your guests to rediscover their childhood memories as they assemble LEGO versions of the bride and groom.

You can also set up a few examples to display to give your guests some ideas! That’s pretty much all you need to know about making your very own LEGO wedding or party favours!
It’s a lot more fun (and cheaper!) to let your guests build their own minifigures, rather than paying $5 for the blind minifigure packs. Let me know in the comments or via email if you have any questions about getting all the components! If you’re planning on doing this, good luck!