Review: Melgeek Pixel LEGO-compatible mechanical keyboard
 2
2
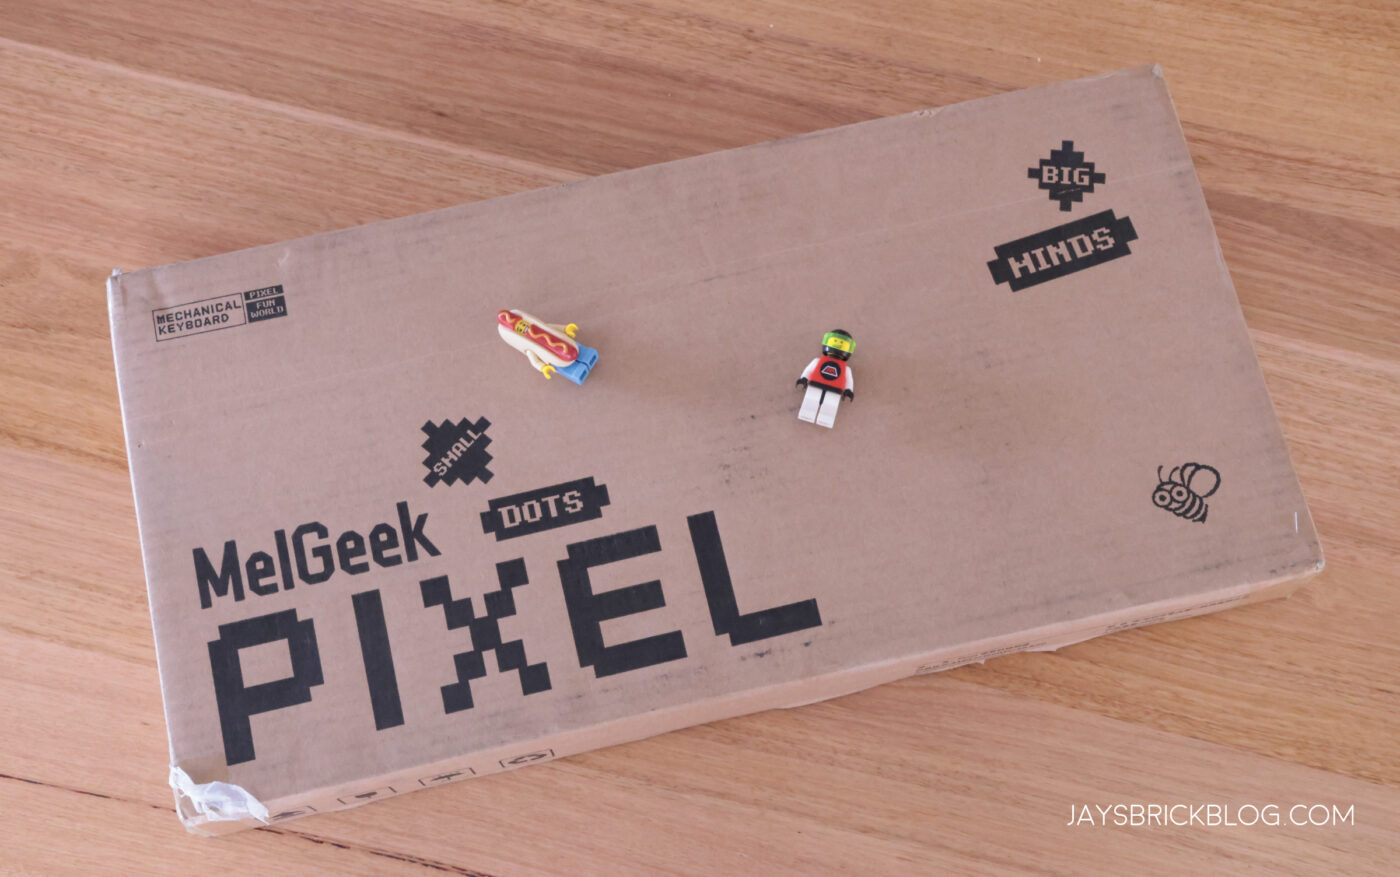
This review is a little out of left-field, but depending on your interests could be a fun collision of hobbies. I was offered the opportunity to review the MelGeek Pixel, a brand new mechanical keyboard with a twist – it’s LEGO-compatible!
I got this package in the mail from the team at MelGeek, and I was really excited to see what it was all about as their marketing for the Pixel has been pretty slick and it’s a really unique offering that caters to both LEGO and mechanical keyboard gans.
The MelGeek Pixel is currently in the crowdfunding phase on Kickstarter and prices begin from US$199, and the keyboards are aimed to ship out (worldwide) from January 2023 onwards.
Do note that this is not an official LEGO product, and is in-fact manufactured by a 3rd party. I asked some of my Mechanical Keyboard enthusiast friends, and was assured that MelGeek were a pretty good brand in this space, albeit on the higher end of pricing, and have a decent reputation for their pre-built keyboards.
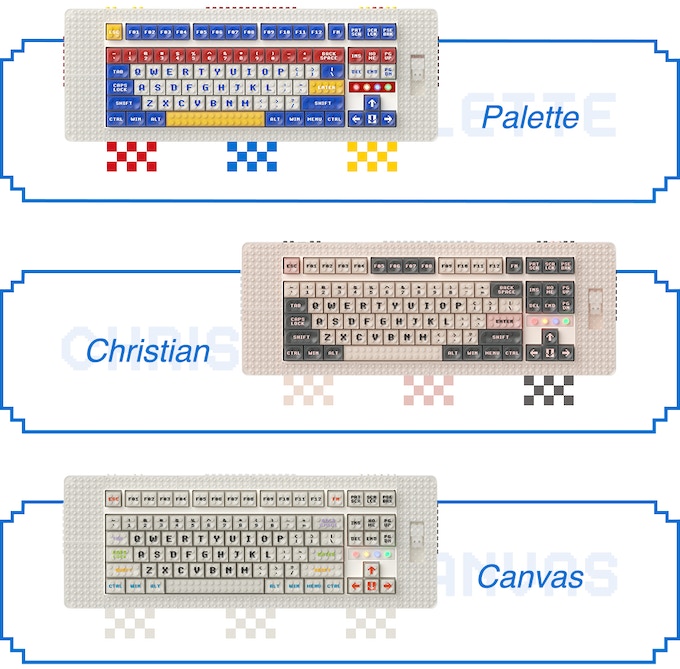
There are 3 design options to choose from – Palette, Christian and Canvas which offer widely different experiences, with Palette being a louder and toy-like design with the red, blue and yellow key profiles. The Christian has a more muted, retro monochromatic look and the Canvas is as its name suggests, a blank canvas to decorate on, and is slightly more colourful and whimsical.
I got the Canvas which will be featured in this review!
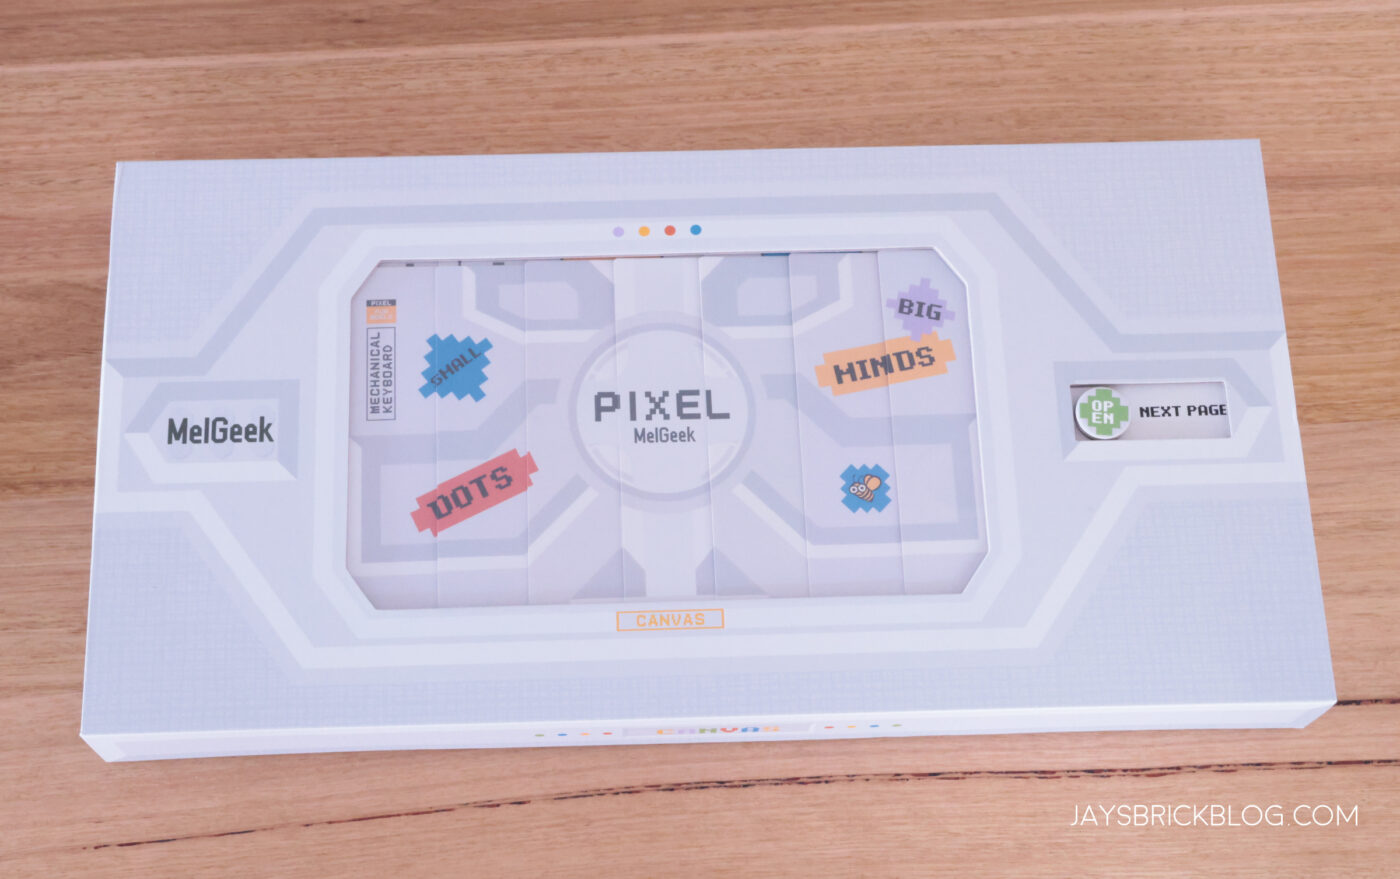
Here’s a look at the box that was within the cardboard shipper. First impressions were great and the quality and overall presentation gave me a really good feeling about the contents.
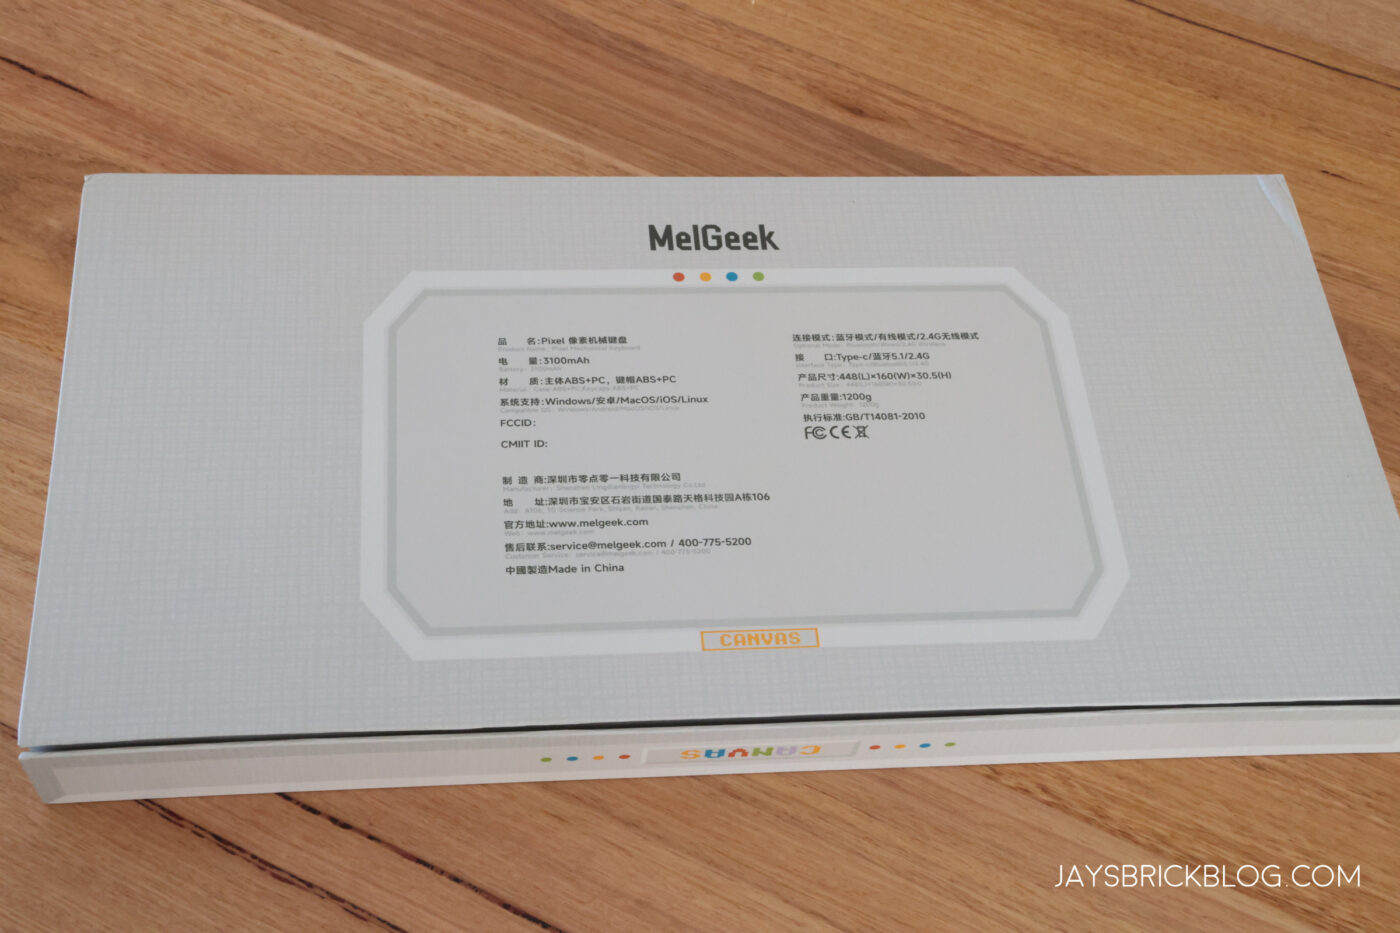
Here’s a look at the back of the box.
Oh, and on the front cover, there’s this little button that you can slide…
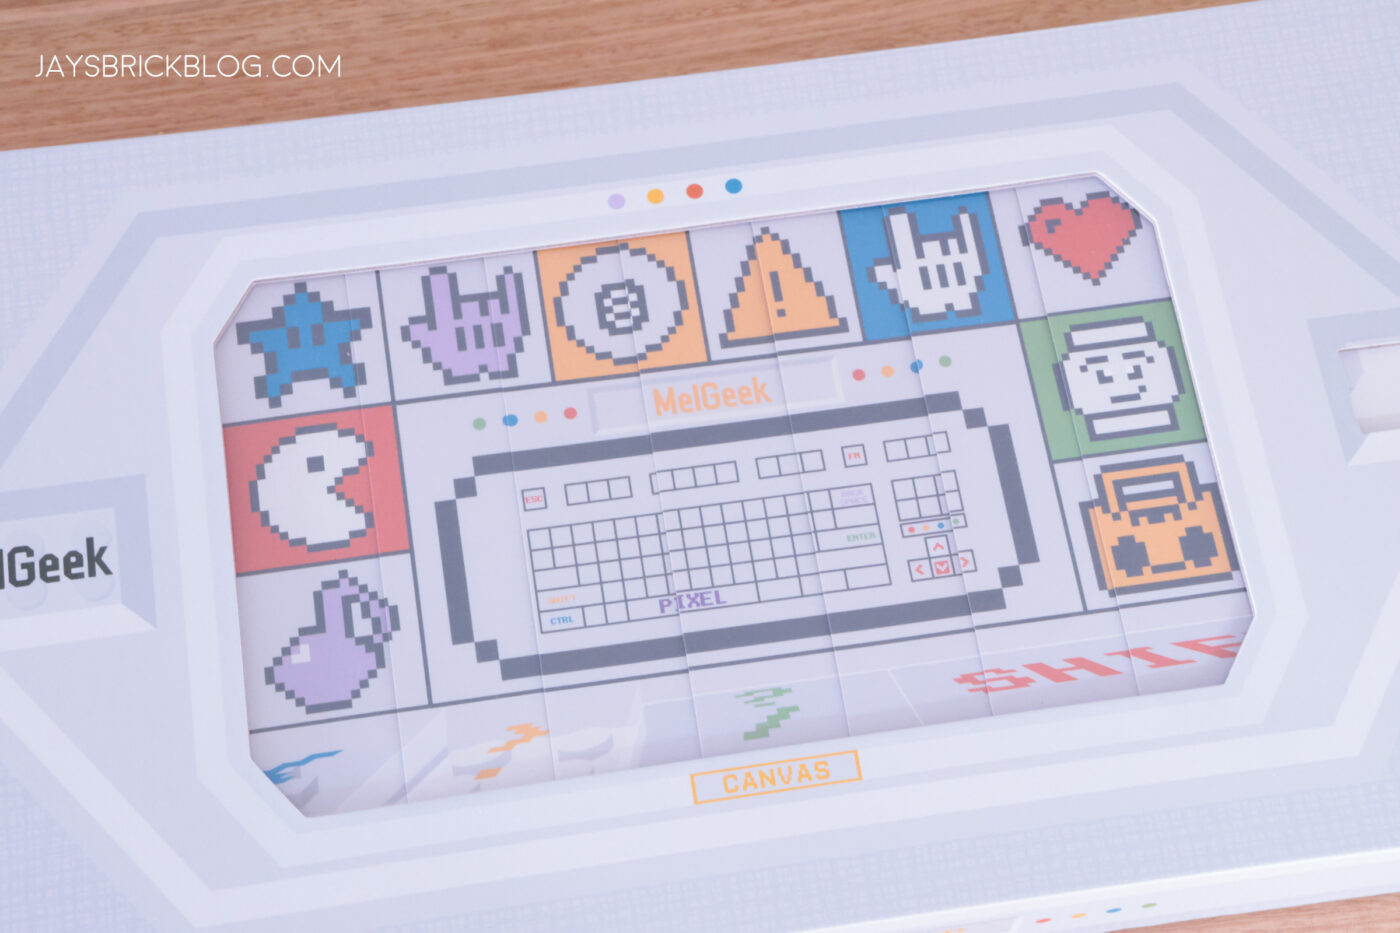
To switch up the graphic in the middle of the box via this sliding mechanism. It reveals some fun pixel art-esque design that serve as inspiration for your own creative designs to customise your Pixel.
It’s a really fun touch that doesn’t feel completely necessary, but I do appreciate small little bonuses like this.
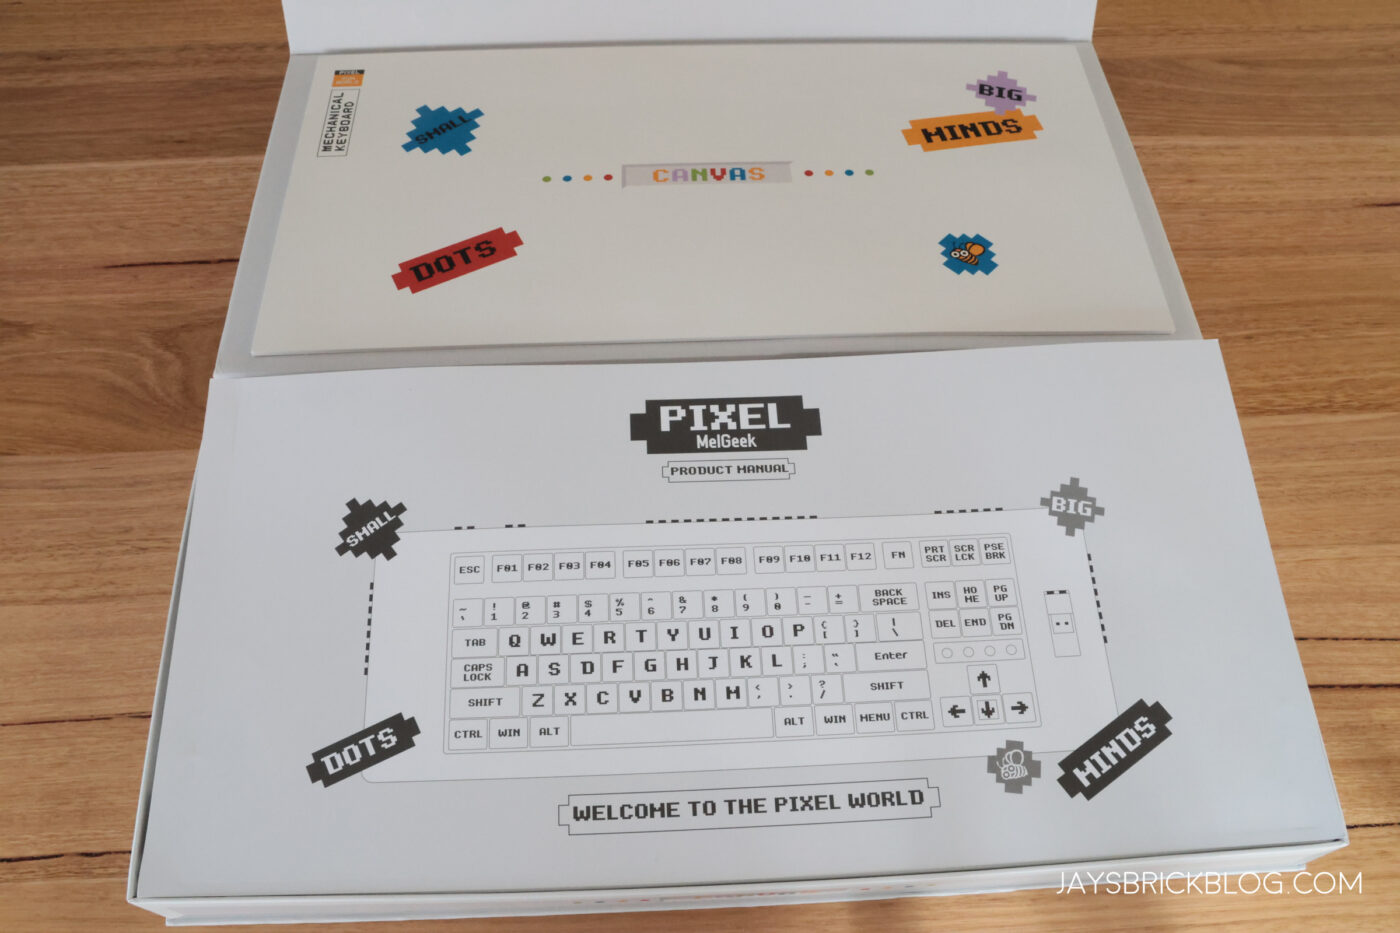
The box is a flip top box, with some magnets holding the lid down. It opens up to reveal this paper sheet that also doubles as instructions.
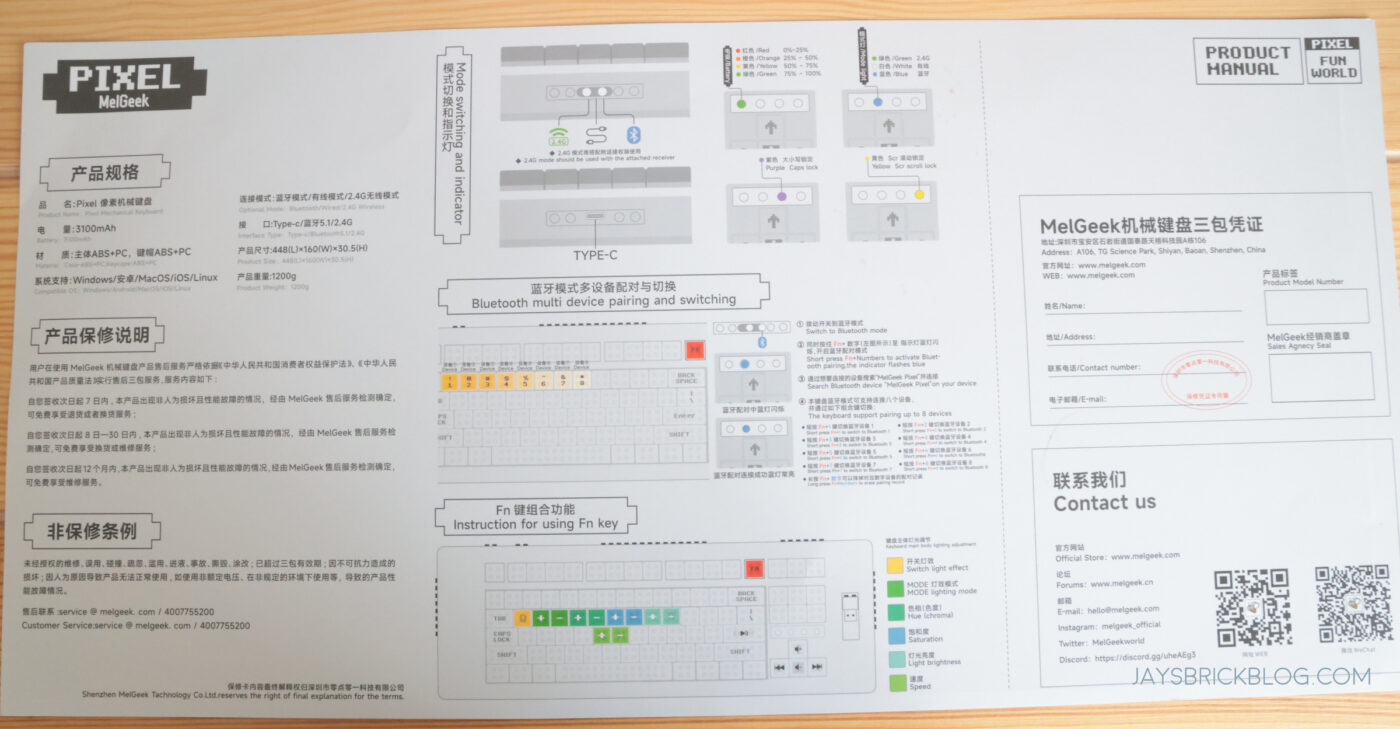
Here’s the other side of the manual, which also has instructions in Mandarin. The instructions are fairly simple, with steps on how to connect/sync the keyboard to your computer, what the LED indicator lights mean, and also how to switch up the RGB lighting modes.
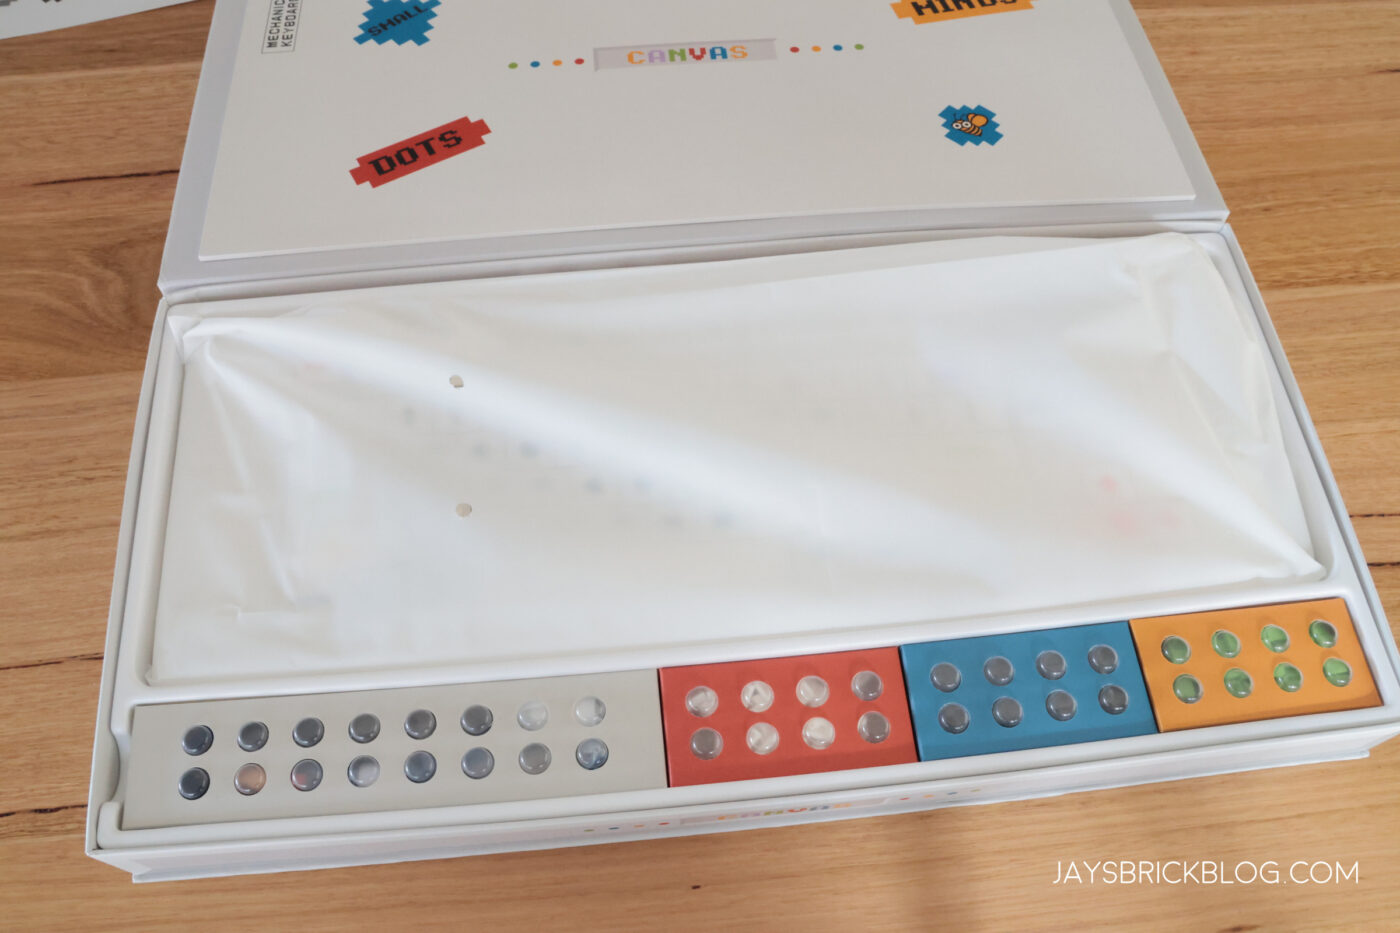
Here’s what greets you when you remove the piece of paper. The keyboard is inside a plastic sleeve, and there are these smaller colourful boxes at the bottom in their own recessed sections.
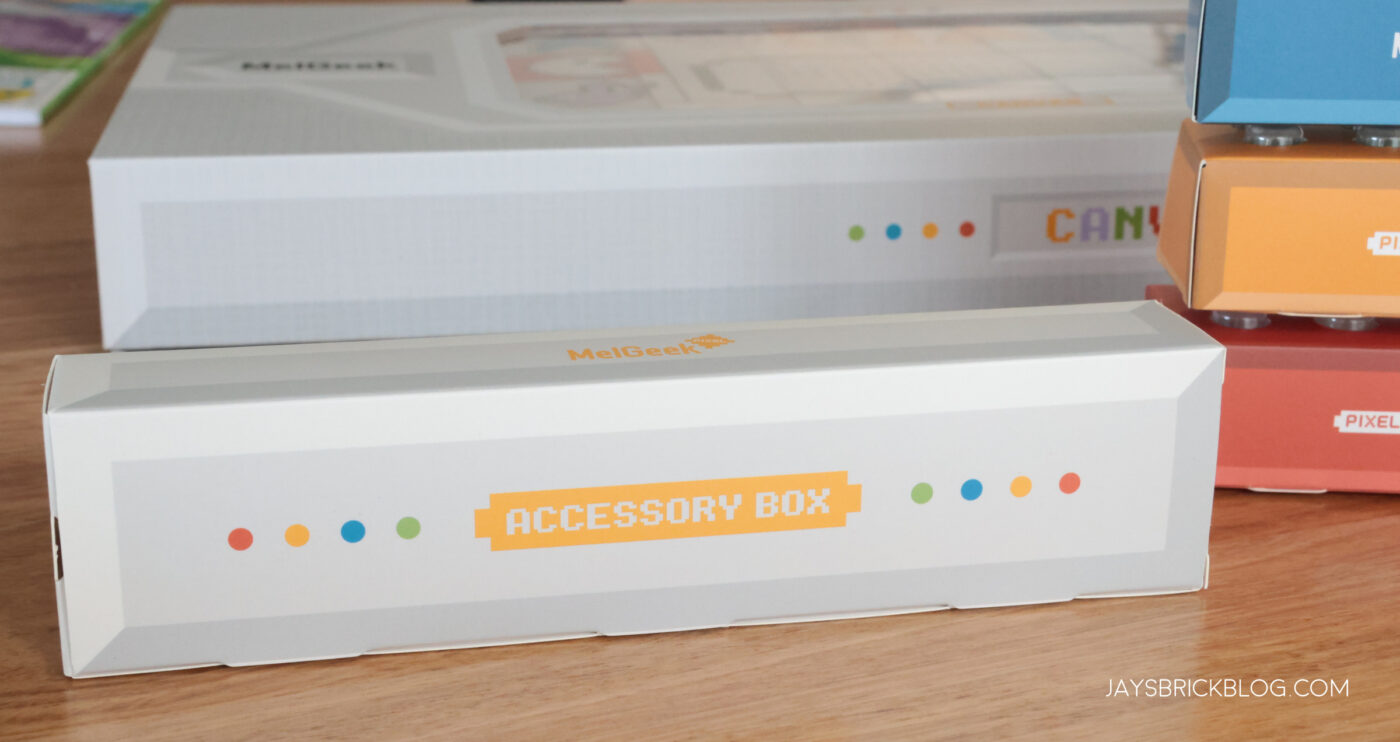
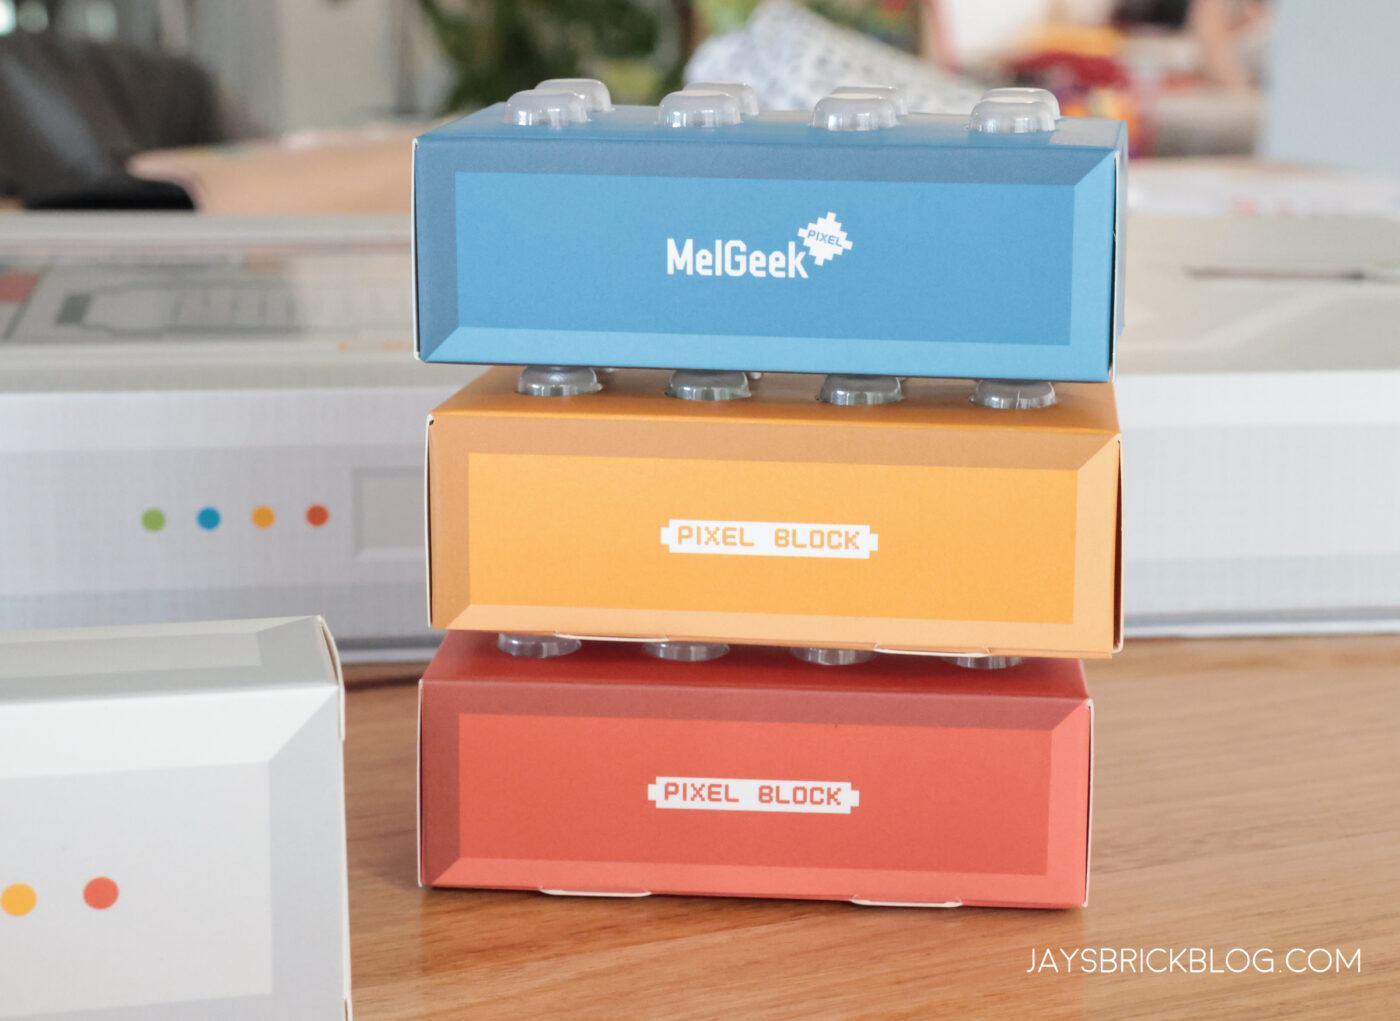
There’s an Accessory Box, as well as these colourful “Pixel Block” boxes.
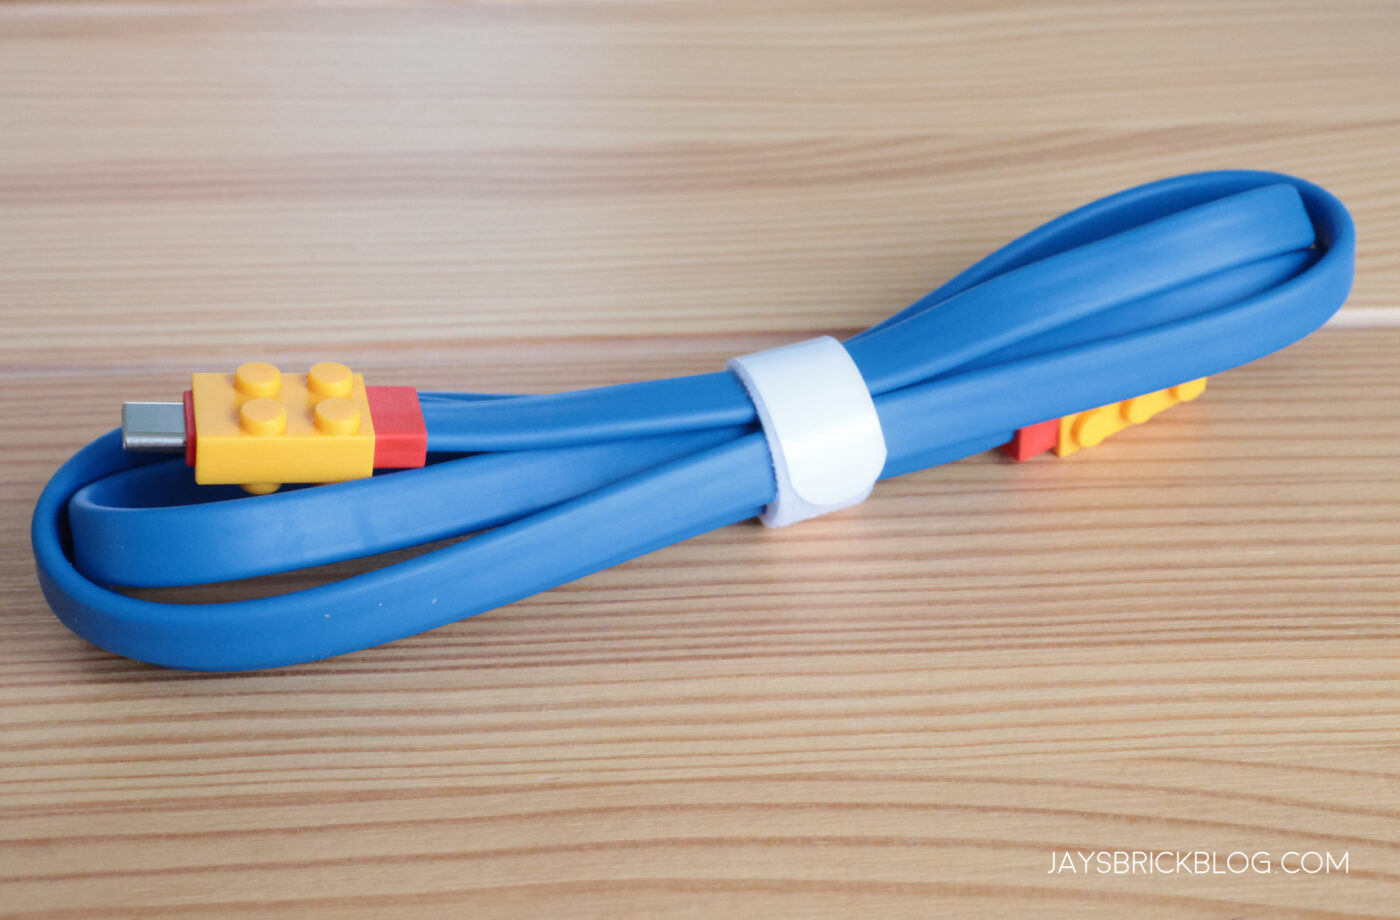
In the accessory box is this incredible USB-C cable which has studs on each end of the connectors. The studs kinda work, but there’s a bit too much clutch on them – they work to place studs on them which you’ll have to use quite a bit of force, but don’t quite work as well with minifigures.
This one is super handy, though, and I love the colours and design of this cable, and can see myself using this cable for my own personal use.
Probably my favourite thing in this entire package!
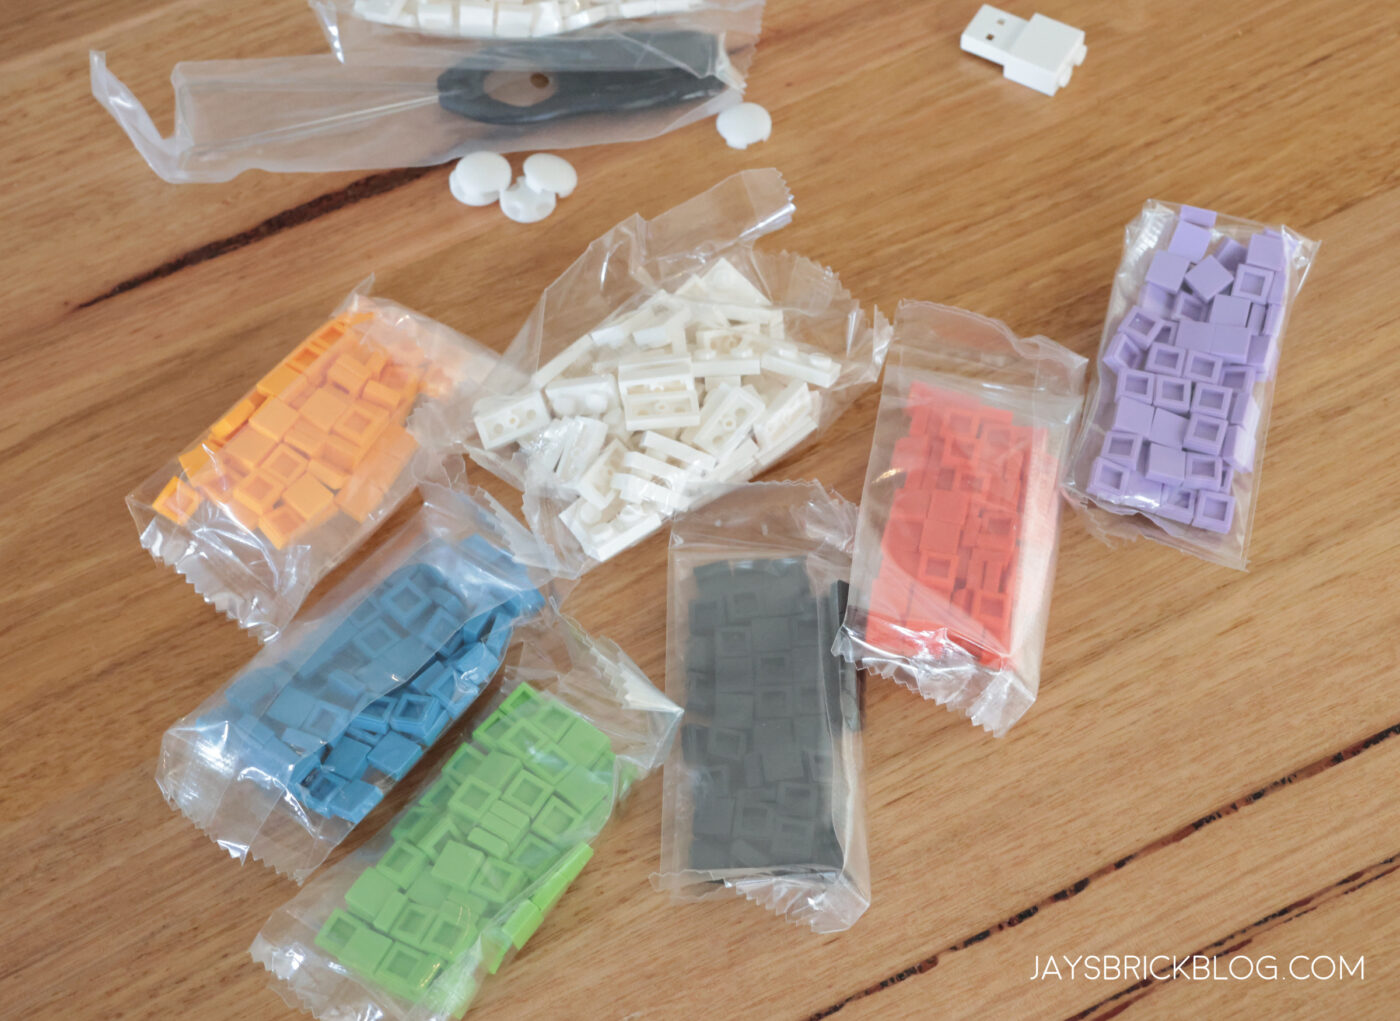
There are other accessories in the box, such as rubber feet for the keyboard, a keycap puller, and a USB dongle.
In the Pixel Blocks are bags of these colourful 1×1 tiles and 2×1 plates. These are not LEGO elements, and I have a thing about not using any non-LEGO elements where possible, so I just kept them in their bags and set them aside.
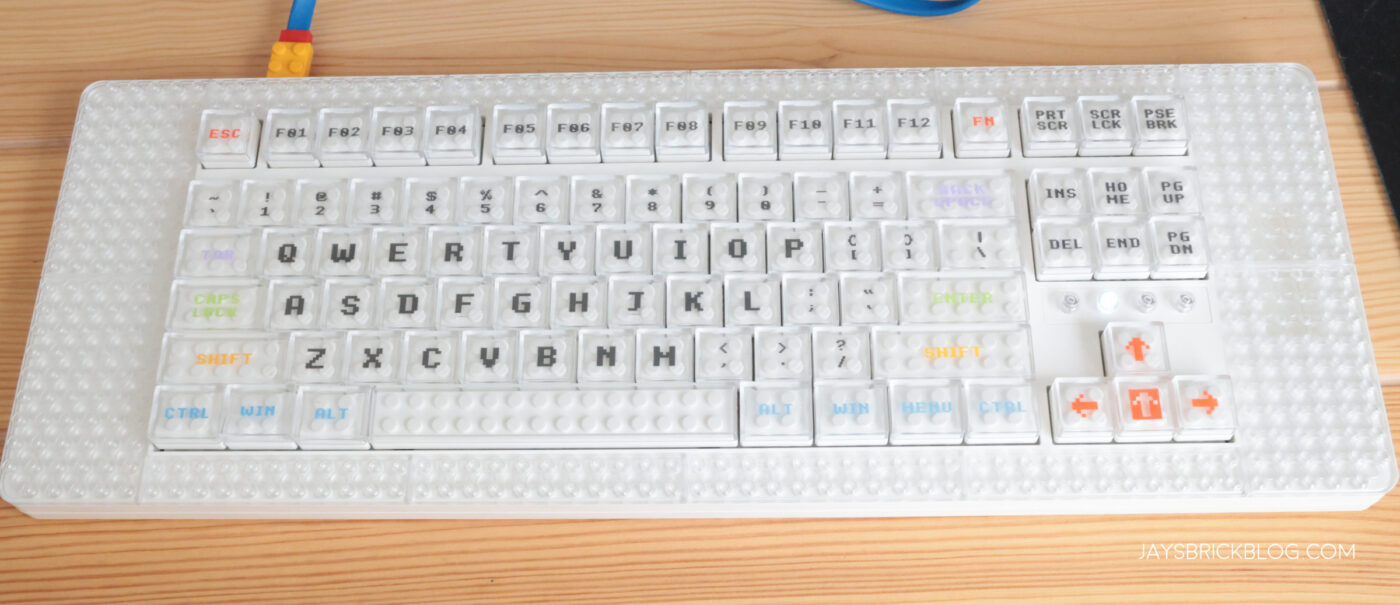
And here’s a look at the MelGeek Pixel! It’s quite a large keyboard, measuring about 45cm across, with plenty of extra space on the edges for the studs.
As this is the Canvas version, it looks quite minimalist and simple, but you’re meant to customise this to your liking, which we’ll get to in a while.
It’s pretty much a full keyboard, minus the numpad which might be a dealbreaker to some people.
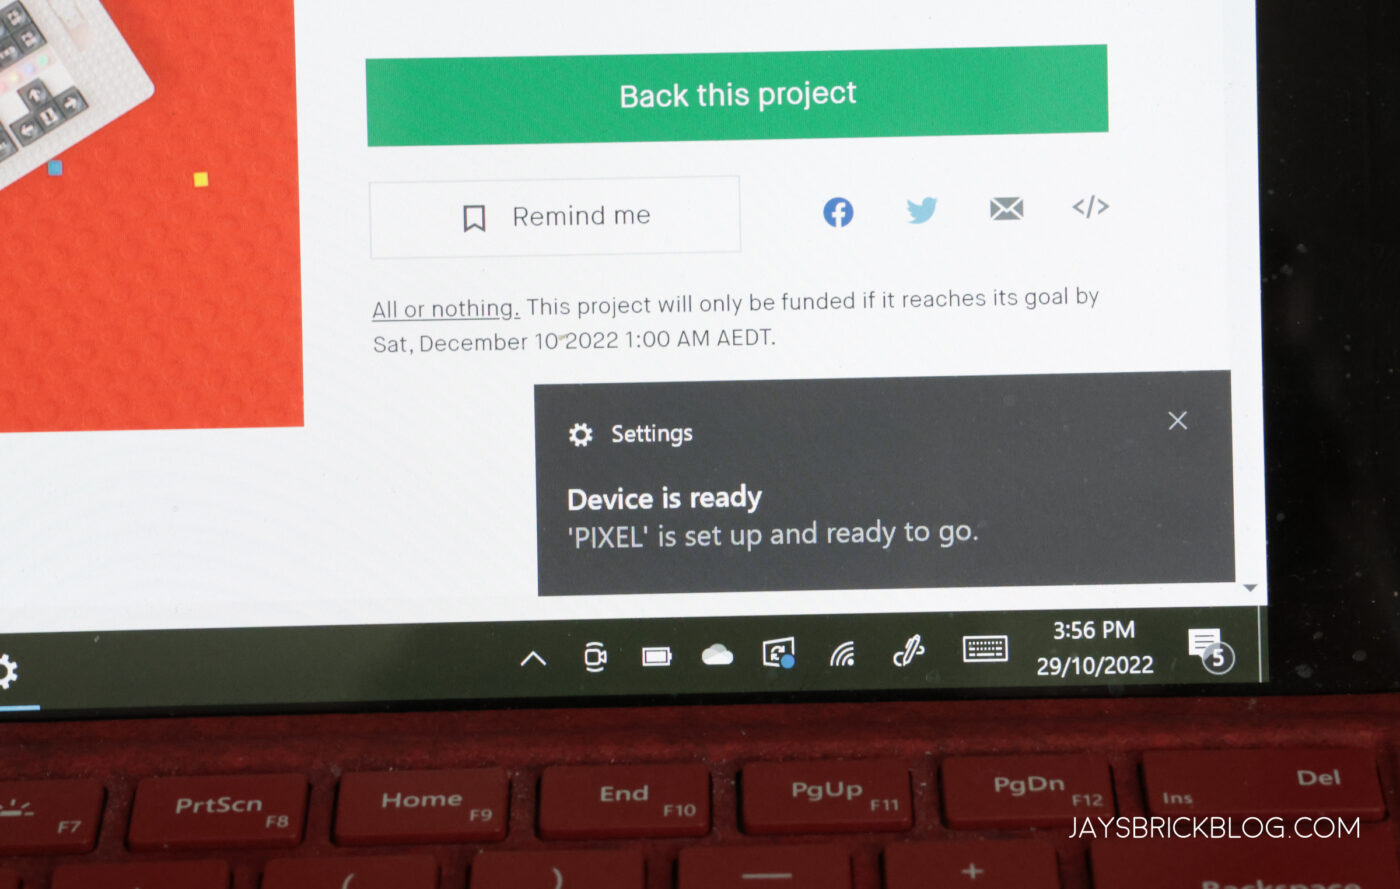
Connecting the Pixel to my computer was relatively seamless, and you can either use the USB dongle, Bluetooth or a wired connection.
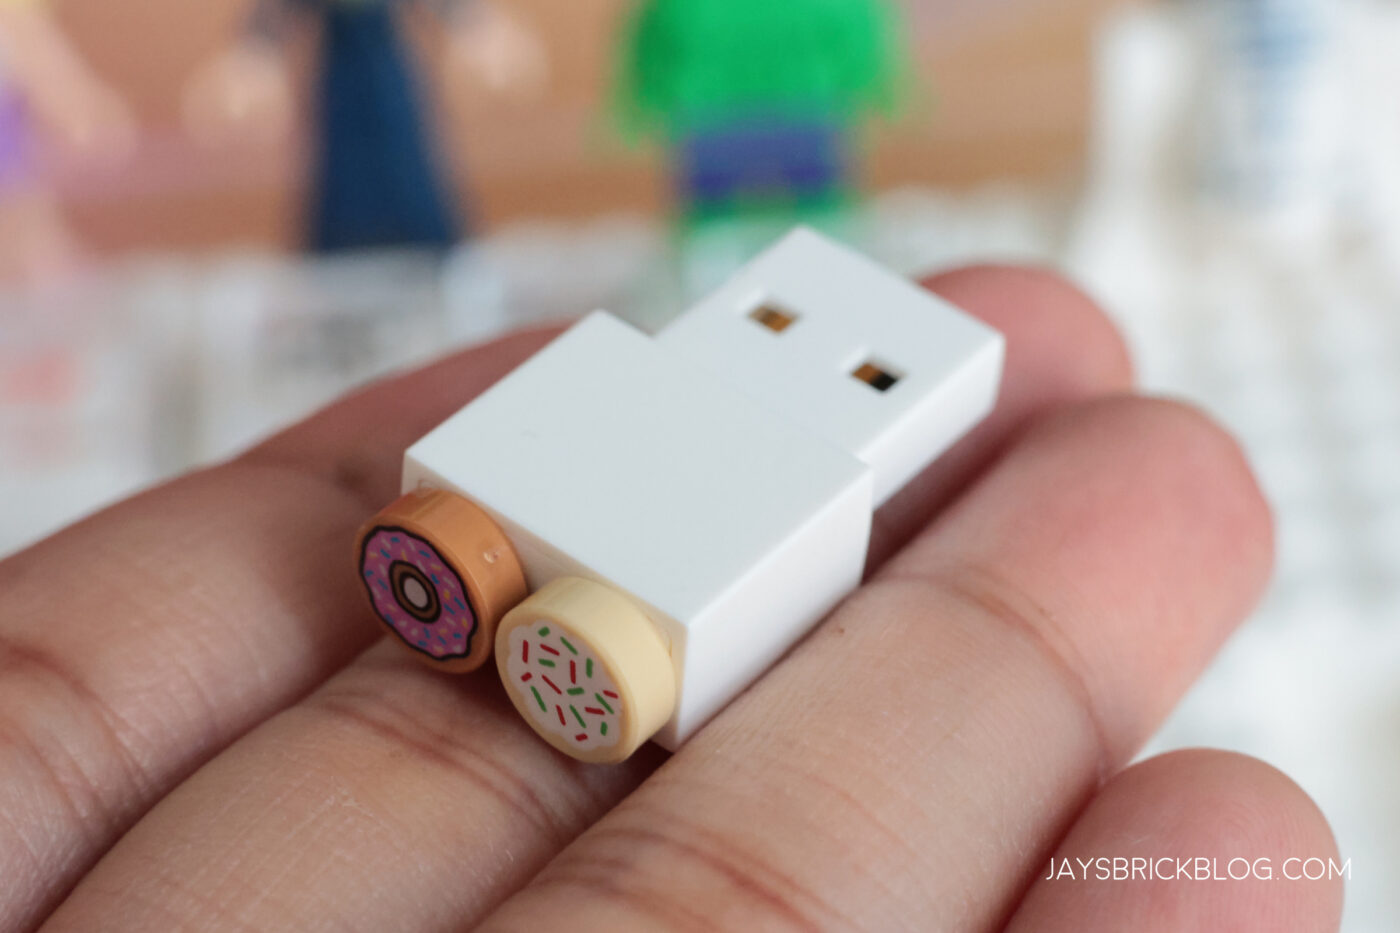
And here’s a look at the USB dongle, which also has 2 studs on the end that you can decorate!
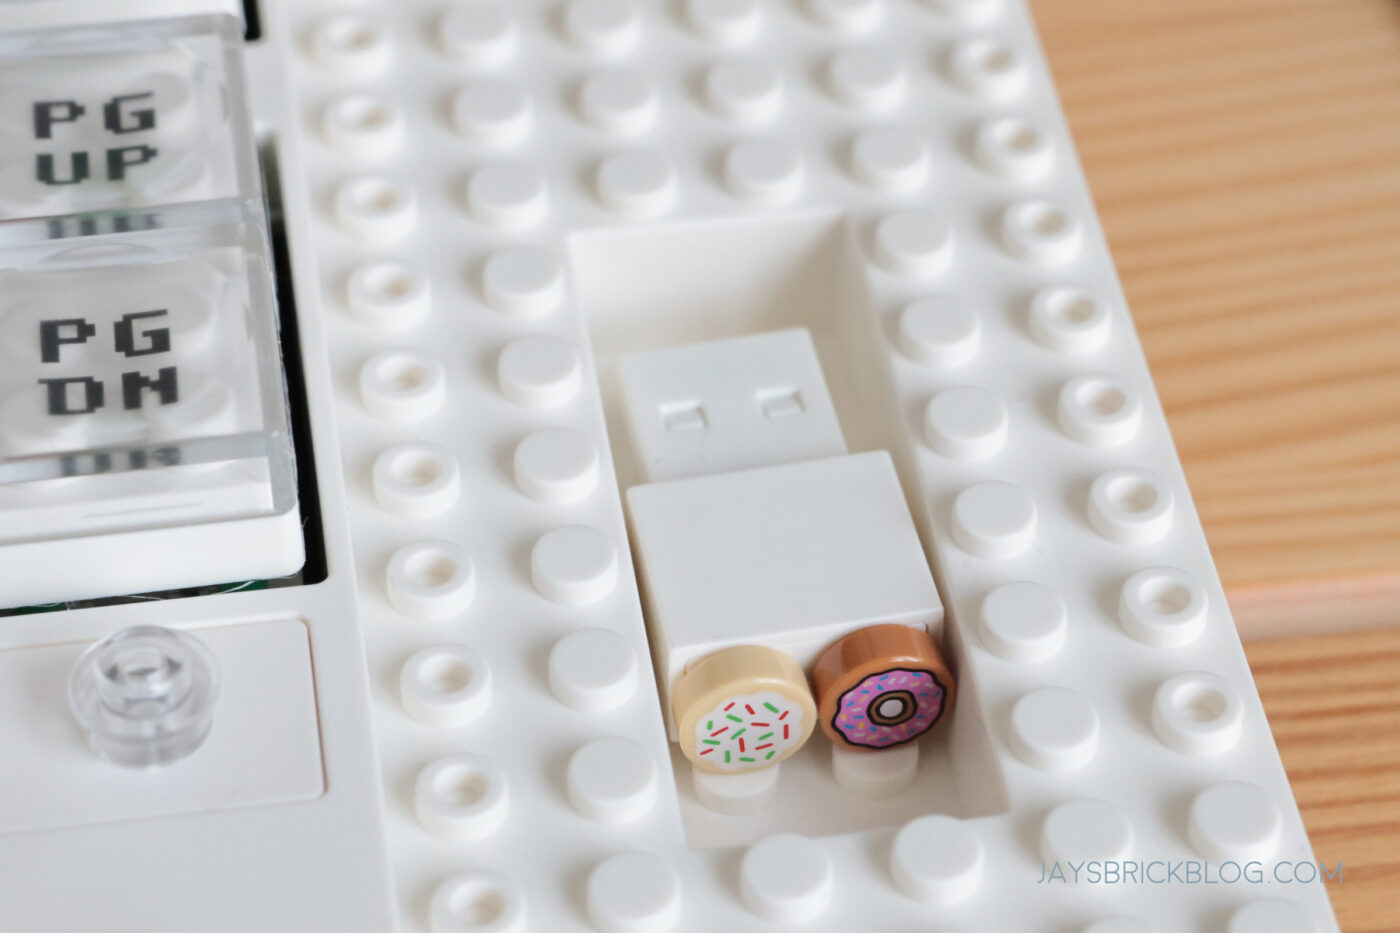
There’s also a cute little recess in the keyboard on the right where you can safely stow away the dongle for safekeeping.
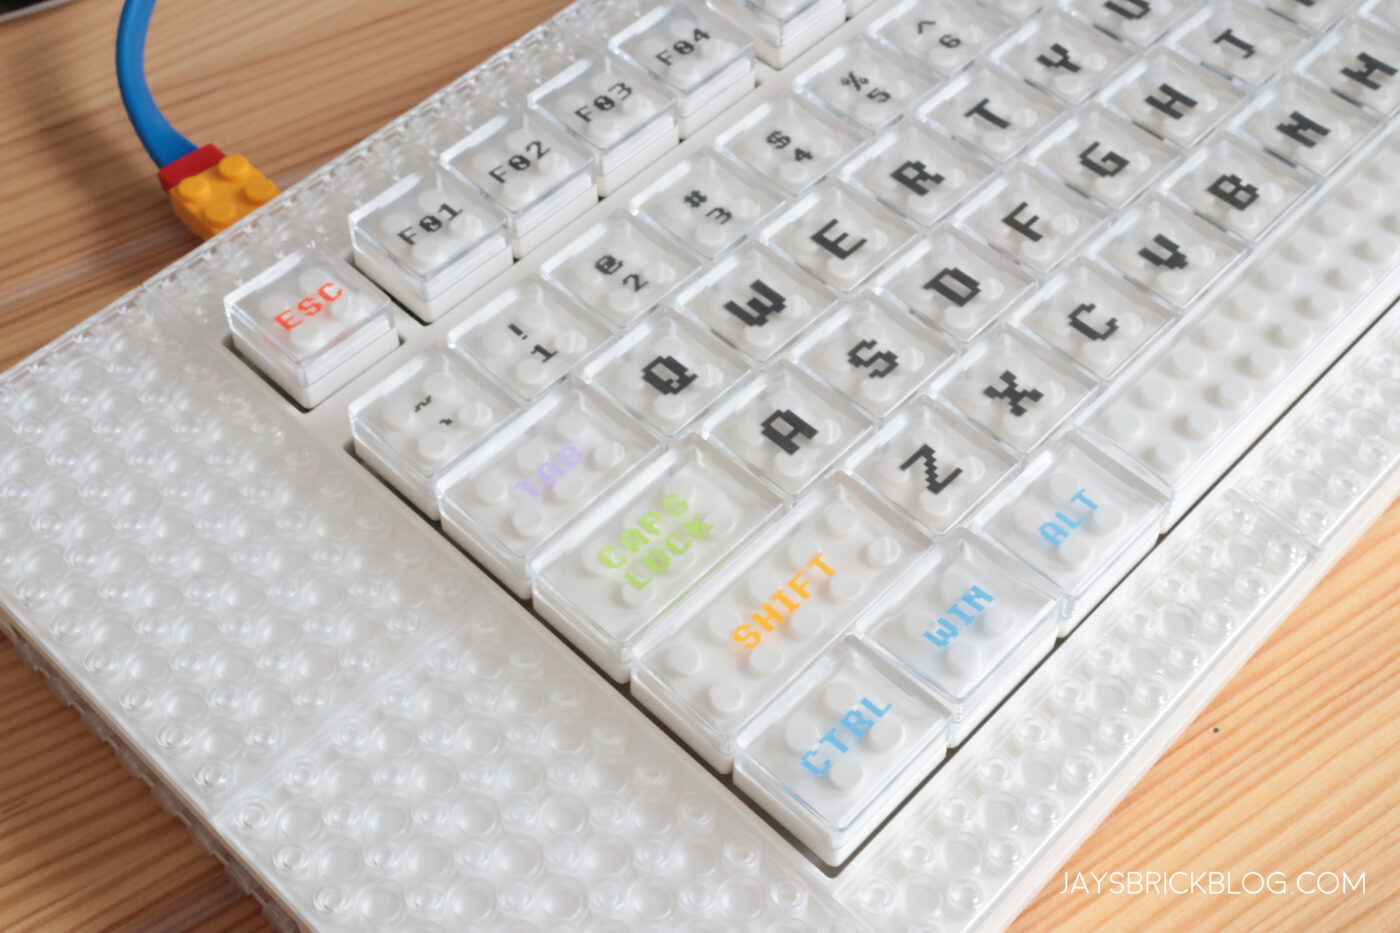
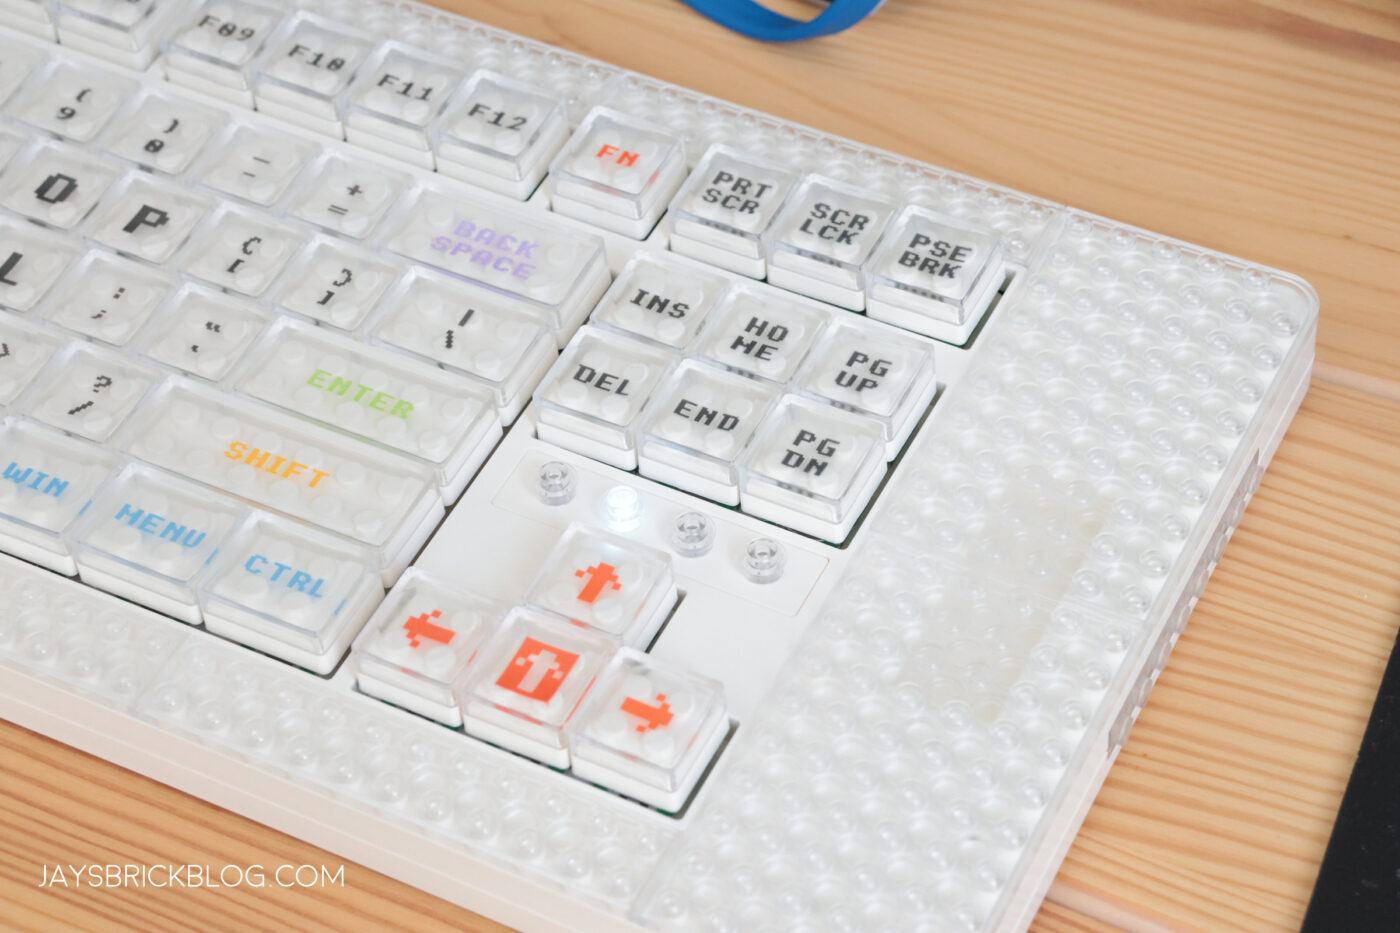
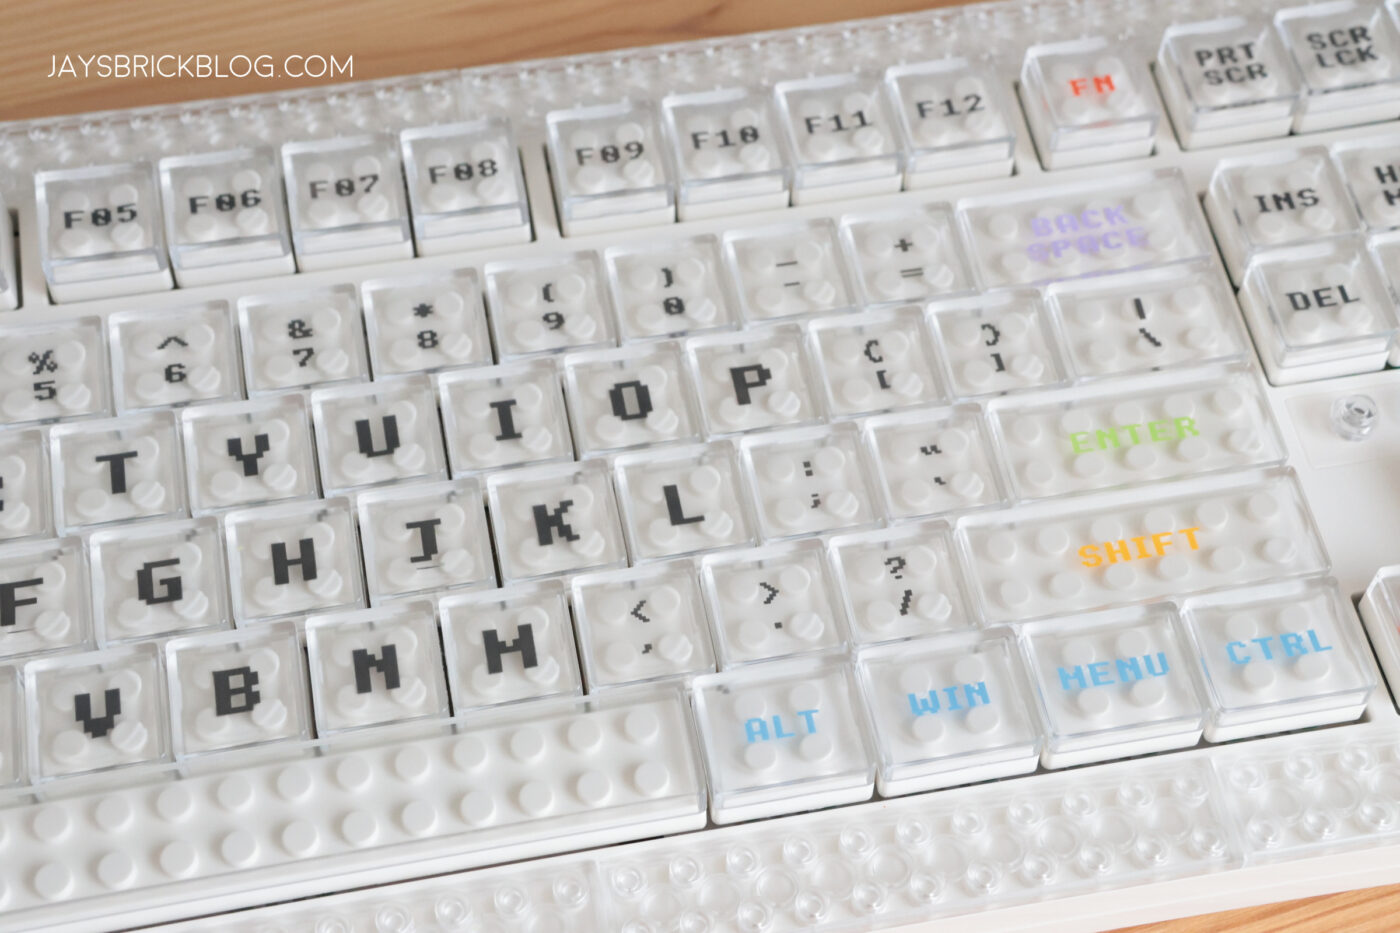
Here’s a closer look at the keyboard and some of the keys. There is a layer of transparent plates across the edges of the keyboard, and if you look at the keys, you’ll also notice that the keycaps are transparent, and that there are studs beneath them, allowing you to pretty much decorate nearly every part of the keyboard with LEGO.
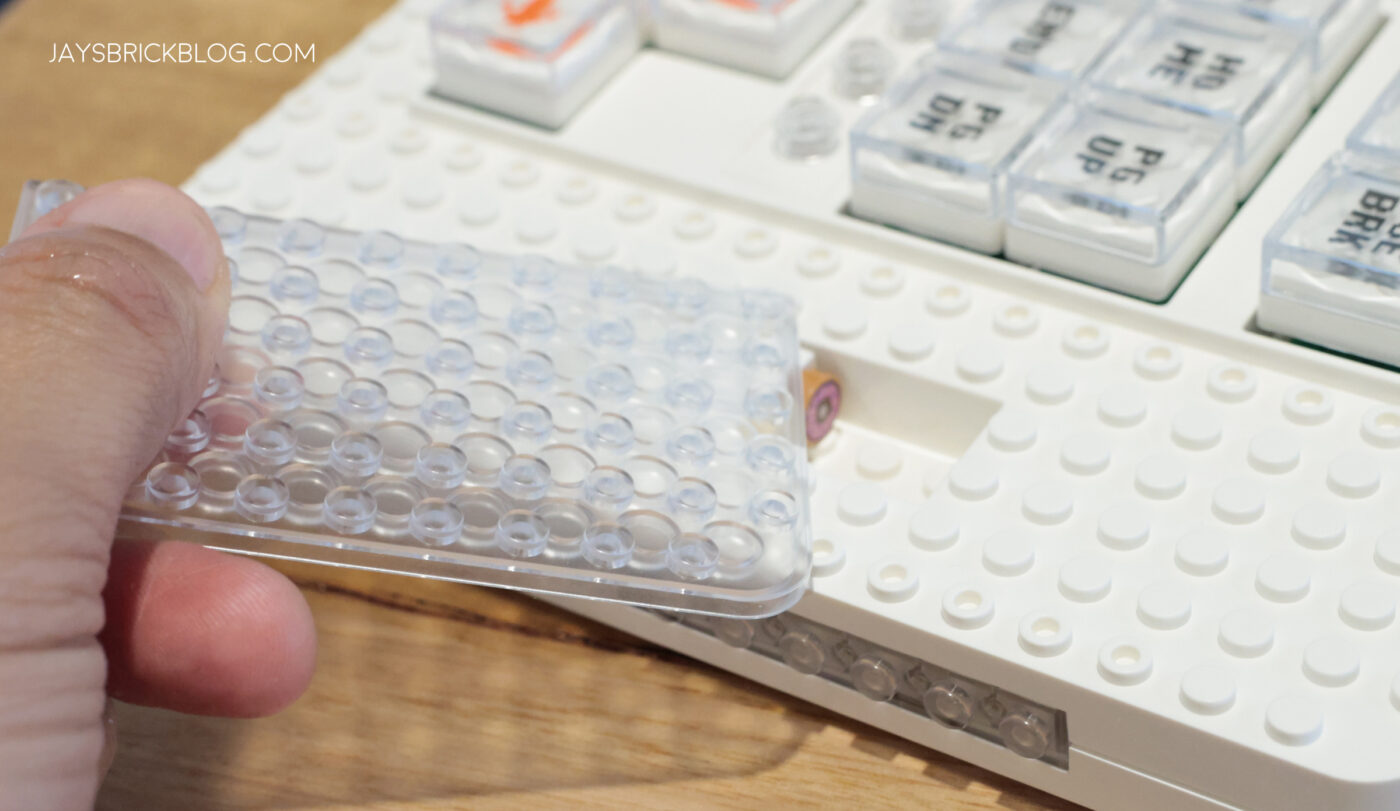
Here’s a look at the transparent plates that you can easily remove. You can either build on the white base layer, or the transparent plates.
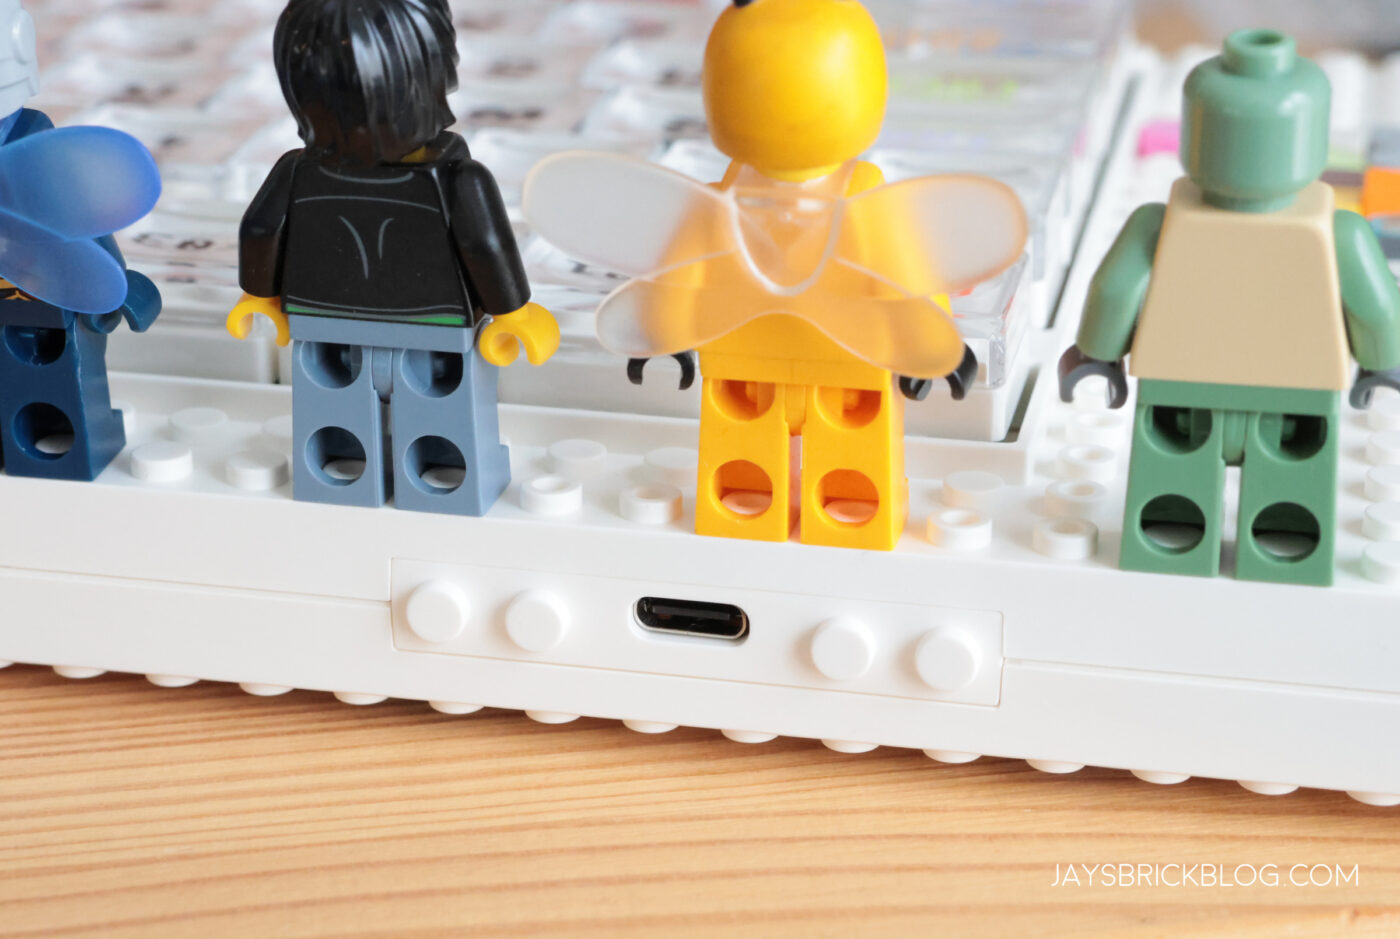
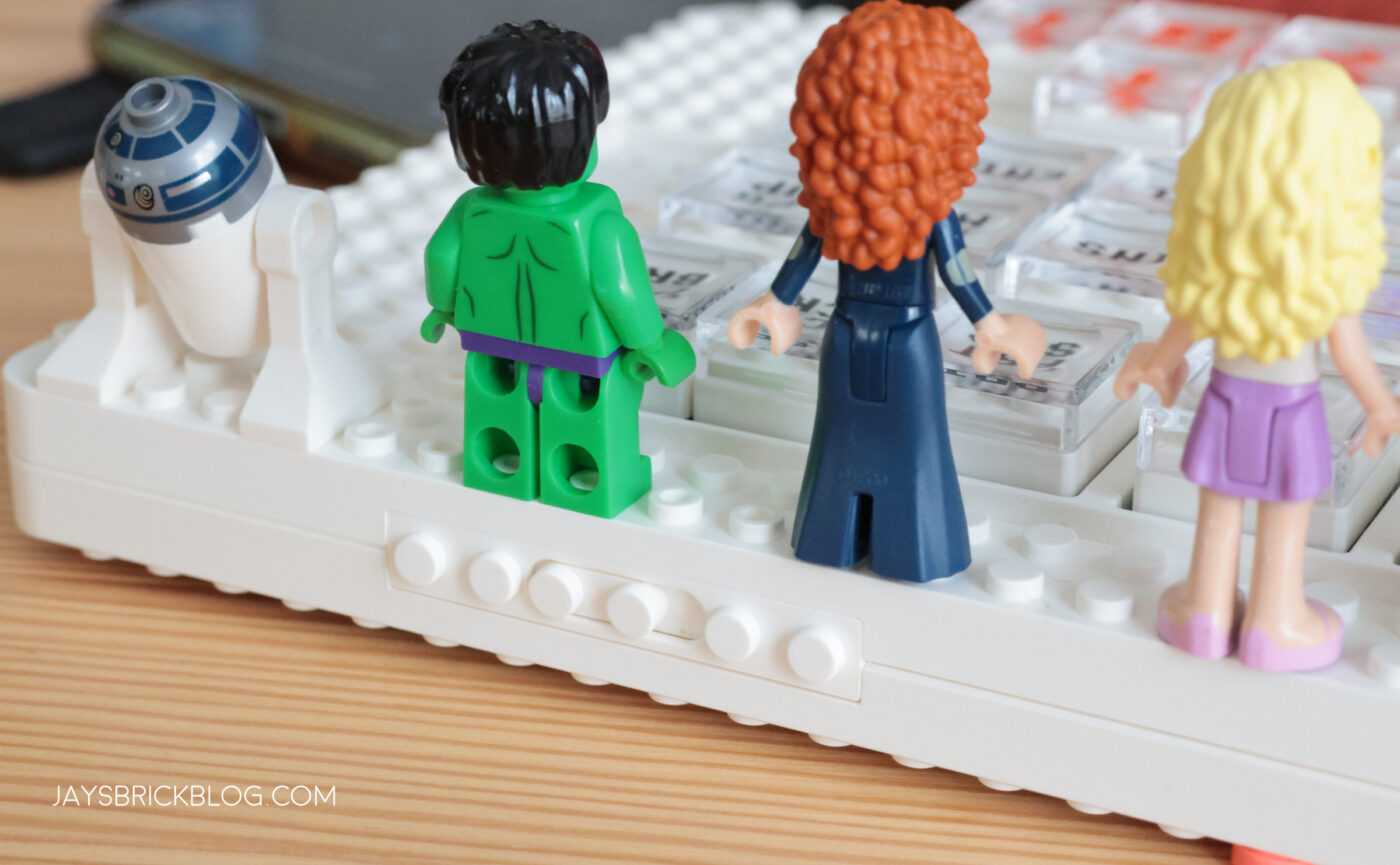
Here’s a look at the back of the keyboard, to give you a better look at the USB-C port, as well as the switch that toggles between different modes.
I appreciate that there are studs here, which you can of course affix LEGO to.
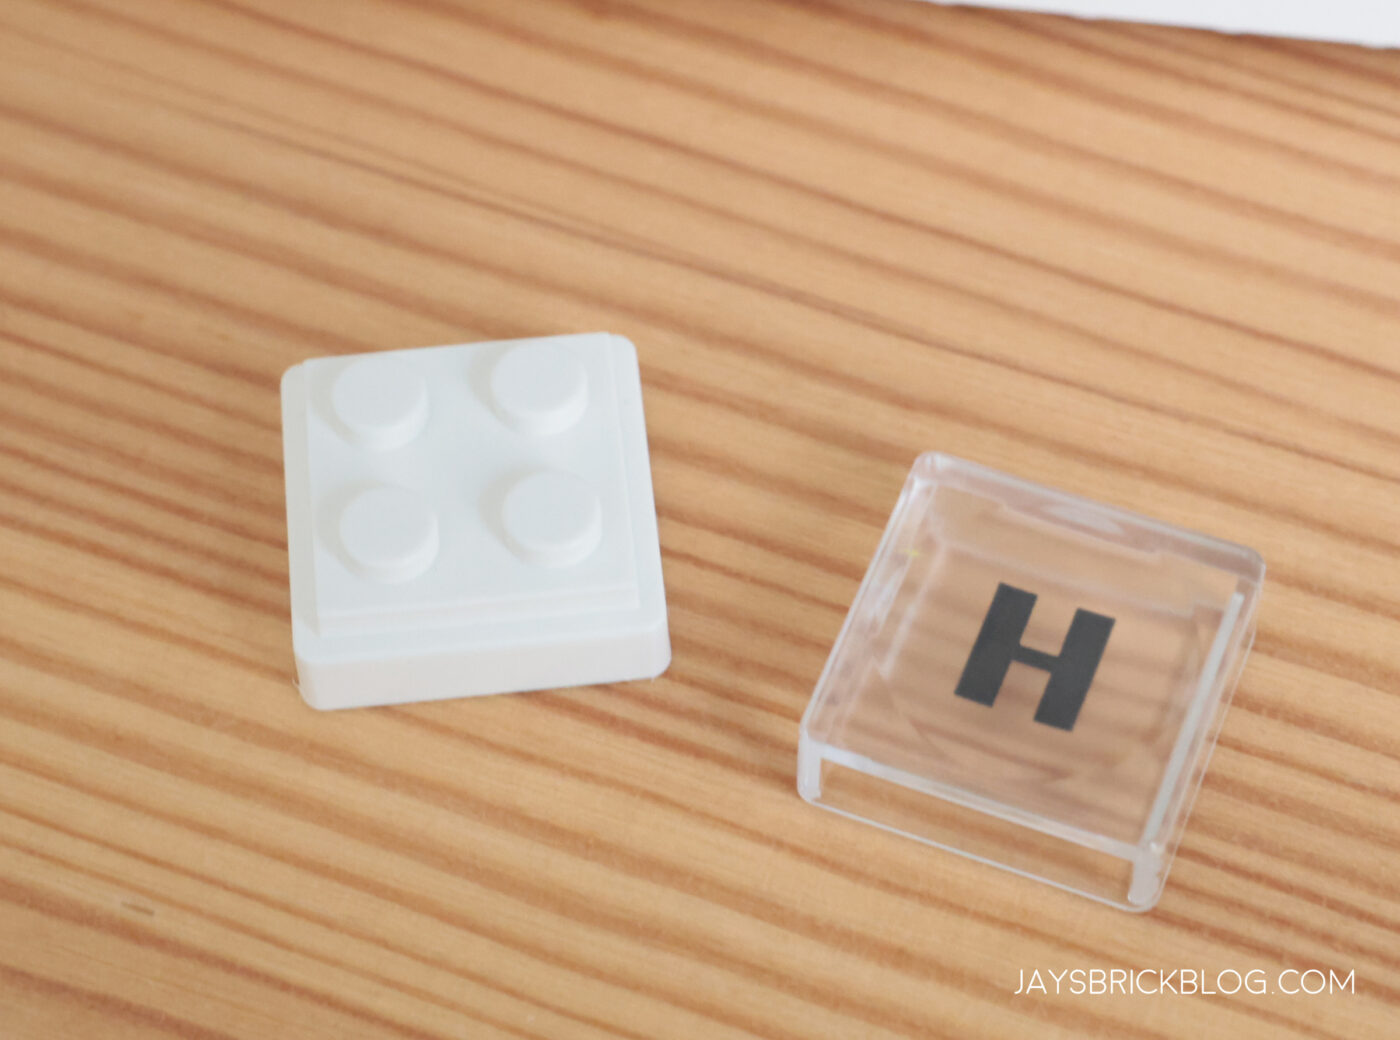
The keycaps are really interesting, as there are a few layers to then. There’s a transparent case that go over them, but on the actual keycaps, there are studs on them that you can decorate with either plates or tiles. You can go wild and not have the transparent case on them, but they are there to protect your fingertips.
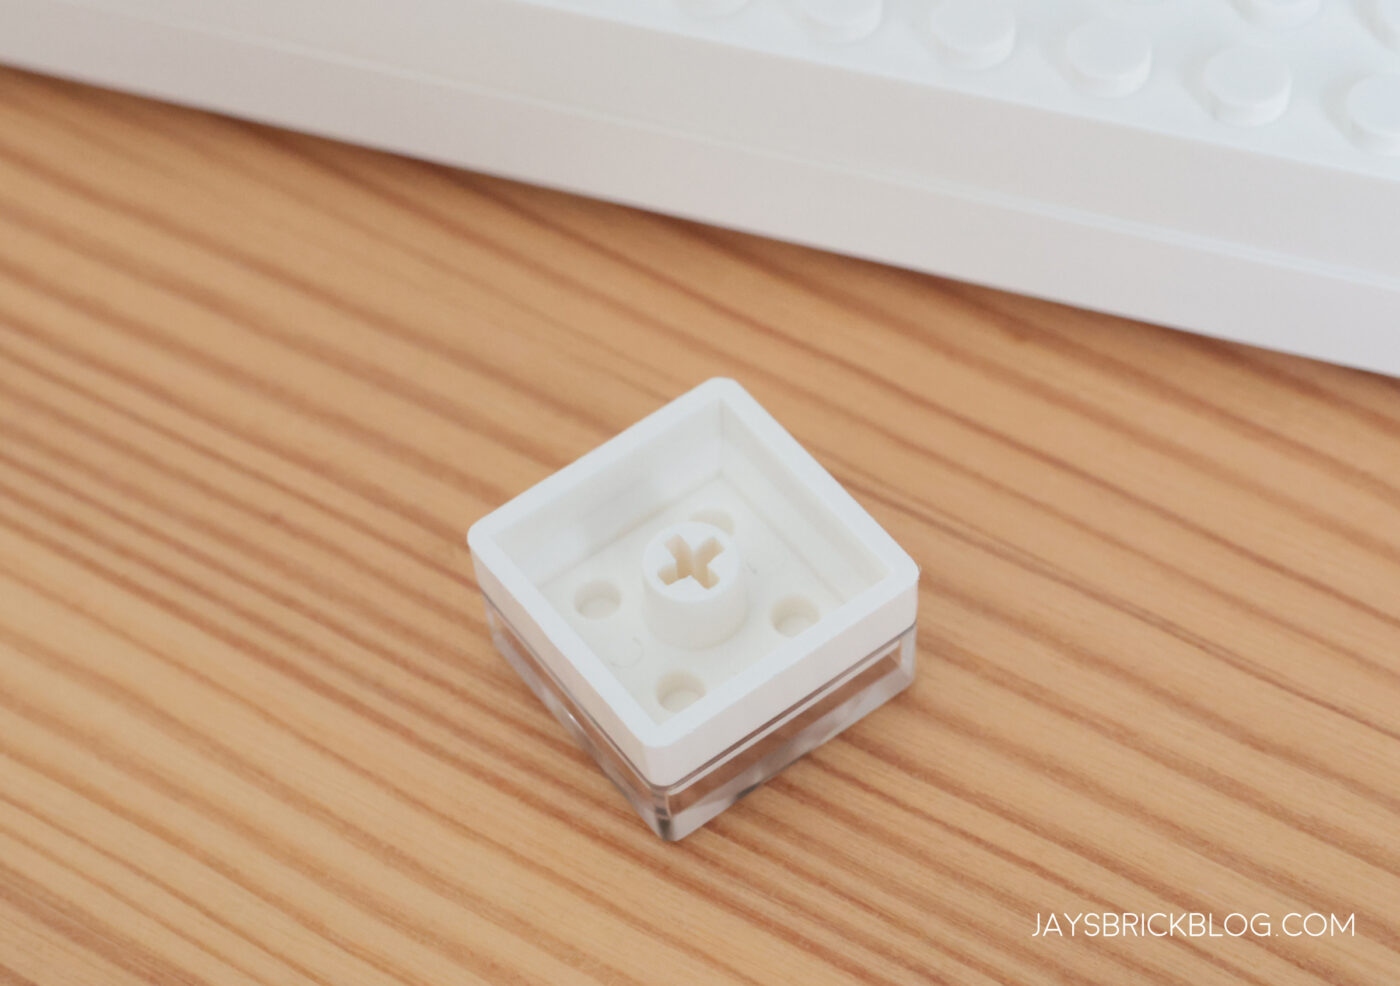
Here’s a look at the underside of the keys.

So, I’m not a huge mechanical keyboard guy, and this is in fact my first one (I have thought about dabbling… but LEGO is my main hobby, and I’m not allowed any more money-sink hobbies) which I was pretty excited to try.
The MelGeek Pixel utilises Kaihl switches, and these ones have a travel distance of 3.9mm max, and are meant to feel tactile, with a gentle sound.
Here’s what the MelGeek Pixel sounds like! And yes, in case you were wondering, I do only type with my index fingers. It’s how I learned how to type and I’m really good at it.
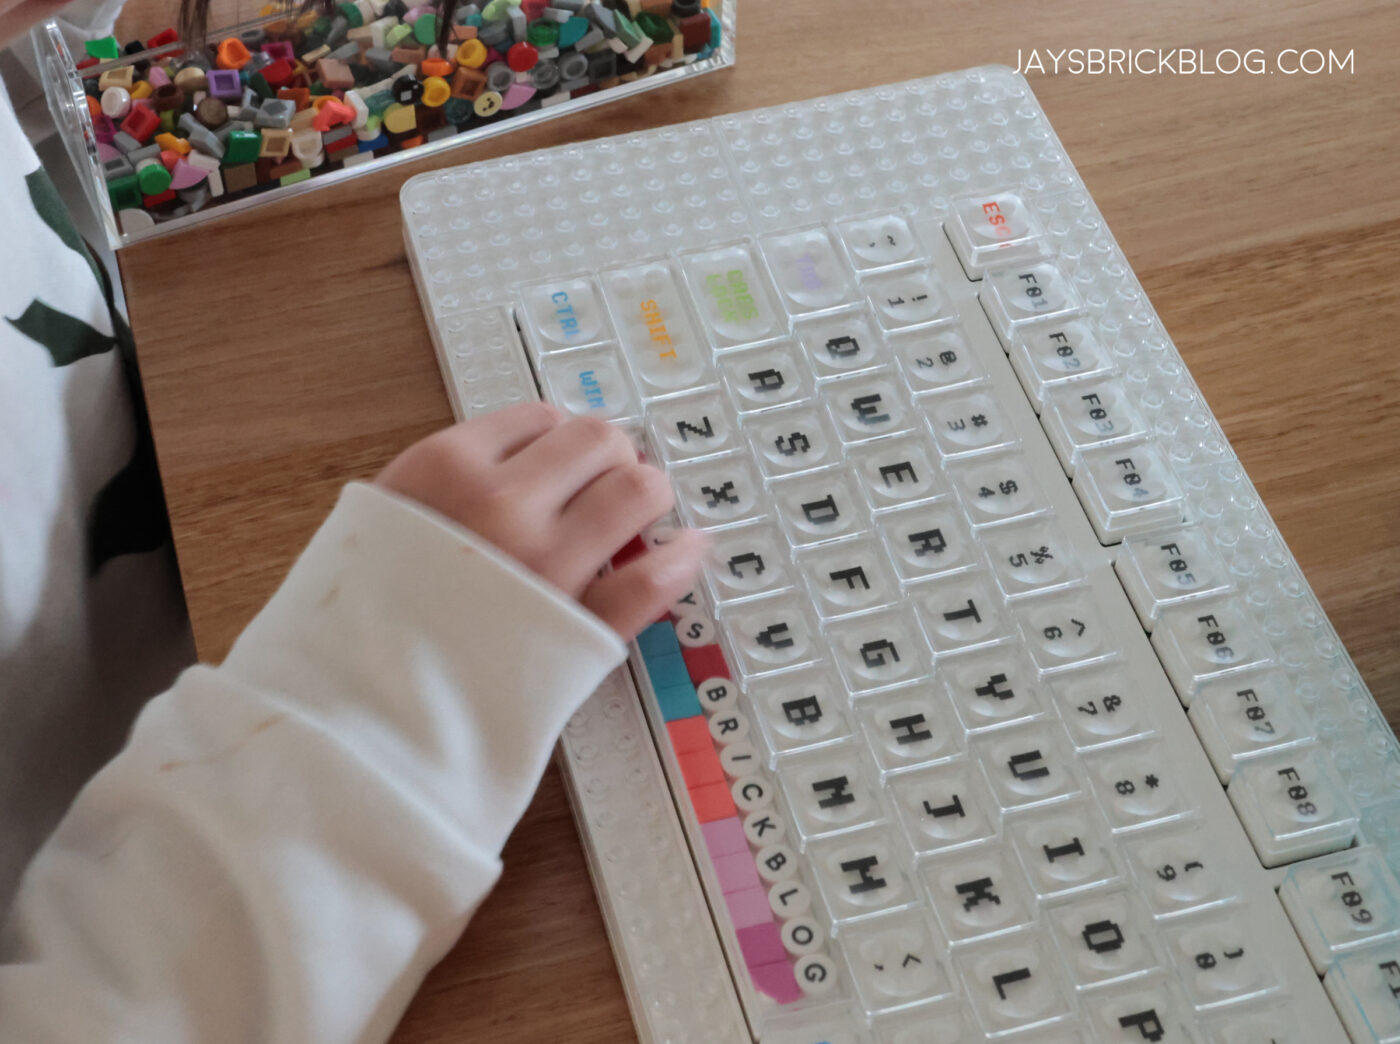
With this being the Canvas keyboard, the objective here is to decorate and personalise it as much as possible, and I enlisted my resident 6-year old LEGO Dots expert to consult and help with some of it.
We spent a bit of an afternoon decorating some of the keyboard, which was actually quite fun. I hadn’t really spent this much of time and energy on LEGO Dots, but we have plenty at home, and those were my preferred bricks to use for this project.
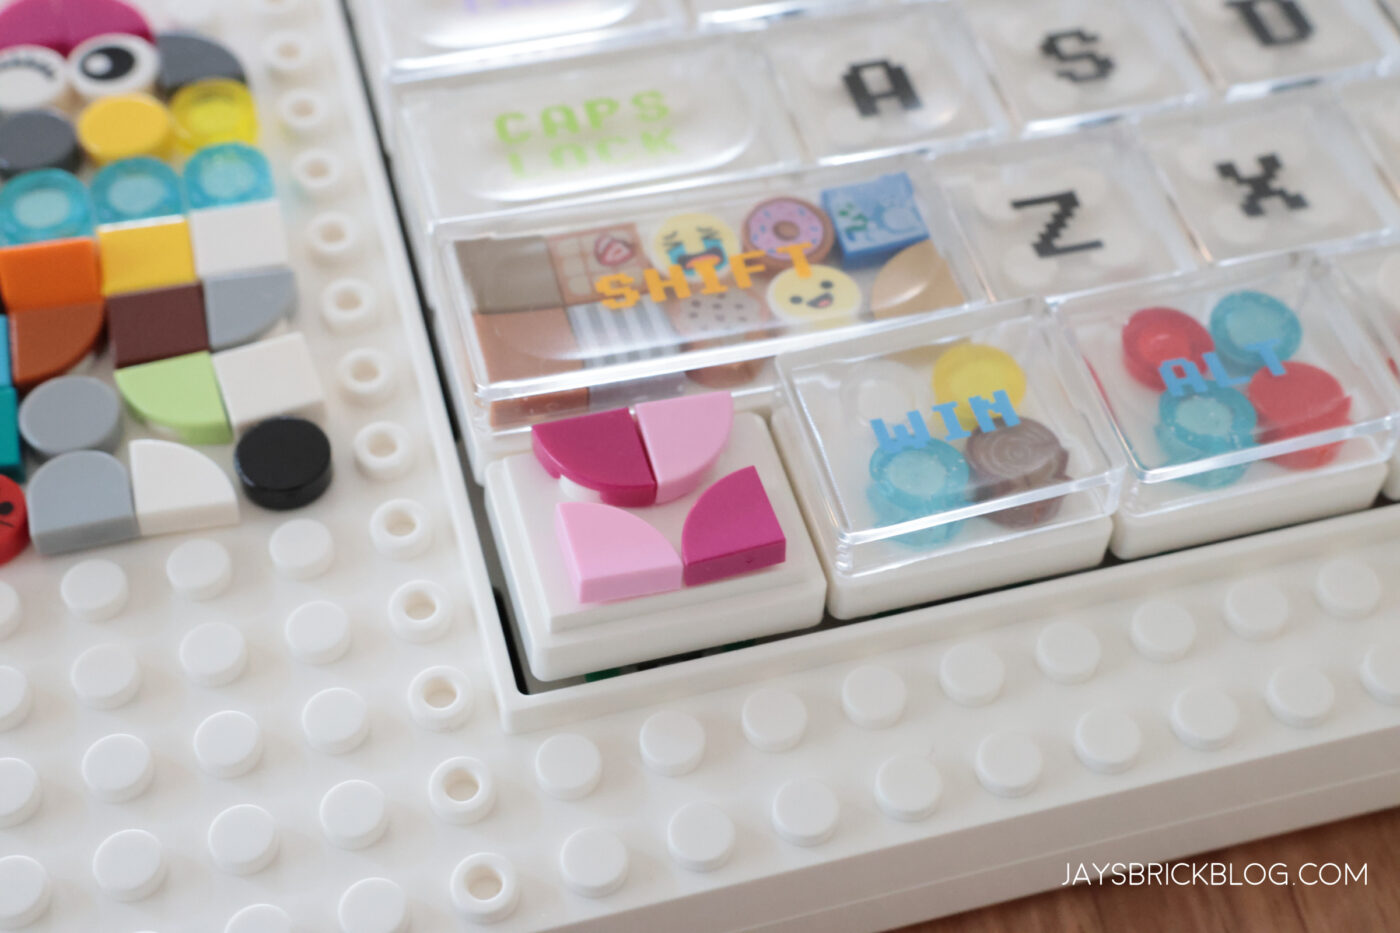
It was really fascinating, and kinda cool to be able to decorate all the keys with tiles or studs, and we didn’t get to all of it, but you could really go to town here.
The ability to use the keyboard as is without the transparent caps is also possible, and you can really make it look like a LEGO keyboard without the case. Hopefully you’ll have committed the keyboard layout to muscle-memory if you do, but this is just one of the ways you can customise and truly make this keyboard your own.
I think if I had enough tiles, it would look great with a multi-coloured tiles across all the keys.
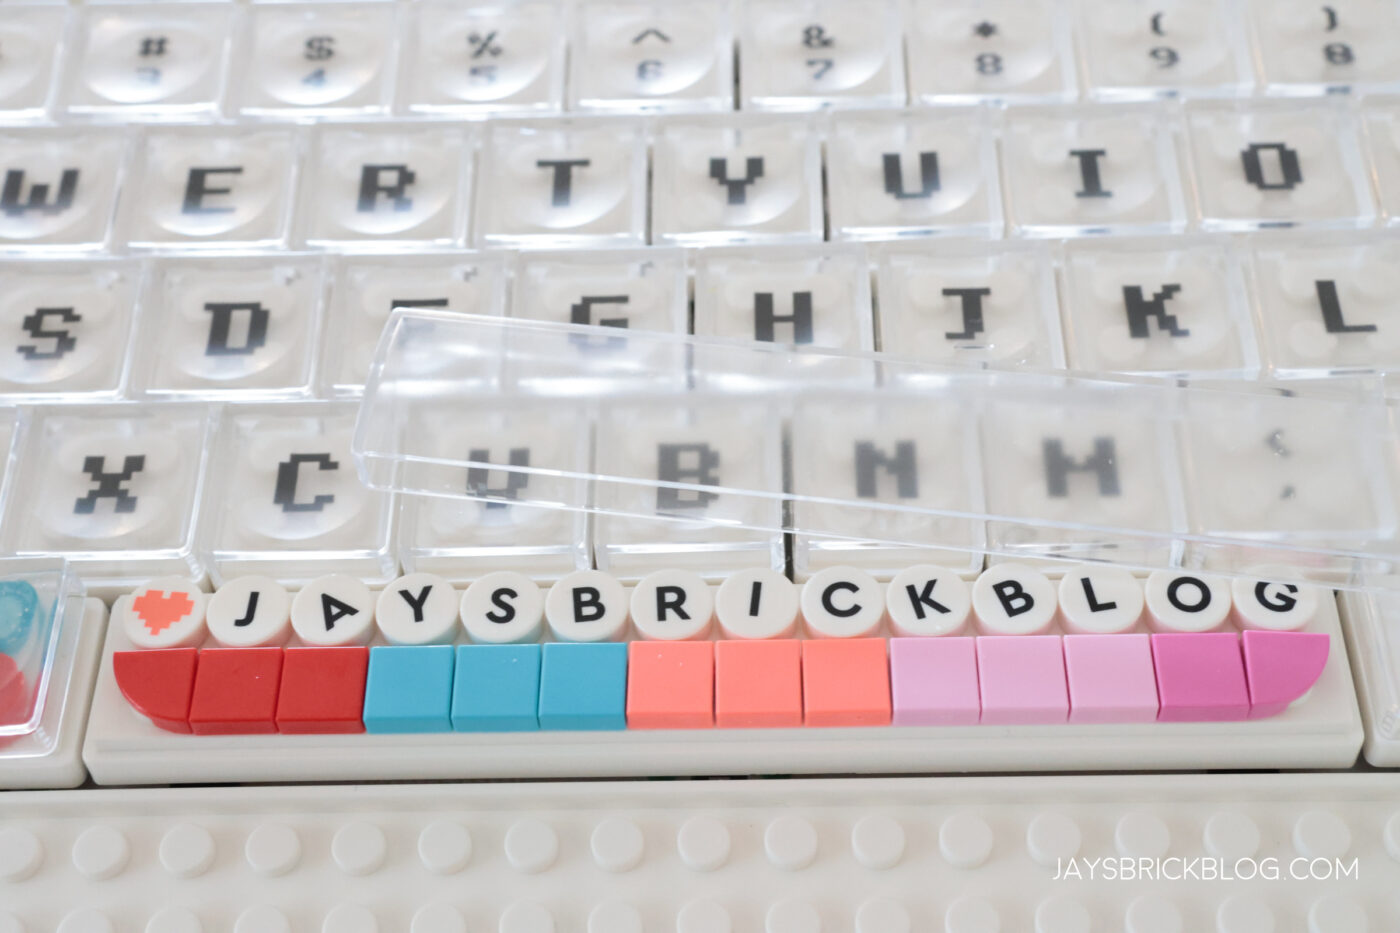
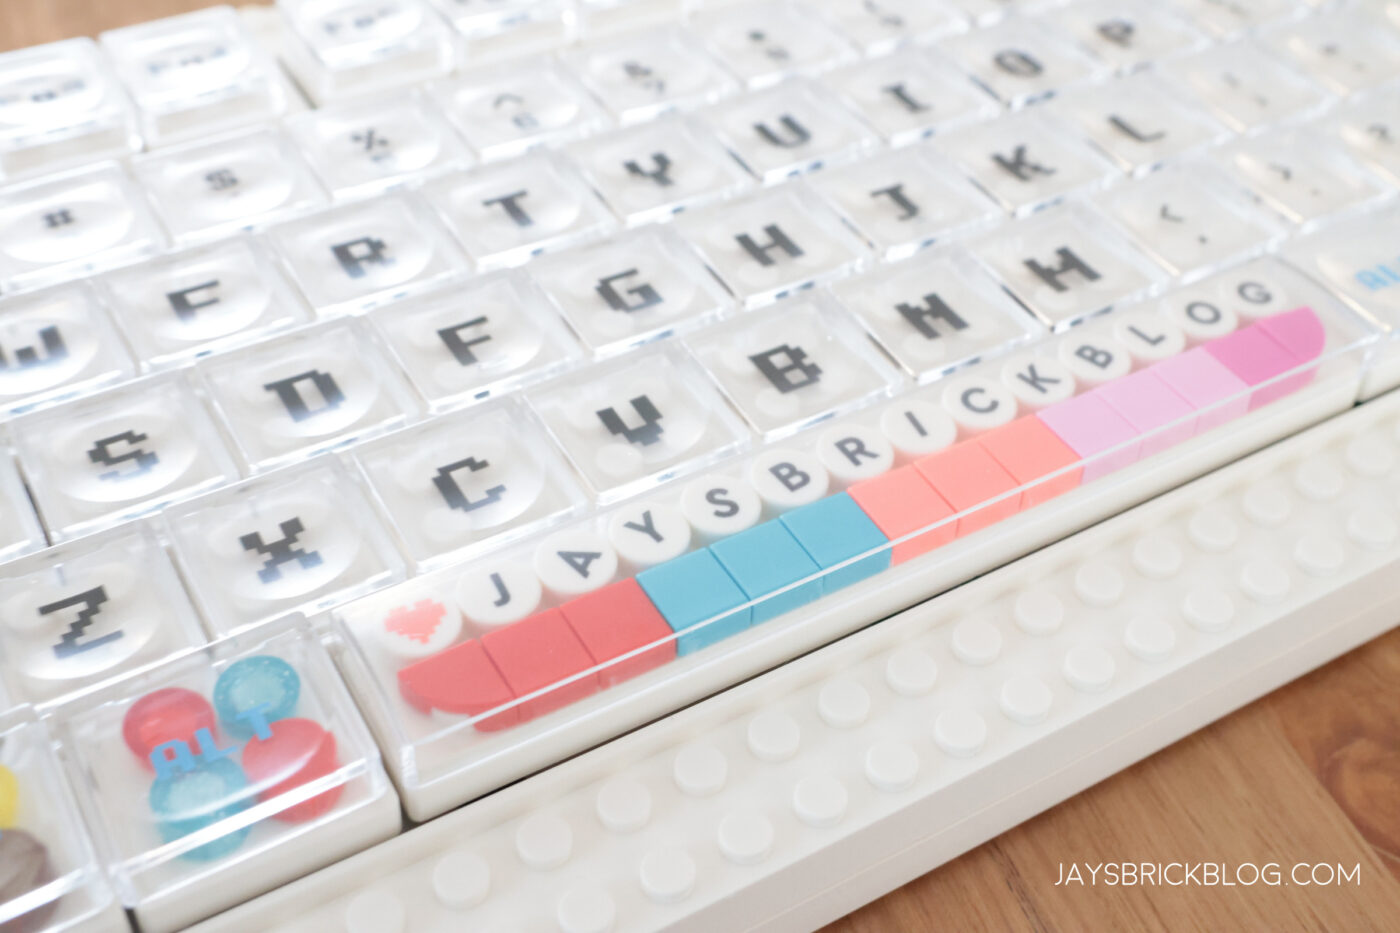
Here’s what we did with the Spacebar.
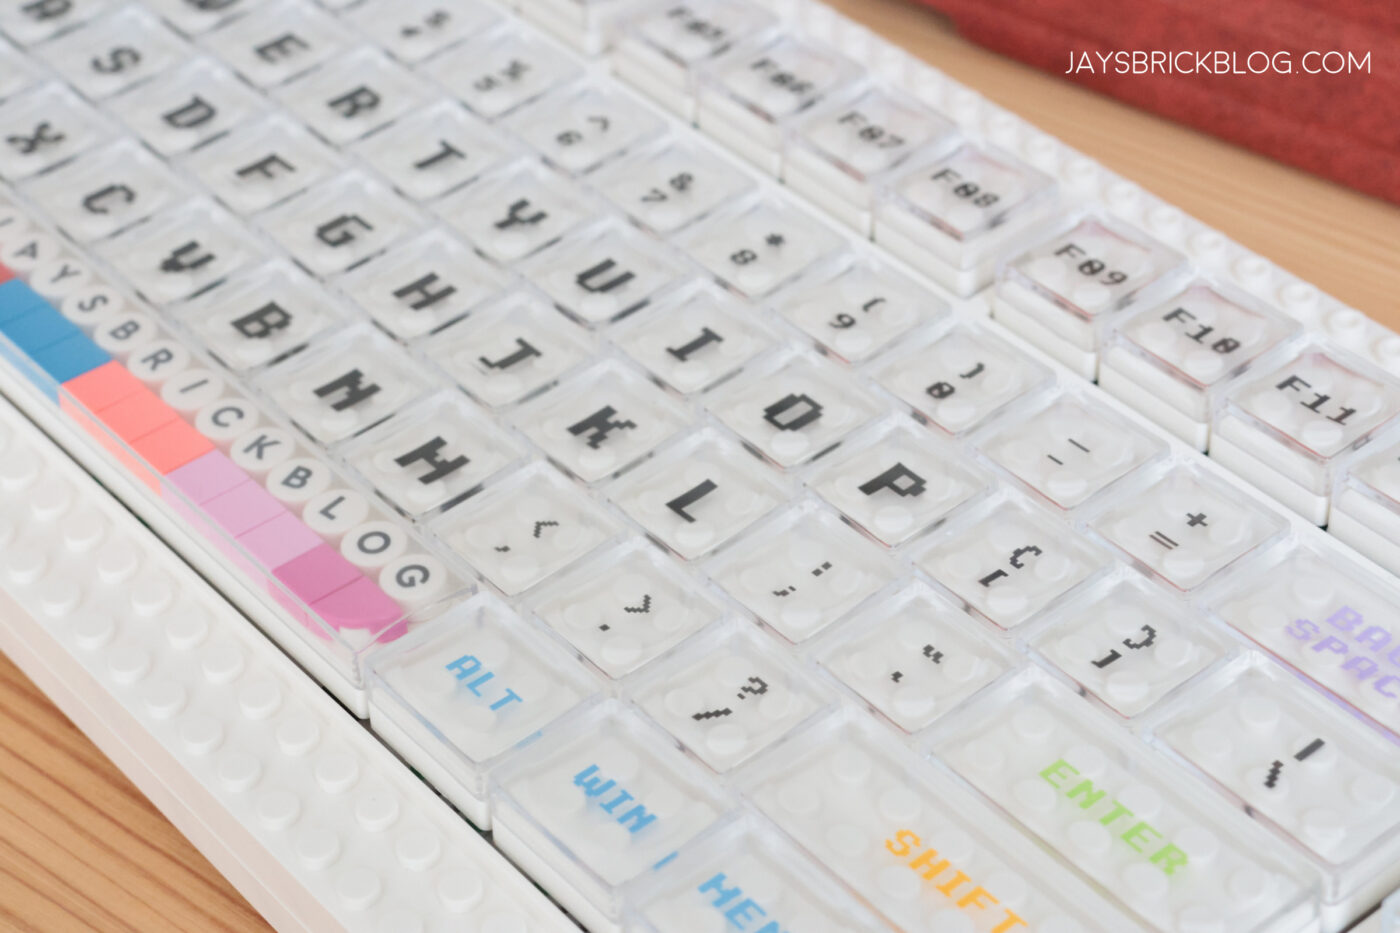
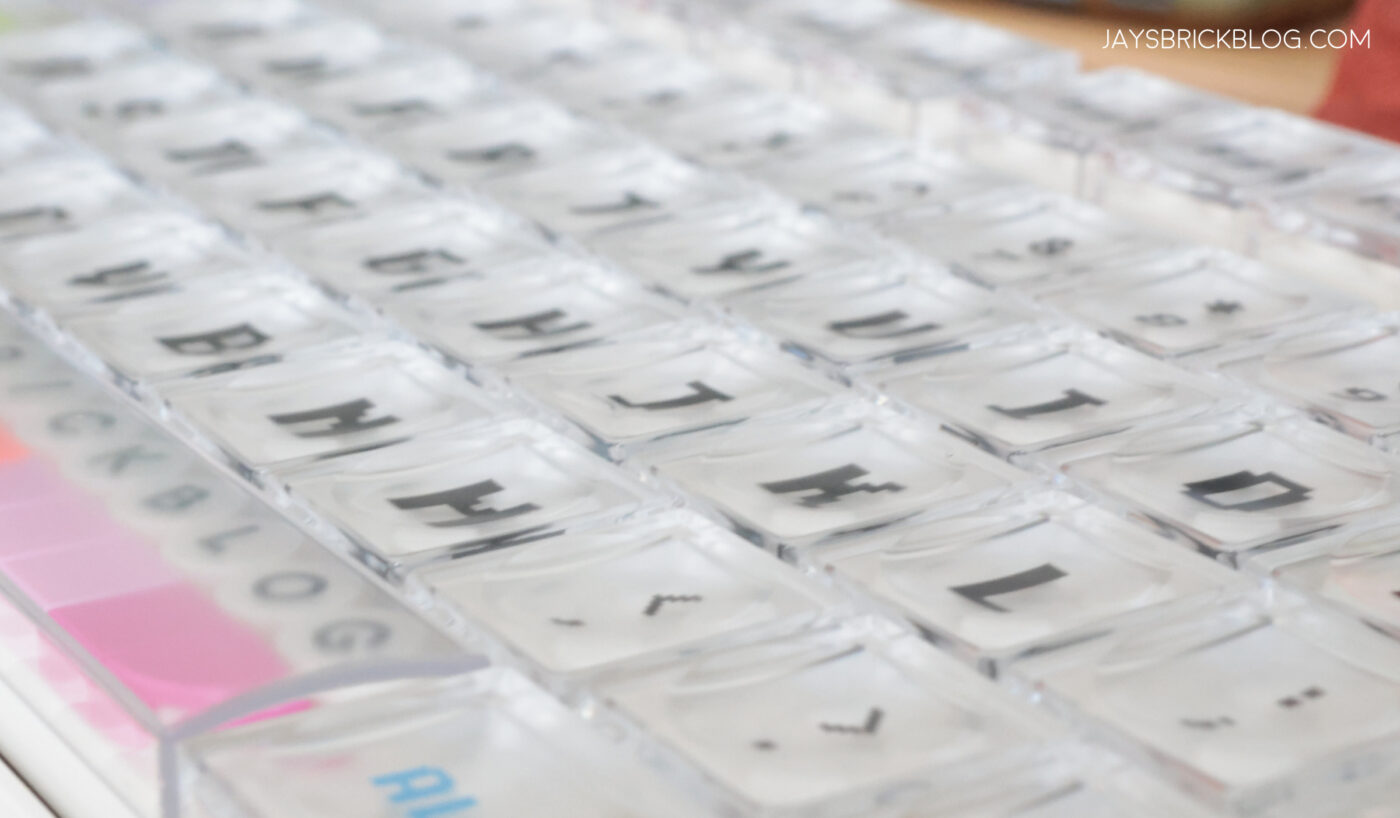
And here’s a closer look at the keys.
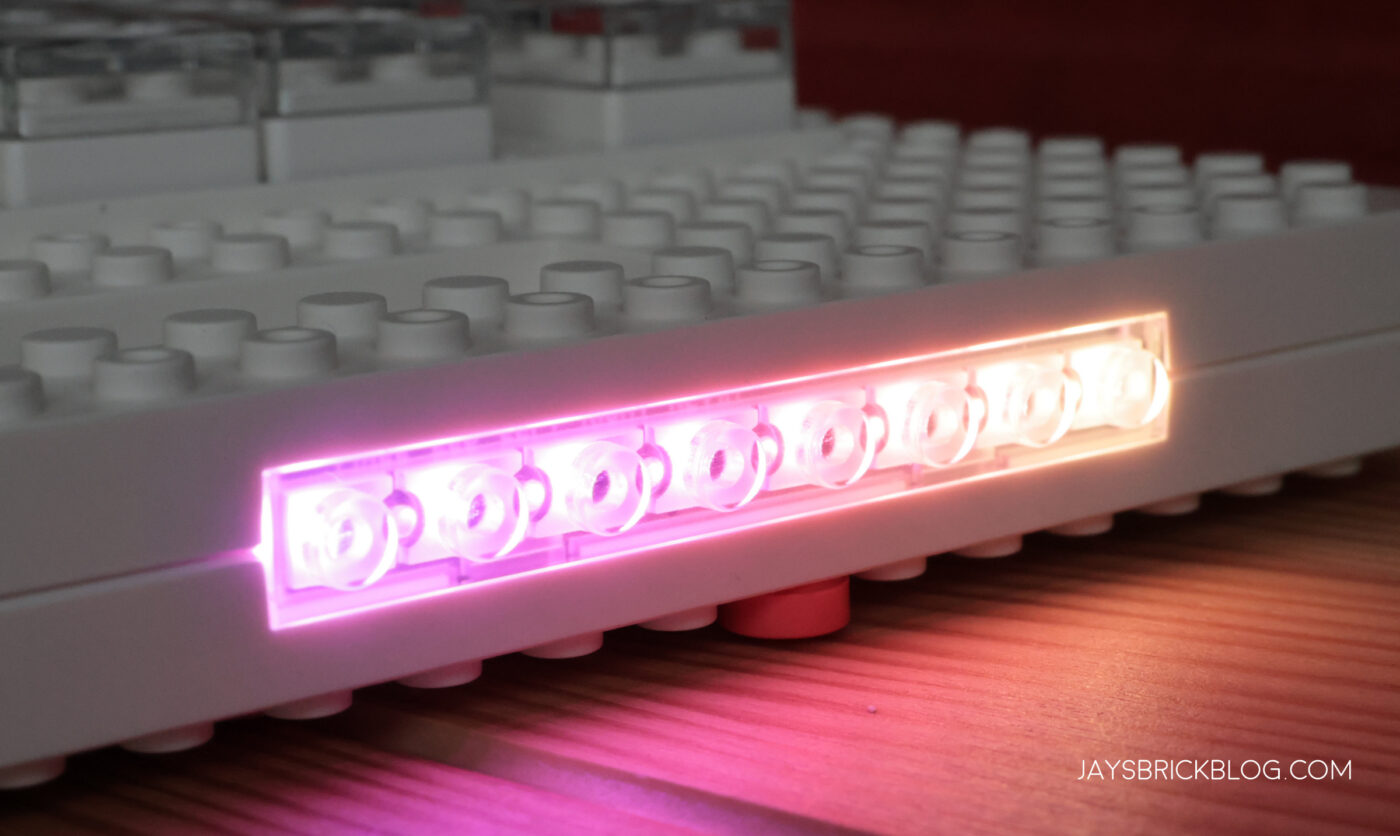
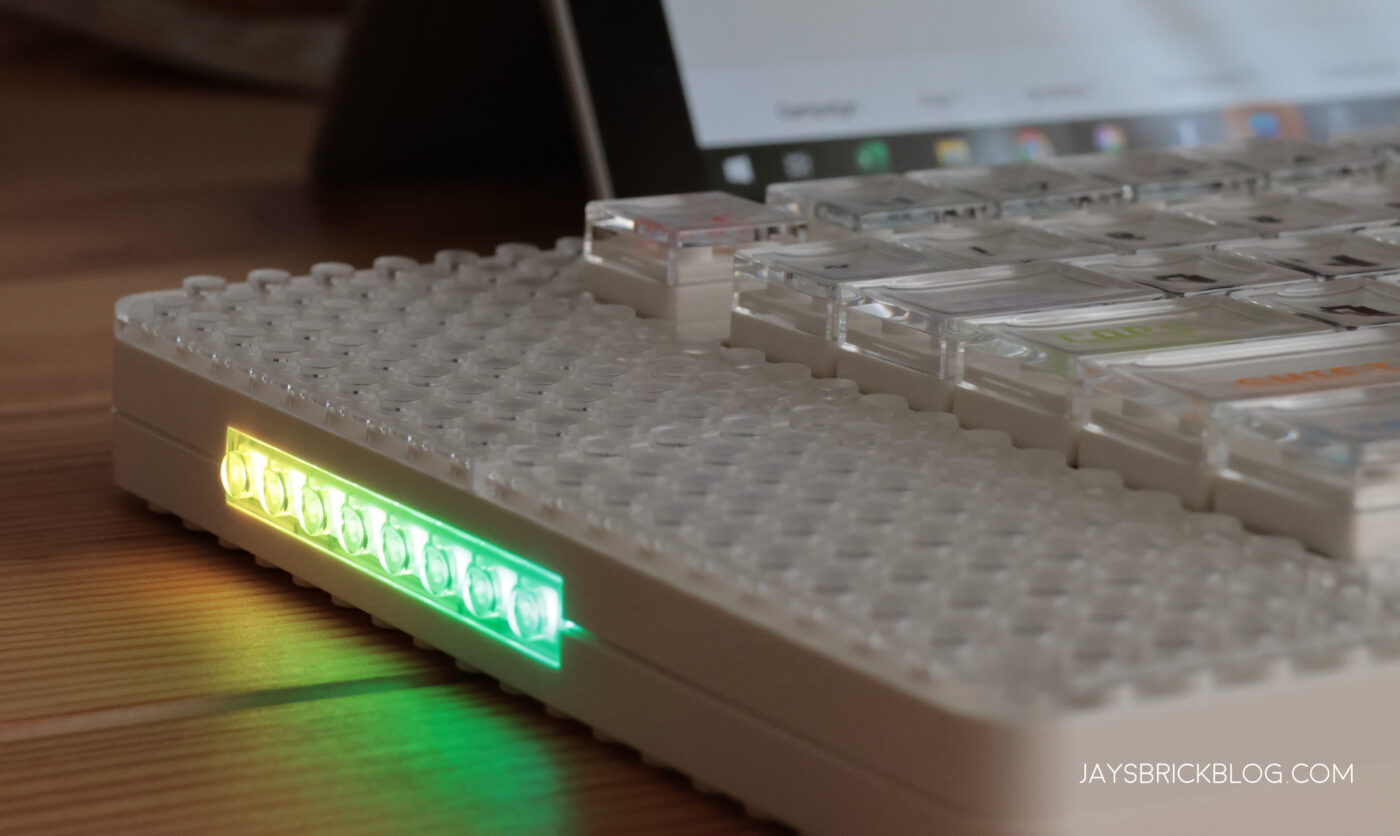
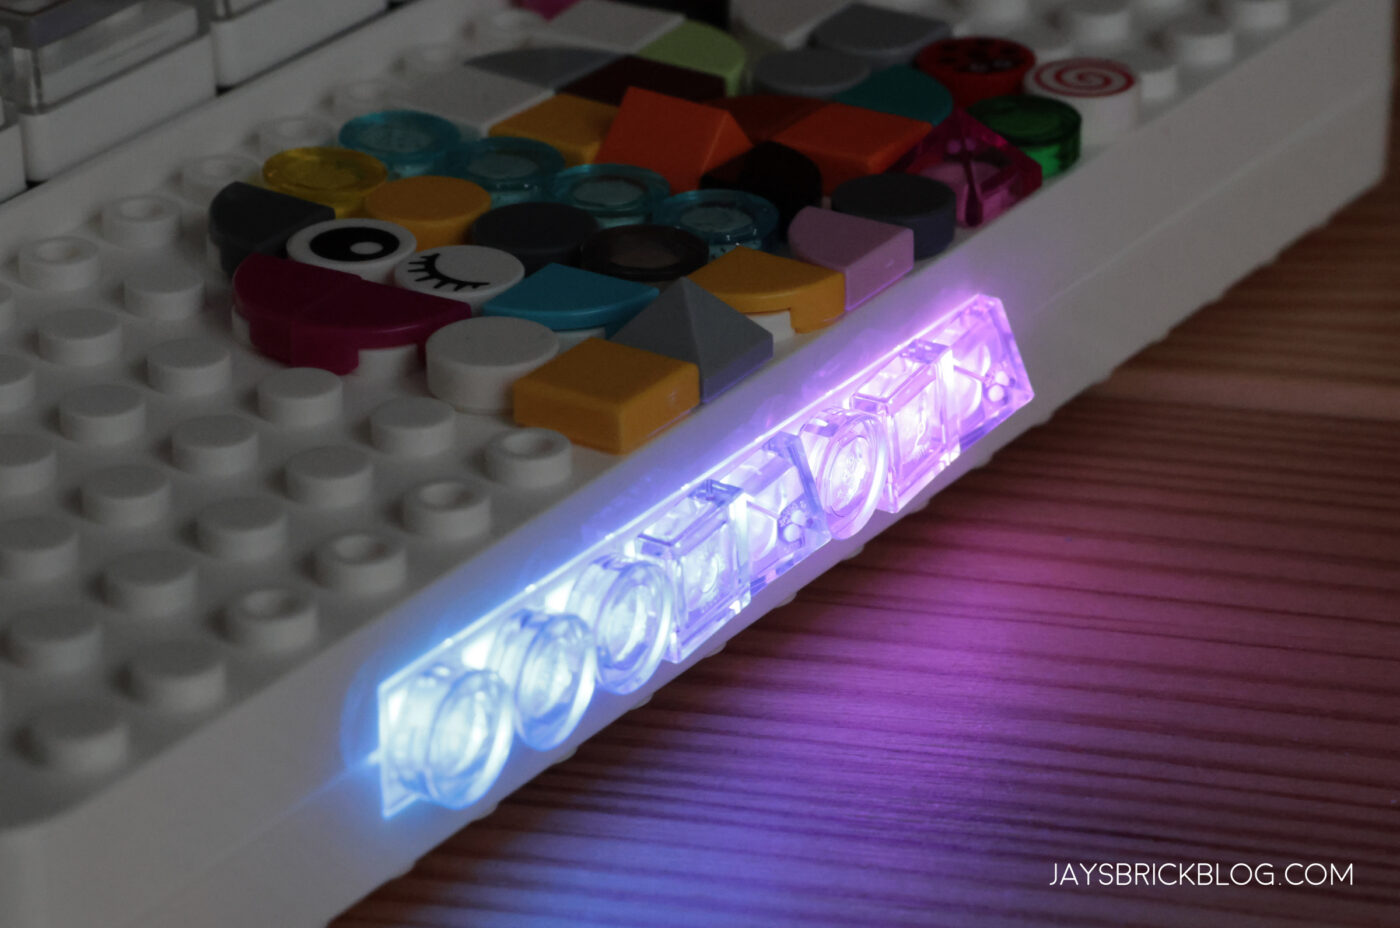
Oh did I mention there’s RGB as well that you can customise, and also decorate with transparent LEGO bricks?
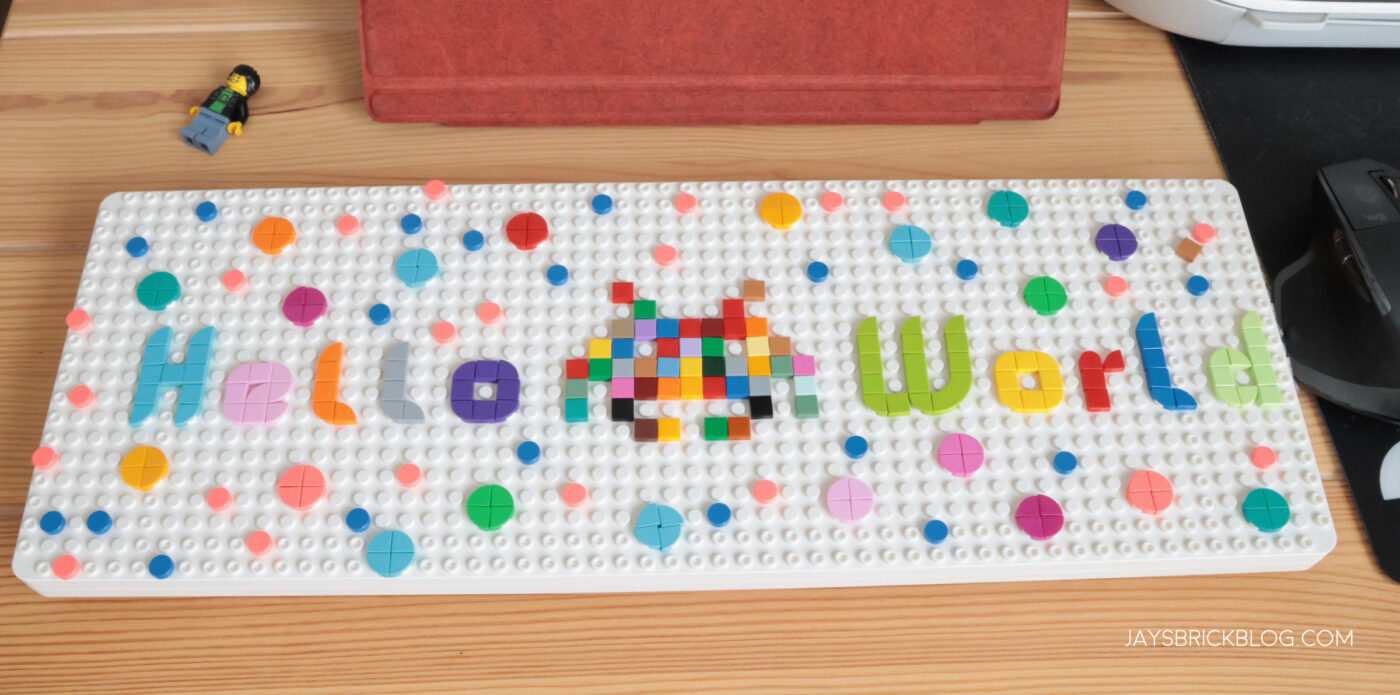
For me the big canvas was on the underside of the keyboard which is this massive white space that you can use to decorate.
Here’s my handiwork! The font was adapted from Mark Anderson, who submitted and designed the LEGO DNA font for New Elementary’s lettering contest.
This was actually a lot of fun, and I don’t consider myself an artist, but I was pretty pleased with my work. This is probably the most intensive MOC (don’t laugh) I’ve done all year.
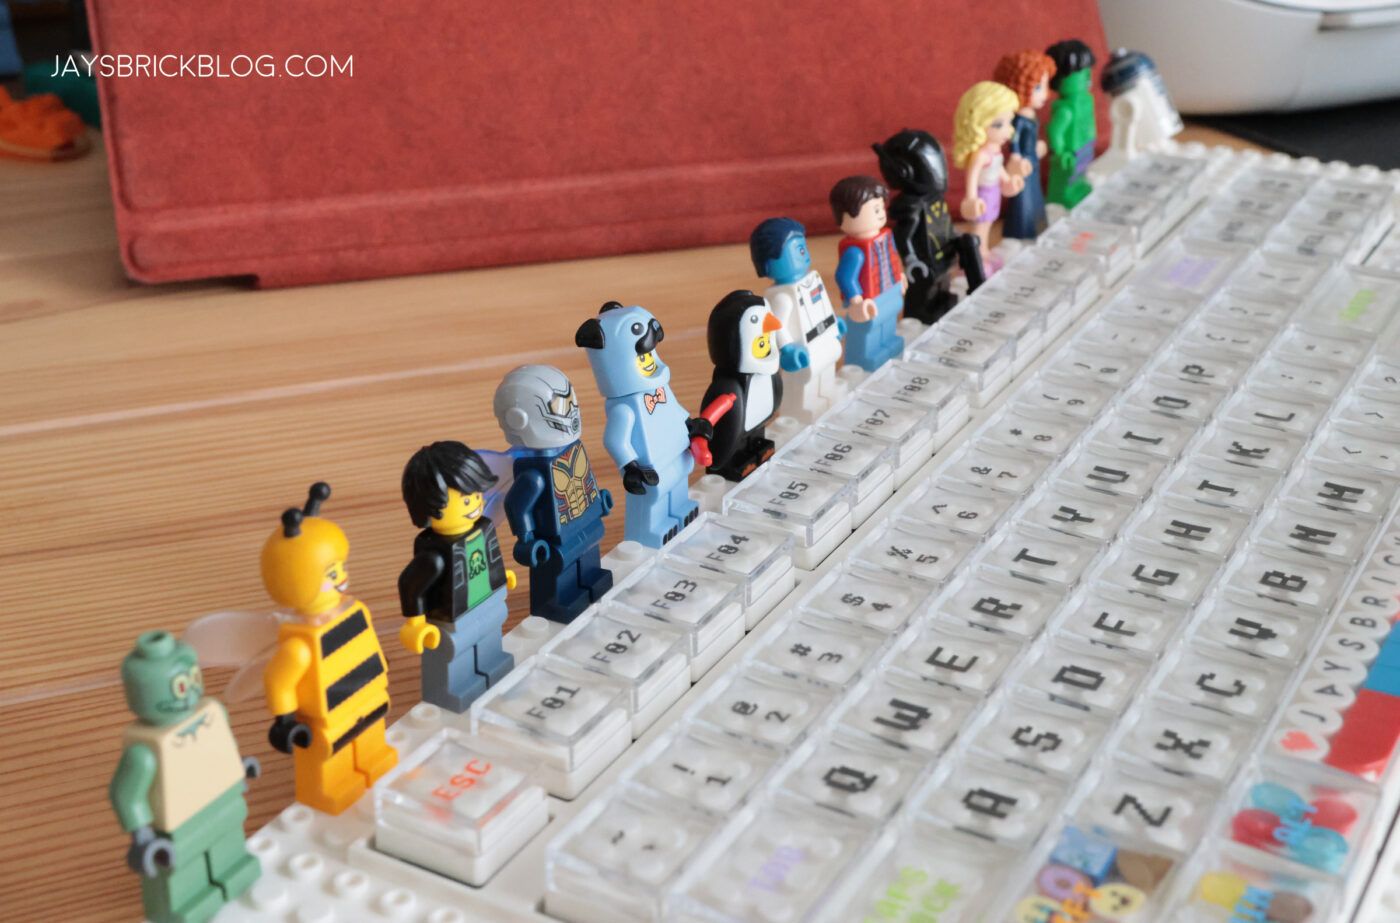
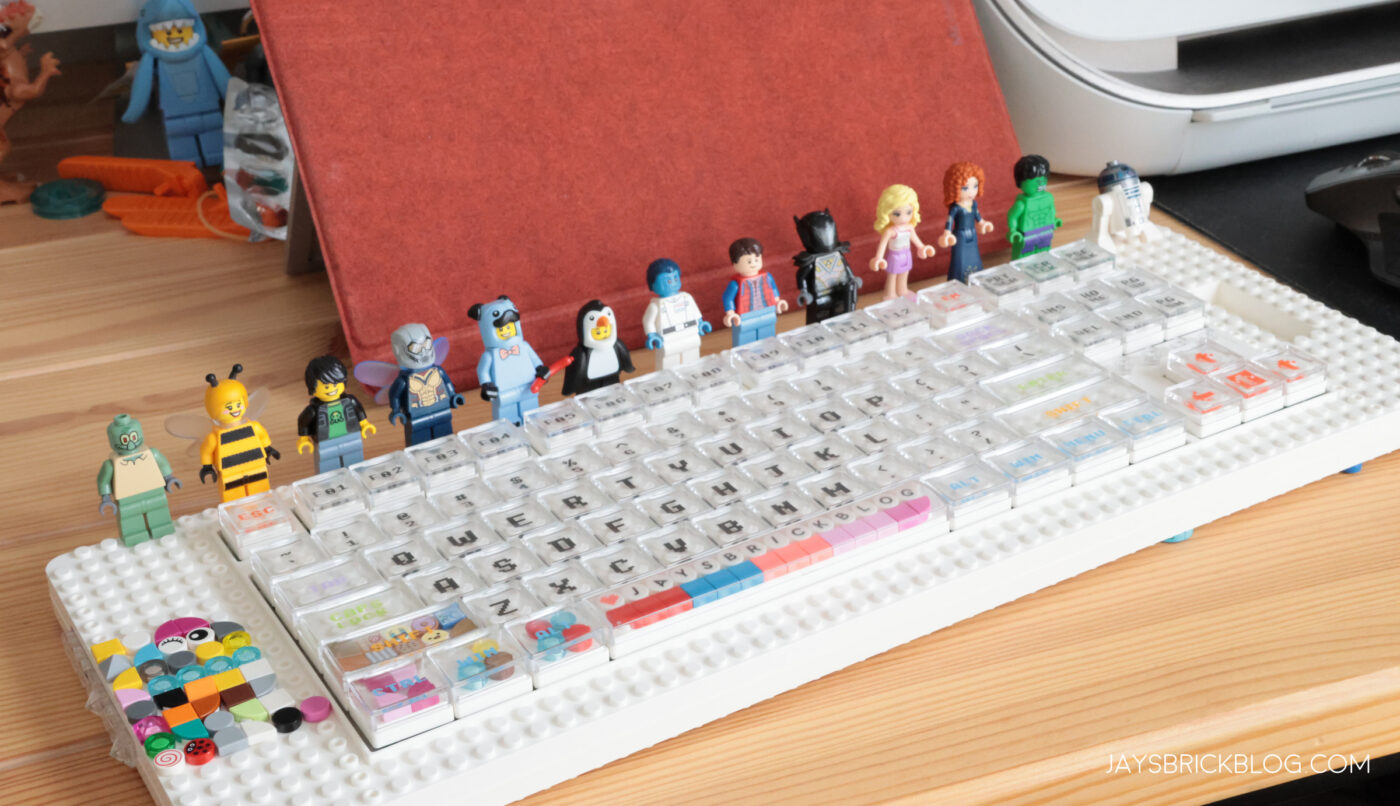
On a more practical level, I think the thing I like most about the MelGeek Pixel is the ability to display minifigures on them. Placing them above the Function Keys is the best position as they’re out of the way, and you won’t accidentally knock them over and they look pretty good, especially if you rotate or have different themed groups.
The minifigure had decent clutch power, they were kind of loose in some cases, but stayed on reliably.
Final Thoughts:
I really enjoyed the MelGeek Pixel, and despite this not being an official LEGO product, I think the quality is pretty decent and most importantly doesn’t feel cheap.
They’ve taken the essence of LEGO – the creativity and customisability to heart and embedded it into the entire design of the Pixel Mechanical Keyboard in ways that I think LEGO would appreciate.
With the Canvas model, this is really suited if you like designing and customising with LEGO Dots, as there’s just so much room to make this your own, provided you have enough tiles and elements to bring your vision to life.
The ability to use tiles and studs underneath the keys is pretty neat, and is one way to make your keyboard standout.

Unfortunately for me, this was my first foray into mechanical keyboards, and this experience proved that they just weren’t right for me and my typing style. I much prefer chiclet-style keys, without mushy keys that travel too much, so it didn’t feel quite right for me.
If you’re used to Macbook/Mac/shallower keys it might be a bit of a transition, so go out and try typing on a mechanical keyboard first to see if you can get used to it.
You can obviously change out the switches and keycaps to get close to regular chiclet keys, but mechanical keyboards are a whole other hobby and I’ll need some time to research what I need to get to make it something that I’d use to type.

That said, if you are into mechanical keyboards and LEGO (firstly, how do you afford both hobbies??), this may be something worth picking up, especially if you have a design that you like, or have a particular vision of how to customise your very own MelGeek Pixel.
The quality is pretty good, and my worries about it feeling like cheap knock-off LEGO were thankfully addressed.
With Christmas coming up, or if you know someone that likes mechanical keyboards, this might be a really fun present for them, as it does a pretty good job of melding both interests together.
I do have some ergonomic concerns, especially if you’re the type who likes to rest their palms on the keyboard, as it’s quite high, and hard ABS plastic with studs isn’t the most comfortable thing to rest your palms on, but again, this will depend on your typing style – my hands float in the air, so this doesn’t really concern me.
And depending on how the type of package and options you select on the MelGeek Pixel Kickstarter, the costs will quickly add up, especially if you opt for multiple switches, and keycaps, and cables.
Another thing that was unfortunately missing is that the keyboard isn’t backlit, which again, is completely up to personal preference, but the RGB lighting customisation is a nice consolation.
Overall, I quite like what MelGeek have done with the Pixel, and Mechanical Keyboard fans will have a great time blending their LEGO hobby into their primary one as well.
If you’re a LEGO fan, and want a cool novelty keyboard out, it’s definitely unique and if you can manage the transition to a mechanical keyboard, you’ll have lots of fun customising the look of it with your LEGO sets/
Just make sure to have enough plates, tiles and any other decorations beforehand for best results, although I think the ability to display minifigures on your keyboard is one of its best features.
And now that I’ve had some time with this, it does raise the question about potential official LEGO collaborations with consumer tech companies to produce proper LEGO-licensed products like USB cables, dongles, etc.
You can back and pre-order the MelGeek Pixel on Kickstarter and find out more about the specifications, and customisation options there. It’s already surpassed the fundraising target, so if all goes according to plan, will begin shipping out from January 2023 onwards.
To see what other LEGO fan media have to say about the MelGeek Pixel, check out reviews from Brickset, Hoth Bricks and Racing Brick!
Special thanks to the team at MelGeek for supporting the blog and sending this review unit over. Have to give them some props for a really well-designed and true-to-spirit LEGO compatible product that doesn’t feel like a quick cash grab.
To get the latest LEGO news and LEGO Reviews straight in your inbox, subscribe via email, or you can also follow on Google News, or socials on Facebook, Instagram (@jayong28), Twitter or subscribe to the Jay’s Brick Blog Youtube channel.


